 A Yottamaster guide
Setting Up a Yottamaster PS500C3 Hard Drive Enclosure: Complete Guide
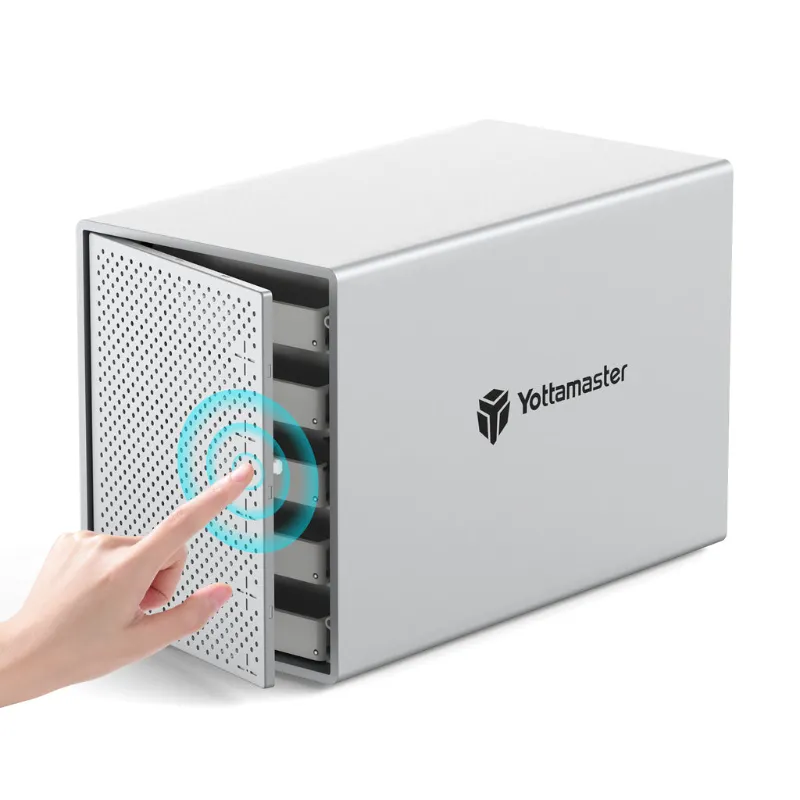
A 4 bay hard drive enclosure like the Yottamaster PS500C3 is one of the most practical ways to expand storage, consolidate backups, and keep your data organized without cracking open a PC.
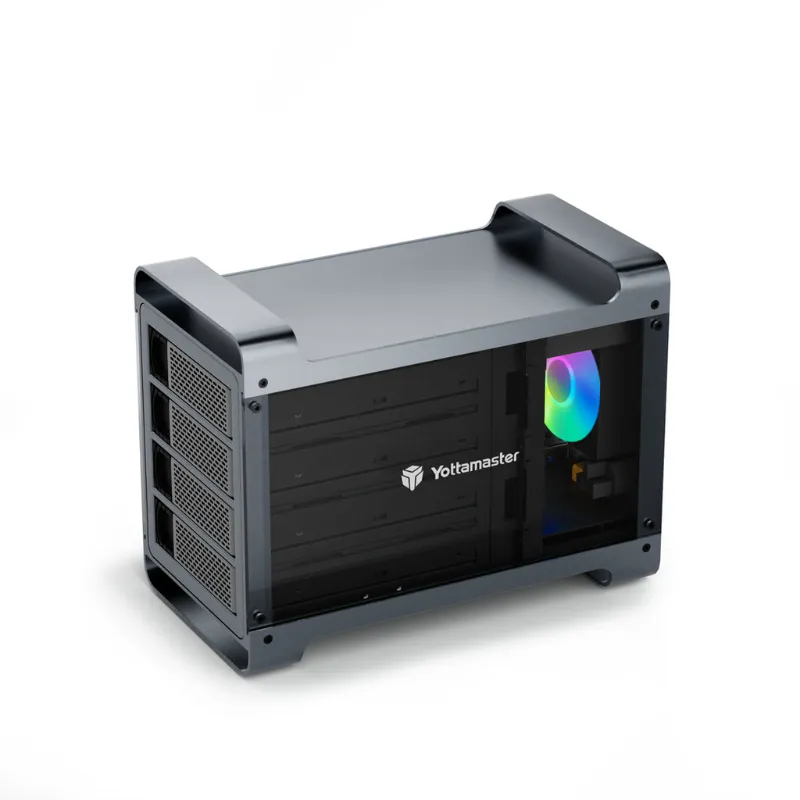
A 4 bay hard drive enclusure is one of the most practical ways to expand storage, consolidate backups, and keep your data organized without cracking open a PC. The Yottamaster PS500C3 is a popular choice for home users and small offices alike, combining a compact footprint with serious multi-drive flexibility. This guide walks you through every stage of setup so you get it right the first time.
What Is a 4 Bay Hard Drive Enclosure and Who Needs One
A 4 bay hard drive enclosure is an external chassis that holds up to four 3.5-inch (or 2.5-inch) SATA drives, connects them to your computer over a single cable, and optionally groups them into a RAID array. It is not a NAS: there is no on-board OS or network port. Everything runs through your host machine.
You will get the most out of one if you:
- Have more drives than internal bays in your desktop or laptop
- Want a single USB-C or Thunderbolt connection instead of juggling four separate drive cables
- Need simple RAID 1 mirroring for automatic backup redundancy
- Run video editing, photography archives, or a local media server that demands fast sequential reads across multiple drives
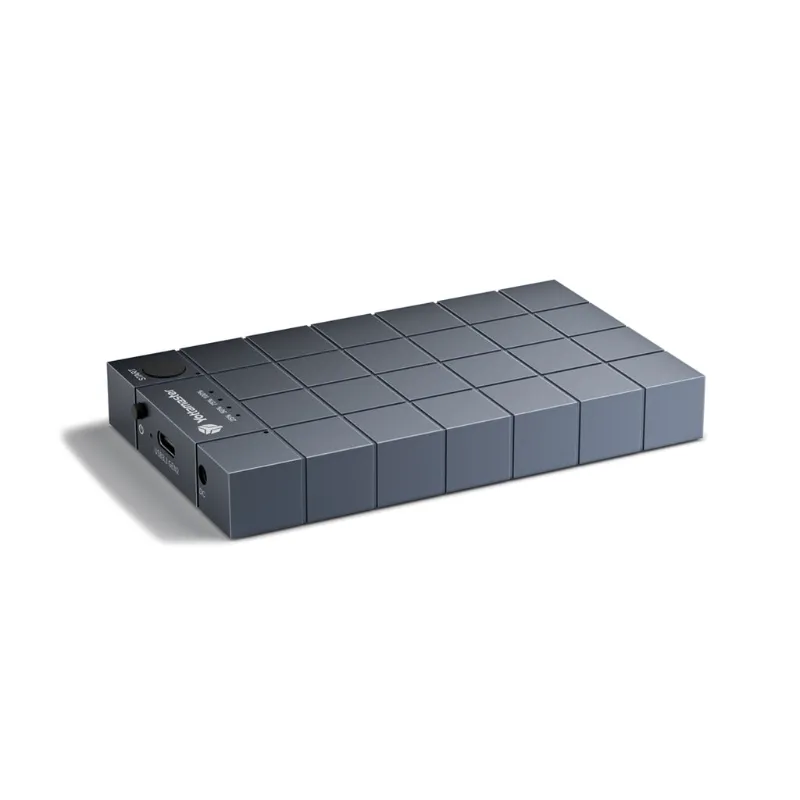
If your needs lean toward cloning or duplicating NVMe drives rather than housing spinning disks, look at the nvme duplicator or nvme m.2 ssd cloner instead. They solve a different problem.
What You Get With the Yottamaster PS500C3
The PS500C3 is built around a USB 3.2 Gen 2 (10 Gbps) connection via USB-C, which is fast enough to keep four mechanical drives from becoming a bottleneck during sequential transfers. The enclosure supports hardware RAID modes selectable by a physical switch on the rear panel, so no driver or software is needed to configure them.
Key features at a glance:
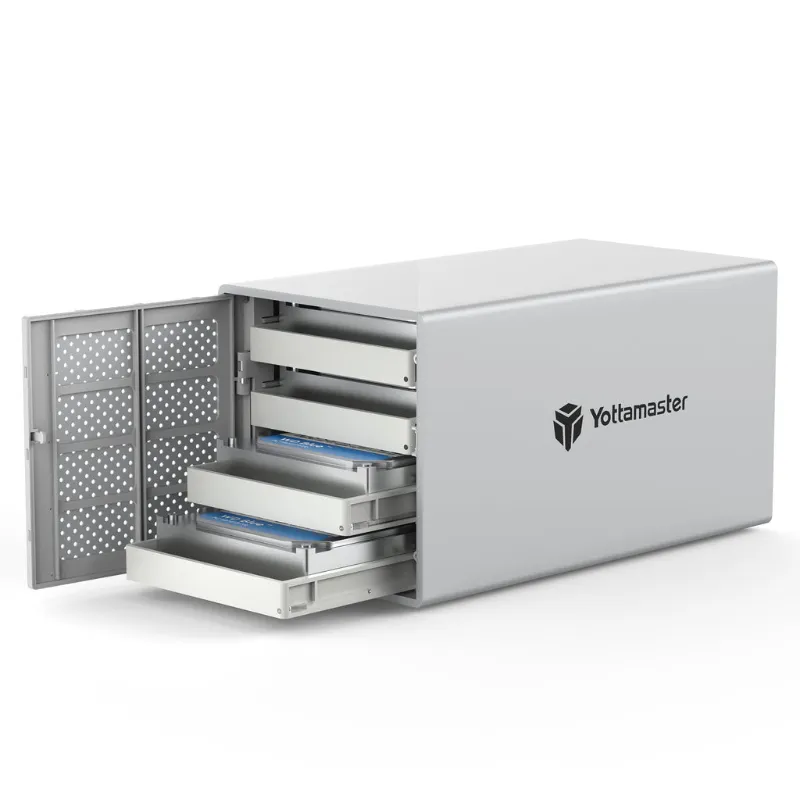
- Four independent drive bays (tool-free tray design on most variants)
- Hardware RAID 0, 1, 10, JBOD, and SPAN modes via rear switch
- USB-C to USB-A cable and USB-C to USB-C cable included
- Aluminum alloy shell for passive heat dissipation
- Single power brick powers all four drives simultaneously
For current pricing and our exclusive discount, check the latest price before you order.
How to Install Drives in the PS500C3
Getting drives seated correctly takes about ten minutes. Follow this sequence and you will avoid the most common missteps.
- Power off and unplug the enclosure before touching any bay.
- Pull the drive tray straight out using the tab at the front face.
- Seat the drive in the tray so the SATA connector end faces the rear of the tray. Align the four screw holes.
- Secure the drive with the supplied screws (three screws per side for 3.5-inch drives; use the inner holes for 2.5-inch drives).
- Slide the tray back in until you hear a firm click. The tray should sit flush with the front bezel.
- Repeat for all bays you plan to populate. Empty bays are fine; the enclosure operates with as few as one drive.
- Set the RAID mode switch on the rear panel before powering on. Changing modes after initialization will erase all data.
- Connect power, then the USB-C cable to your computer.
- Initialize and format the new volume through Disk Management (Windows) or Disk Utility (macOS).
Choosing the Right RAID Mode
The rear switch on the PS500C3 sets hardware RAID without touching your OS. Here is a plain-language comparison of the most useful modes:
| Mode | Drives Needed | What It Does | Best For |
|---|---|---|---|
| JBOD | 1 or more | Each drive appears separately | Maximum flexibility, mixed drive sizes |
| RAID 0 | 2+ | Stripes data for speed, no redundancy | Video scratch disks, temp storage |
| RAID 1 | 2 (mirrored pairs) | Duplicates data for redundancy | Backup drives, critical archives |
| RAID 10 | 4 | Stripes across mirrored pairs | Speed plus redundancy |
Practical advice: most home users are best served by JBOD or RAID 1. RAID 0 doubles your risk of total data loss because one failed drive takes everything with it. If pure capacity matters more than speed or redundancy, SPAN (sometimes labeled BIG) concatenates all drives into one large volume.
Comparing the PS500C3 to Other Enclosure Options
Not every buyer needs four bays. Here is how the PS500C3 stacks up against adjacent options in the Yottamaster lineup and beyond:
| Enclosure | Bays | Interface | Ideal User |
|---|---|---|---|
| Yottamaster PS500C3 | 4 | USB 3.2 Gen 2 (10 Gbps) | HDD-heavy home lab or office |
| 4 bay disk enclosure | 4 | USB-C | General multi-drive storage |
| syba 5 bay | 5 | USB / eSATA | Users who need a fifth bay |
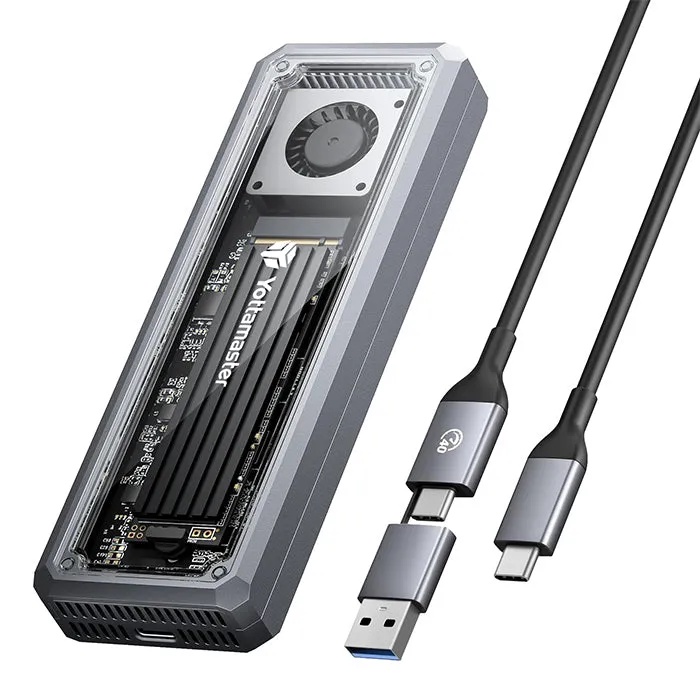
| m 2 nvme enclosure | 1 (NVMe) | USB-C / Thunderbolt | Single fast SSD portability |
If you are researching the broader Hard Drive Enclosures market before committing, it is worth comparing interface speeds and RAID support across brands. The PS500C3 holds its own in the mid-range USB-C segment.
Cooling, Cable Management, and Long-Term Care
Mechanical drives generate heat, and four of them in an enclosed chassis can shorten drive life if airflow is restricted.
- Place the enclosure upright and leave at least 5 cm of clear space on each ventilated side
- Never stack items on top of the enclosure; the aluminum shell acts as a heatsink
- Dust the vents monthly with a can of compressed air, especially if the enclosure sits on a carpet or desk in a dusty room
- Check S.M.A.R.T. data quarterly using free tools like CrystalDiskInfo (Windows) or DriveDx (macOS) to catch early signs of drive wear
- Use a UPS (uninterruptible power supply) if the enclosure is in RAID mode. A sudden power cut mid-write is one of the fastest ways to corrupt a RAID array
Getting the Best Deal on the Yottamaster PS500C3
Yottamaster sells directly and through authorized retailers. Our tested code gives 5% off your order sitewide, including the PS500C3. Grab the code and apply it at checkout for an instant saving.
If you are also shopping for NVMe tools alongside your HDD enclosure, the m.2 cloner is worth a look for anyone migrating boot drives or duplicating SSDs without a PC. Stacking that purchase with the enclosure order means one checkout and one discount applied across both items.
For buyers sourcing multiple units for an office or lab environment, reviewing options at HDD Enclosures, Caddies & Docks can give you a useful baseline for bulk pricing before you commit to a single vendor.
A 4 bay hard drive enclusure is a long-term investment in your storage workflow. Buy the right one, set it up carefully, and it will serve reliably for years.
Questions
What drives are compatible with the Yottamaster PS500C3 4 bay hard drive enclosure?
The PS500C3 accepts standard 3.5-inch SATA HDDs and 2.5-inch SATA HDDs or SSDs. It does not support NVMe or SAS drives. For NVMe storage, you would need a separate m 2 nvme enclosure or nvme duplicator instead.
Do I need to populate all four bays before using the enclosure?
No, the PS500C3 works with as few as one installed drive, particularly in JBOD mode. Just keep in mind that RAID 1 requires two drives, RAID 10 requires four, and any change to the RAID switch after initialization will erase all data.
Can I use drives of different sizes in JBOD mode?
Yes. In JBOD mode each drive appears as its own independent volume, so mixed capacities work without any issues. RAID modes generally require matched drive sizes to avoid wasted capacity or compatibility problems.
Is the Yottamaster PS500C3 compatible with both Windows and macOS?
Yes, the enclosure is plug-and-play on both operating systems because the hardware RAID controller handles array management. You just need to format the resulting volume in the appropriate file system for your OS after first setup.
How do I apply the Yottamaster discount code at checkout?
Visit our Yottamaster discount code page to grab the current code, then paste it into the promo code field during checkout on the Yottamaster store. The 5% discount applies sitewide, including the PS500C3 and other enclosures.
What is the difference between a 4 bay disk enclosure and an NVMe duplicator?
A 4 bay disk enclosure is designed to house multiple SATA hard drives for expanded storage, while an NVMe duplicator is a standalone device for copying NVMe M.2 SSDs from one drive to another without a computer. They serve completely different purposes and are not interchangeable.
Products in this guide
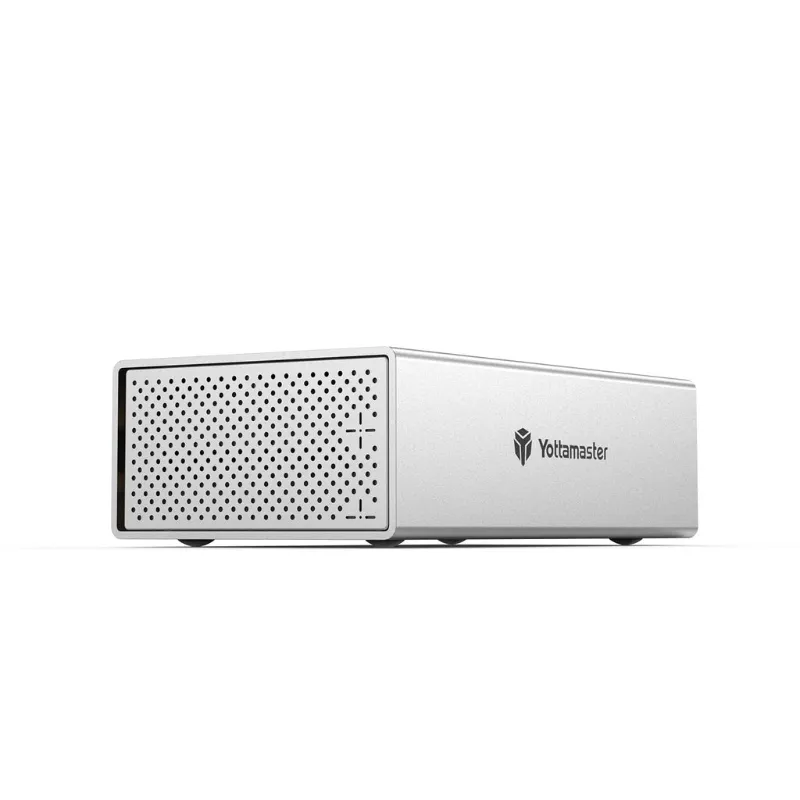
 Shopping at Yottamaster? See the discount code
5% OFF All Orders
Shopping at Yottamaster? See the discount code
5% OFF All Orders
More in this series
Troubleshooting Your Yottamaster NVMe Duplicator When Cloning Fails19 Aug 20265 minCan M.2 NVMe Enclosures Handle Heat During Long File Transfers?19 Aug 20264 minDo You Need an SSD Duplicator or an SSD Cloner? Understanding the Difference19 Aug 20264 minYottamaster 4 Bay vs. Syba 5 Bay: Which Drive Enclosure for Home Storage?19 Aug 20265 minHow to Clone an M.2 NVMe SSD Without a Computer19 Aug 20264 min