 A ONSRA guide
How to Replace 608 Bearings on Your Electric Skateboard
Replacing bearings on your electric skateboard remote-controlled board takes just 15 minutes with the right tools and fresh 608 bearings.
Why Replace Your Electric Skateboard Bearings
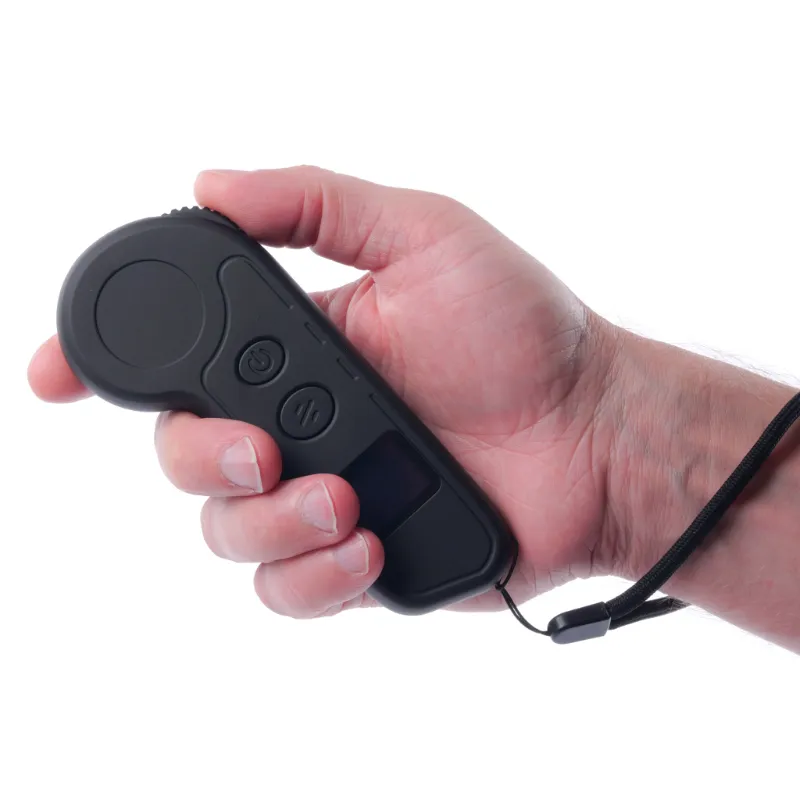
Your electric skateboard remote controls acceleration and braking, but smooth wheel rotation depends entirely on your bearings. When skateboard bearing 608 components wear out, you’ll notice grinding sounds, sluggish acceleration, and reduced range because your motorized skateboard motor works harder to spin dirty or damaged bearings. Most riders replace bearings every 500 to 800 miles, or sooner if you ride through water or dirt.
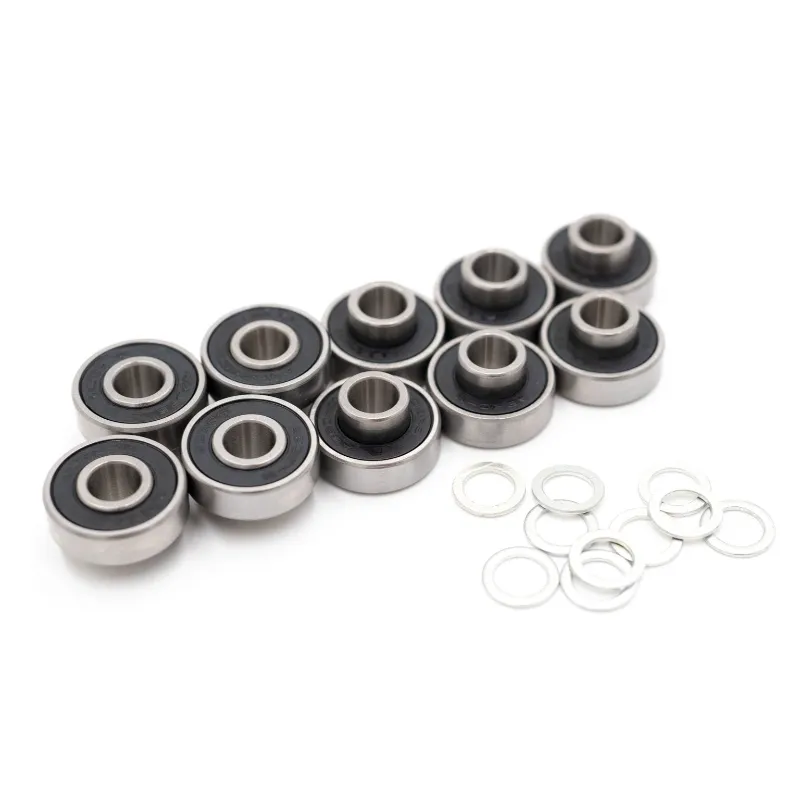
Standard 608 bearings fit the vast majority of electric skateboards, including belt-drive and hub-motor designs. The “608” designation refers to the 8mm inner diameter, 22mm outer diameter, and 7mm width that match nearly every skateboard wheel on the market.
Tools and Parts You Need
Before you start, gather these items:
- Bearing press or removal tool: A skateboard-specific tool makes extraction clean and prevents wheel damage
- Socket wrench or skate tool: To remove axle nuts (usually 13mm or 1/2 inch)
- New 608rs bearing set: You need eight bearings total (two per wheel)
- Bearing lubricant or speed cream: Optional but extends bearing life
- Clean rag: For wiping down axles and wheels
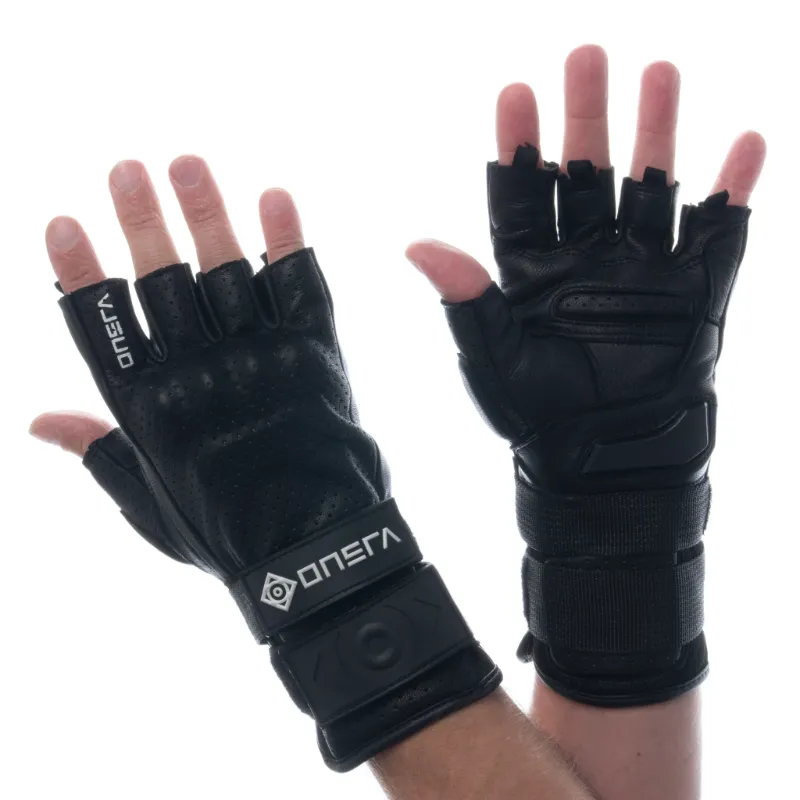
- Gloves skateboard: Protects your hands from metal edges and old grease
Check the latest price on bearing sets and tools with our store discount code before you order.
Step-by-Step Bearing Replacement
Remove the Wheels
Power off your high performance electric skateboard and disconnect the battery if accessible. Flip the board upside down on a soft surface or use a stand.
Loosen the axle nuts with your skate tool and slide each wheel off the axle. Keep nuts and washers organized so you don’t lose small parts.
Extract Old Bearings
Insert your bearing press tool into the center of the bearing and apply steady pressure while tilting the wheel to pop the bearing out from the opposite side. Work around the inner race, not the outer shield, to avoid cracking the wheel core.
If you don’t have a dedicated tool, you can carefully use the truck axle itself as a lever by placing the wheel at an angle and pressing down, but this risks scratching the axle threads.
Flip the wheel and repeat for the second bearing. Remove the bearing spacer (the small tube between bearings) and set it aside for reuse.
Clean the Wheel Cores
Wipe out the bearing seats inside each wheel with a clean rag to remove dirt, old grease, and metal particles. Any debris left behind will contaminate your new bearings and shorten their life.
Inspect the bearing spacer and clean it as well. Replace it if it’s bent or heavily corroded.
Install New Bearings
Place the wheel face-down on a flat surface. Set one new bearing on top of the bearing seat, shield side up. Press straight down with your bearing press tool or the heel of your hand until the bearing sits flush and you can’t push it any further.
Insert the bearing spacer through the first bearing. Flip the wheel over and repeat the process for the second bearing.
Test the installation by spinning the bearing with your finger. It should rotate freely without wobbling or grinding.
Pairing Your Electric Skateboard Remote After Maintenance
Once your wheels are back on, you may need to recalibrate or pair your remote, especially if you disconnected the battery. Here’s how to pair electric skateboard remote controls on most models:
- Power on the board first: Let the ESC (electronic speed controller) initialize for 3 to 5 seconds
- Hold the remote power button: Most remotes require a long press (5+ seconds) to enter pairing mode
- Watch for LED confirmation: A solid or blinking light pattern indicates successful pairing
- Test throttle response: Roll the board gently and check that acceleration and braking respond smoothly
If your remote won’t pair, consult the manufacturer’s manual or check for firmware updates via an electric skateboard remote app if your model supports one. Some riders keep a backup electric skateboard remote on hand for quick electric skateboard remote replacement if the primary unit fails mid-ride.
Bearing Maintenance Between Replacements
Proper care extends bearing life and keeps your motor skateboard performing at its best:
- Avoid deep water: Sealed 608rs bearings resist light moisture, but submersion washes out grease and causes rust
- Clean bearings every 200 miles: Pop off the shields, flush with isopropyl alcohol or bearing cleaner, dry completely, and re-lubricate
- Rotate wheels: Swap front and rear wheels every few months to even out wear, since rear wheels on electric boards carry more load
- Check for play: Grip each wheel and wiggle it side to side; excessive movement means worn bearings or loose axle nuts
- Store indoors: Temperature swings and humidity degrade bearing grease faster than normal riding
Upgrading to ceramic or Swiss-precision bearings offers marginal speed gains, but standard steel skateboard bearing 608 sets deliver excellent performance for most riders at a fraction of the cost.
When to Upgrade Other Components
While you have the wheels off, inspect these related parts:
| Component | Check For | Replacement Interval |
|---|---|---|
| Kingpin trucks | Loose bushings, bent hangers | 1,000 to 2,000 miles |
| Foam grip tape | Worn texture, peeling edges | 500 to 1,000 miles |
| Wheel urethane | Flat spots, cracks, uneven wear | 800 to 1,500 miles |
Grab the code to save on replacement parts when it’s time to refresh your setup.
Best Practices for Long-Term Performance
Fresh bearings transform how your board feels, but pairing quality components maximizes the improvement. A well-maintained high performance electric skateboard with clean bearings, properly inflated tires (for pneumatic wheels), and a responsive remote delivers consistent range and top speed.
Keep your workspace organized during maintenance, label parts if you’re working on multiple boards, and always test-ride in a safe area after reassembly. The best electric skateboard remote won’t help if your wheels won’t spin freely, and smooth bearings reduce motor strain for better battery efficiency.
Regular bearing replacement is the single most cost-effective upgrade for preserving acceleration, range, and ride quality on any electric skateboard.
Questions
How often should I replace 608 bearings on my electric skateboard?
Replace bearings every 500 to 800 miles under normal conditions, or sooner if you hear grinding, feel resistance, or ride frequently in wet or dusty environments. Regular cleaning can extend bearing life between replacements.
Can I use any 608 bearing for my electric skateboard?
Yes, standard 608 bearings fit nearly all electric skateboard wheels. Look for 608rs (rubber-sealed) or 608zz (metal-shielded) variants for better protection against dirt and moisture compared to open bearings.
Do I need to pair my remote after replacing bearings?
You typically don't need to re-pair your remote just from replacing bearings. However, if you disconnected the battery during maintenance, you may need to follow your board's pairing procedure to reconnect the remote to the ESC.
What's the difference between 608 and 608rs bearings?
The 'rs' designation means rubber-sealed, which keeps grease in and contaminants out better than open 608 bearings. Sealed bearings last longer and require less frequent cleaning, making them ideal for electric skateboards.
Can I reuse bearing spacers when installing new bearings?
Yes, bearing spacers are reusable as long as they're not bent, corroded, or damaged. Clean them thoroughly before installing with new bearings to prevent contamination.
Why won't my electric skateboard remote pair after maintenance?
Make sure you power on the board first and wait a few seconds before turning on the remote. If pairing still fails, check the battery charge on both devices, ensure you're within range, and consult your manual for the specific pairing button sequence.
Products in this guide
 Shopping at ONSRA? See the discount code
4% OFF Sitewide
Shopping at ONSRA? See the discount code
4% OFF Sitewide
More in this series
When to Upgrade Kingpin Trucks on Your Motorized Skateboard13 Aug 20264 minTroubleshooting Electric Skateboard Deck Flex and Vibration Issues13 Aug 20264 minDo You Need Skateboard Gloves for High Performance Electric Skateboard Riding?13 Aug 20264 minHow Long Do Foam Grip Tape and Standard Grip Tape Last on Electric Skateboards?13 Aug 20265 minONSRA Electric Skateboard Remote vs Standard Controllers: Which Is More Responsive?13 Aug 20265 min