 A KEMOVE guide
How to Remove Keycaps and Switches Without Damaging Your Mechanical Keyboard
Removing keycaps and switches from your dierya keyboard requires the right tools and technique to avoid damaging the board, stems, or switches.
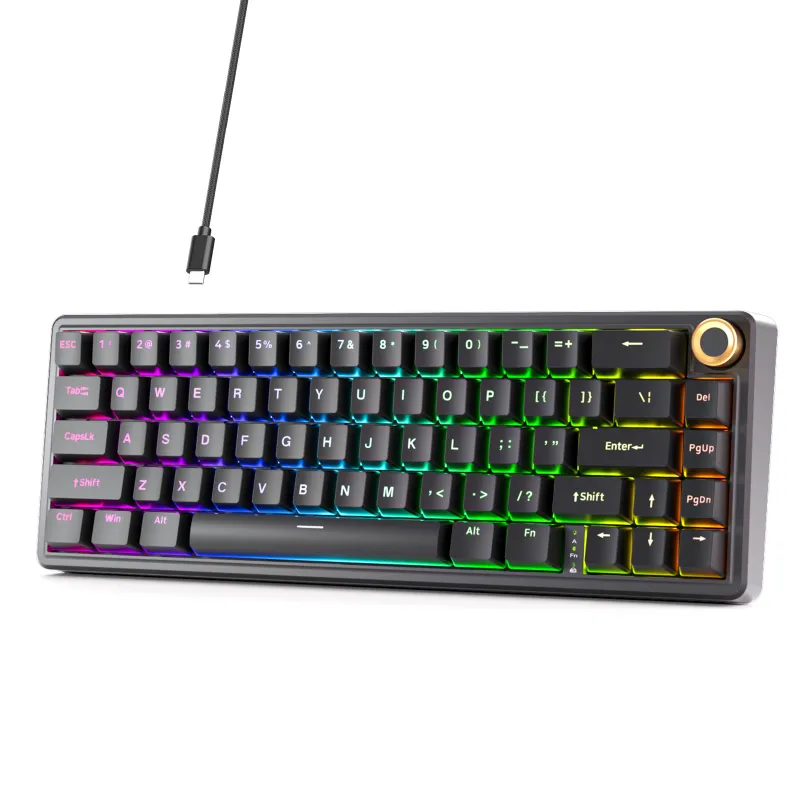
A dierya keyboard and most mechanical boards let you swap keycaps and switches, but doing it wrong can crack keycaps, bend switch pins, or damage the PCB.
What You Need: The Right Tools for Safe Removal
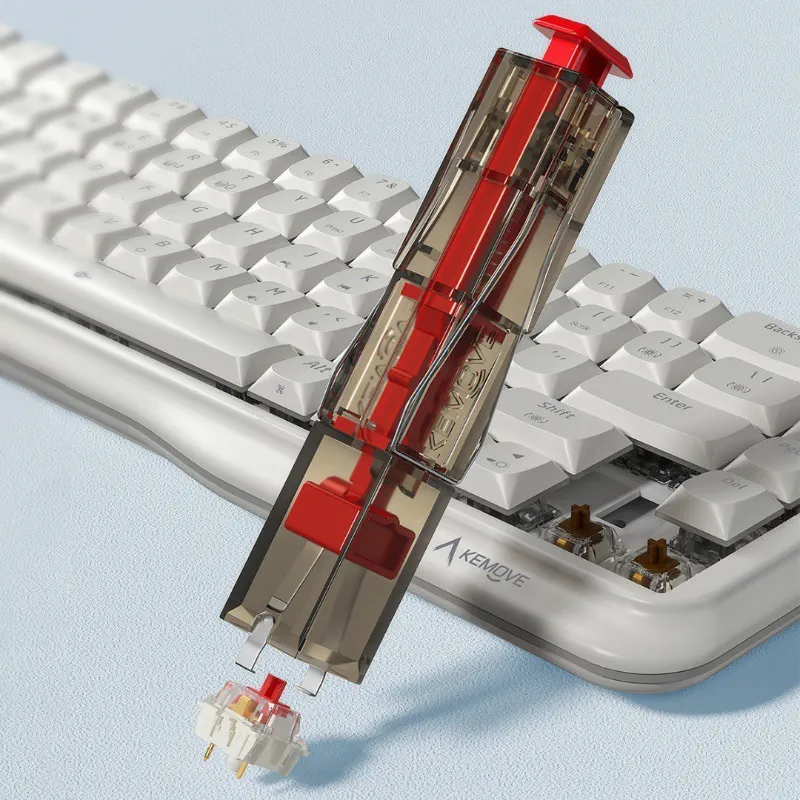
Using the correct tool makes all the difference. A proper keycap puller grips the sides of the cap without stressing the stem, while a keyboard switch puller compresses the retention clips evenly.
For keycap removal:
- Wire keycap puller (included with most boards like the KEMOVE tmkb and dierya dk63)
- Plastic ring-style puller (gentler on ABS keycaps)
For switch removal (hot-swap boards only):
- Metal or reinforced plastic switch puller with dual prongs
- IC extractor tool (works in a pinch)
What to avoid:
- Flathead screwdrivers (scratch the board and gouge keycaps)
- Needle-nose pliers (crack keycap walls)
- Your bare hands on stabilized keys (bends the wire and snaps stems)
Grab the code for 5% off tools and replacement parts at KEMOVE.
How to Remove Keycaps from Your Dierya Keyboard
Pull keycaps one row at a time to avoid losing orientation, especially if you plan to reassemble the same layout.
Step-by-step:
- Position the wire puller under opposite edges of the keycap, not on the front and back faces.
- Rock gently to break the friction seal, then pull straight up with even pressure on both wires.
- For stabilized keys (spacebar, shift, enter, backspace), wiggle slightly side-to-side while pulling to disengage the stabilizer stems without bending the wire. These require more force but never yank.
- Store keycaps in a bowl or layout tray to avoid mixing up sizes.
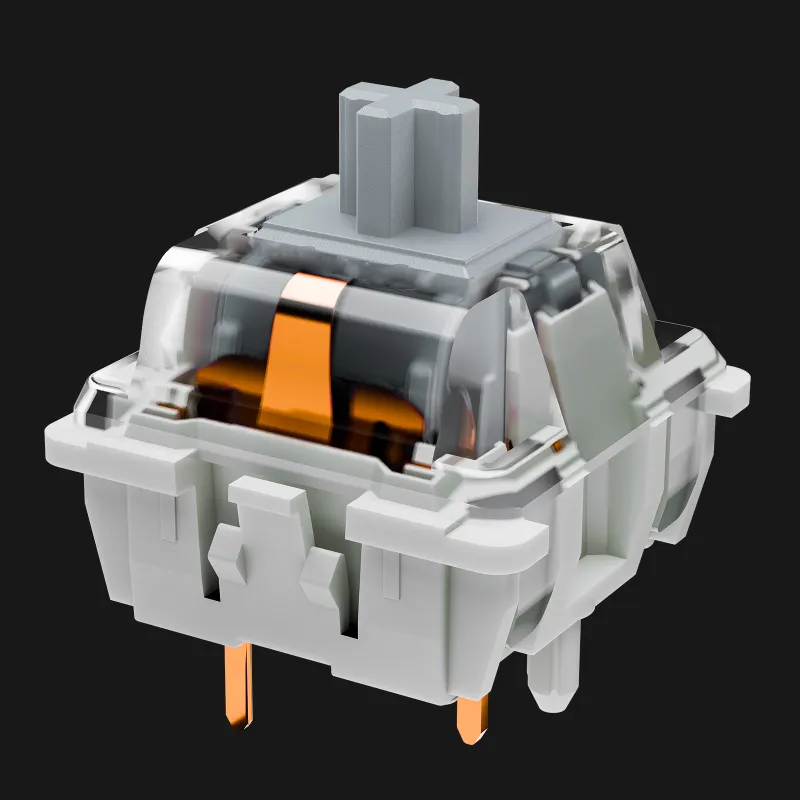
On boards like the muscovite 68 or kemove shadow 61, the keycaps are dye-sub PBT and resist wear, but the stems can still snap if you pull at an angle. Always pull perpendicular to the PCB.
If you are deep-cleaning or planning to change the color of your setup, remove all caps in one session. Many users on the dierya keyboard Reddit community recommend washing PBT keycaps in warm soapy water and air-drying them completely before reinstalling.
How to Remove Switches Without Damaging the PCB
Switch removal only applies to hot-swap sockets. If your board is soldered, you will need a desoldering pump or wick and a temperature-controlled iron, which we cover separately.
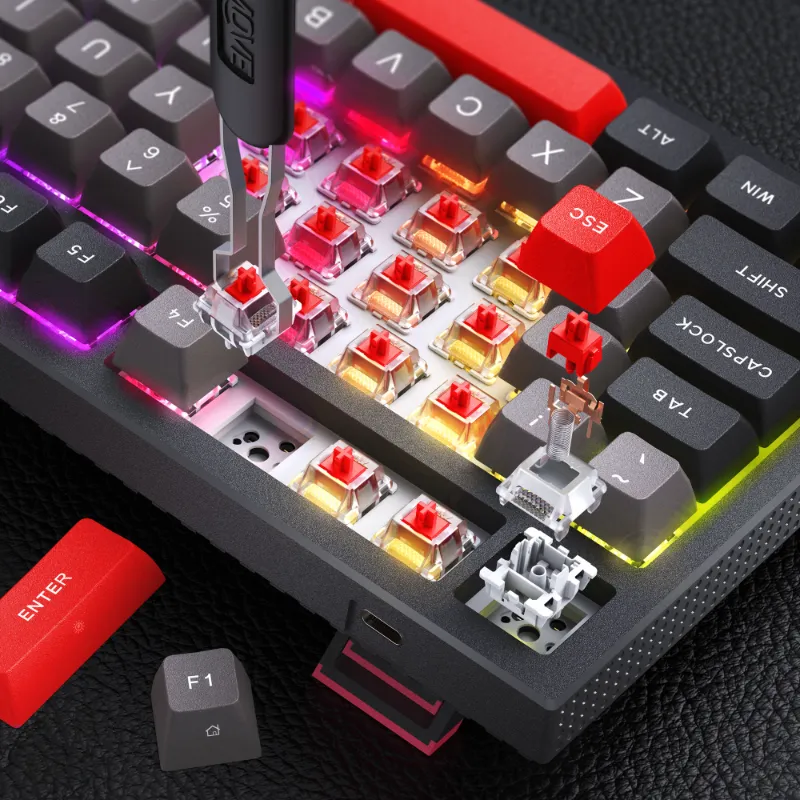
For hot-swap boards (most modern 90 keyboard, morkblade k-one 80, and kg98 models):
- Remove the keycap first using the method above.
- Insert the switch puller prongs into the north and south slots on opposite sides of the switch housing. The prongs should compress the two plastic retention clips.
- Squeeze firmly and pull straight up. The switch should release with moderate force. If it does not budge, reposition the puller and check that both clips are compressed.
- Inspect the pins before reinserting. Bent pins will not seat properly and can damage the hot-swap socket. Straighten them gently with tweezers.
Socket damage warning: Rocking the switch side-to-side while pulling can crack or lift the hot-swap socket from the PCB. Check the latest pricing on replacement switches and sockets in case you need spares.
For users who want a quieter typing experience after modding, swapping in silent switches on a quiet keyboard build can reduce noise by 60% compared to clicky or tactile switches.
Cleaning and Maintenance After Removal
Once keycaps and switches are off, you have full access to the plate and PCB for cleaning and maintenance.
Keycap cleaning:
- Soak PBT or ABS caps in warm water with dish soap for 30 minutes.
- Scrub with a soft brush to remove oils and debris.
- Dry completely (12-24 hours) before reinstalling to prevent corrosion.
PCB and plate cleaning:
- Use compressed air to blow out dust and crumbs.
- Wipe the plate with isopropyl alcohol (90%+ concentration) on a microfiber cloth.
- Avoid liquid on the PCB unless you are experienced with electronics, water and circuits do not mix.
Lubing switches:
- Apply a thin layer of dielectric grease to switch stems and springs to reduce scratch and rattle.
- Over-lubing causes sluggish actuation, so less is more.
These maintenance steps extend the lifespan of your board and improve the typing feel noticeably. According to Tom’s Hardware’s review, even budget mechanical boards benefit from occasional cleaning and lube.
Reassembly: Installing Keycaps and Switches Correctly
Reinstalling parts correctly prevents future issues like chatter, stuck keys, or loose caps.
For switches (hot-swap):
- Align both metal pins with the socket holes.
- Press straight down until the switch clicks into the plate and seats flush.
- Test each key immediately to confirm actuation.
For keycaps:
- Align the stem shape (most Cherry MX-style switches use a + stem).
- Press straight down until you hear a soft click.
- Wiggle gently to confirm the cap is seated and not loose.
For stabilized keys:
- Hook the keycap onto the stabilizer wire ends first, then press down over the switch stem.
- If the cap does not sit level, remove it and check that the stabilizer wire is not bent.
After reassembly, test every key using a keyboard tester tool online or within your board’s software. The dierya keyboard software and most KEMOVE utilities include key-test modes that highlight each press in real-time.
When to Replace Parts Instead of Reinstalling
Sometimes removal reveals damage that requires replacement rather than cleaning.
Replace keycaps if:
- Stems are cracked or loose (common on cheaper ABS caps)
- Legends are worn off (unless you touch-type and prefer blank caps)
Replace switches if:
- Pins are bent beyond repair
- The switch housing is cracked
- You experience key chatter (double-presses) after reinstalling
Replace stabilizers if:
- The wire is permanently bent
- The plastic housing is cracked
Most KEMOVE and Dierya boards use standard Cherry MX-compatible parts, so replacements are widely available. Check the store for compatible switches and keycap sets that fit your layout.
Troubleshooting Common Removal Issues
| Problem | Cause | Solution |
|---|---|---|
| Keycap won’t budge | Friction from use or factory tightness | Rock gently side-to-side, then pull straight up |
| Switch pin bent during removal | Angled pull or manufacturing defect | Straighten with tweezers or replace the switch |
| Hot-swap socket lifted from PCB | Excessive side-to-side force | Requires micro-soldering repair or professional service |
| Stabilizer wire pops out | Improper keycap removal technique | Reinsert wire into stabilizer housing, ensure clips are seated |
If you are working on a soldered board and need to desolder switches, we recommend consulting the dierya keyboard manual or a detailed desoldering guide, as that process requires a soldering iron and carries higher risk of PCB damage.
Taking your time and using the right tools keeps your mechanical keyboard in top condition for years. Whether you own a compact 60% like the kemove shadow 61 or a full-size layout, these techniques apply universally across hot-swap and standard mechanical boards.
Questions
Can I remove keycaps from a dierya keyboard without a puller?
You can, but it risks cracking the keycap or bending the switch stem. A wire keycap puller costs a few dollars and prevents damage, so we strongly recommend using one.
Do I need a special tool to remove switches from a hot-swap keyboard?
Yes, a keyboard switch puller compresses both retention clips evenly and prevents socket damage. Trying to pry switches out with other tools can crack the hot-swap socket or bend pins.
How often should I remove and clean my keycaps?
Every three to six months for regular users, or more often if you eat near your keyboard. Regular cleaning prevents oil buildup and keeps the legends sharp.
Can I remove switches from a soldered mechanical keyboard?
Only with a soldering iron and desoldering pump or wick. Soldered switches are permanently attached until you melt the solder joints, which requires practice and risks PCB damage if done incorrectly.
What should I do if a stabilizer wire pops out during keycap removal?
Reinsert both ends of the wire into the plastic stabilizer housings, making sure the clips snap into place. Test the key by pressing it to confirm smooth travel before reinstalling the keycap.
Will removing switches void my keyboard warranty?
Most hot-swap boards are designed for switch removal and do not void the warranty. However, soldering or physical damage caused by improper removal may not be covered, so check your manufacturer's terms first.
Products in this guide
 Shopping at KEMOVE? See the coupon code
5% OFF Sitewide
Shopping at KEMOVE? See the coupon code
5% OFF Sitewide
More in this series
How Long Do Mechanical Keyboard Switches Last? Lifespan and Durability Explained6 Aug 20266 minWhat’s the Difference Between 60%, 68%, and 80% Keyboards? A Size Comparison Guide6 Aug 20264 minKEMOVE TMKB Review: Is This Hot-Swappable Mechanical Keyboard Worth It?6 Aug 20263 minDo Quiet Keyboards Work for Office Use? KEMOVE’s Silent Lineup6 Aug 20264 minKEMOVE Shadow 61 vs Dierya DK63: Which 60% Mechanical Keyboard Should You Buy?6 Aug 20264 min