 A Think Robotics guide
Raspberry Pi Zero W vs Pi Zero 2 W: Which Single-Board Computer Should You Choose?
The Raspberry Pi Zero W delivers wireless connectivity and GPIO flexibility at the lowest cost, while the Zero 2 W quadruples the CPU cores for demanding projects.
The raspberry pi zero w delivers wireless connectivity and GPIO flexibility at the lowest cost, while the Zero 2 W quadruples the CPU cores for demanding projects that need more processing headroom. Both boards share the same compact footprint and 40-pin header, but the performance gap shapes which projects each board handles best.
This guide walks through the specs, real-world performance differences, and project fit so you can match the right Zero board to your build.
Raspberry Pi Zero W Specs and Performance
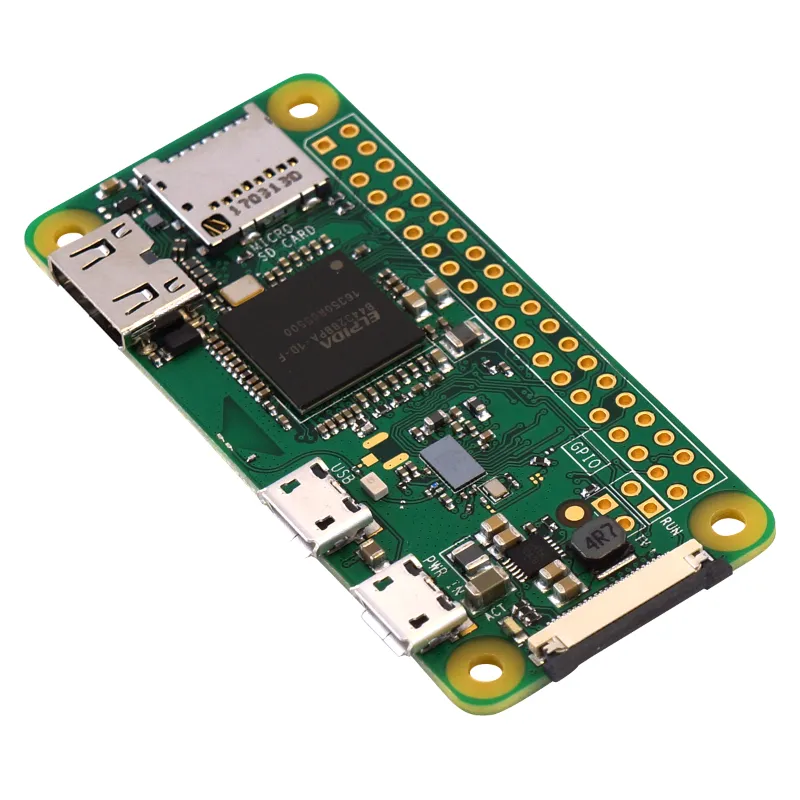
The original raspberry pi zero w runs a single-core 1 GHz Broadcom BCM2835 processor with 512 MB of RAM. It includes 802.11 b/g/n WiFi, Bluetooth 4.1, a mini HDMI port, micro USB OTG, and a 40-pin GPIO header. The board measures 65 mm × 30 mm and draws around 150 mA under typical load, making it ideal for battery-powered sensor nodes and low-intensity automation.
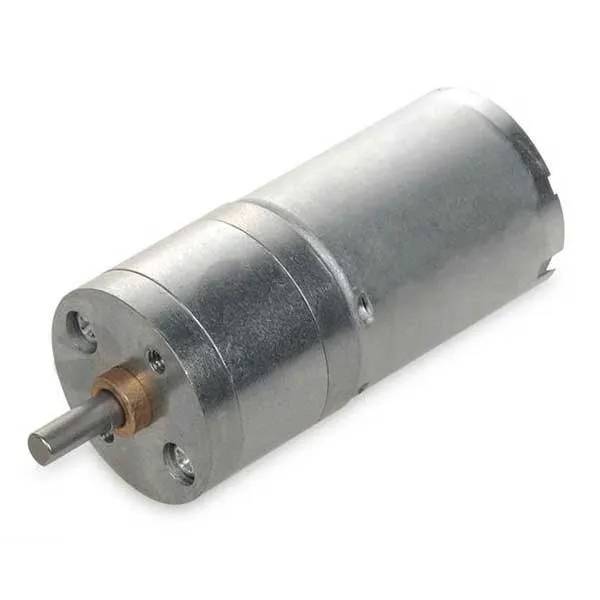
This single-core architecture handles lightweight tasks smoothly: weather station logging, GPIO-based robotics control with a dc motor dc, and headless web scraping. For projects that spend most of their time waiting on sensor input or running simple Python scripts, the Zero W provides enough CPU while keeping power consumption minimal.
The pi zero w struggles with video processing, simultaneous multitasking, and compute-heavy libraries. Compiling code directly on the board takes significantly longer than cross-compiling on a desktop, and running a desktop environment feels sluggish. Check the latest price at Think Robotics to compare your budget against the Zero 2 W option.
Pi Zero 2 W: Quad-Core Upgrade
The Pi Zero 2 W replaces the single-core BCM2835 with a quad-core 1 GHz Broadcom BCM2710A1 (the same SoC as the Pi 3 but underclocked). RAM remains 512 MB, and wireless upgrades to 802.11 b/g/n with Bluetooth 4.2. The board keeps the same physical size and pinout, so existing cases and HATs remain compatible.
Benchmarks show the Zero 2 W delivers roughly five times the multi-threaded performance of the original Zero W. This translates to faster boot times, smoother multitasking, and the ability to run lightweight desktop environments without constant lag. Video streaming, image recognition with OpenCV, and running multiple Python processes simultaneously become practical on the Zero 2 W where the original Zero W would bottleneck.
Power draw increases to around 350 mA under load, still modest but double the original. Battery life shrinks accordingly, so mobile builds need larger cells or more aggressive sleep scheduling. For stationary projects with reliable power, the quad-core CPU justifies the extra draw.
Raspberry Pi Zero W Projects That Fit Each Board
Best Use Cases for the Original Zero W
- IoT sensor hubs: WiFi-connected temperature, humidity, or motion sensors that log data and sleep between readings
- GPIO automation: Controlling relays, LEDs, or a dc motor dc through simple Python scripts
- Retro gaming: RetroPie running 8-bit and 16-bit emulators up to SNES performs adequately
- Headless web tasks: Lightweight scrapers, API pollers, or network monitors that don’t need a GUI
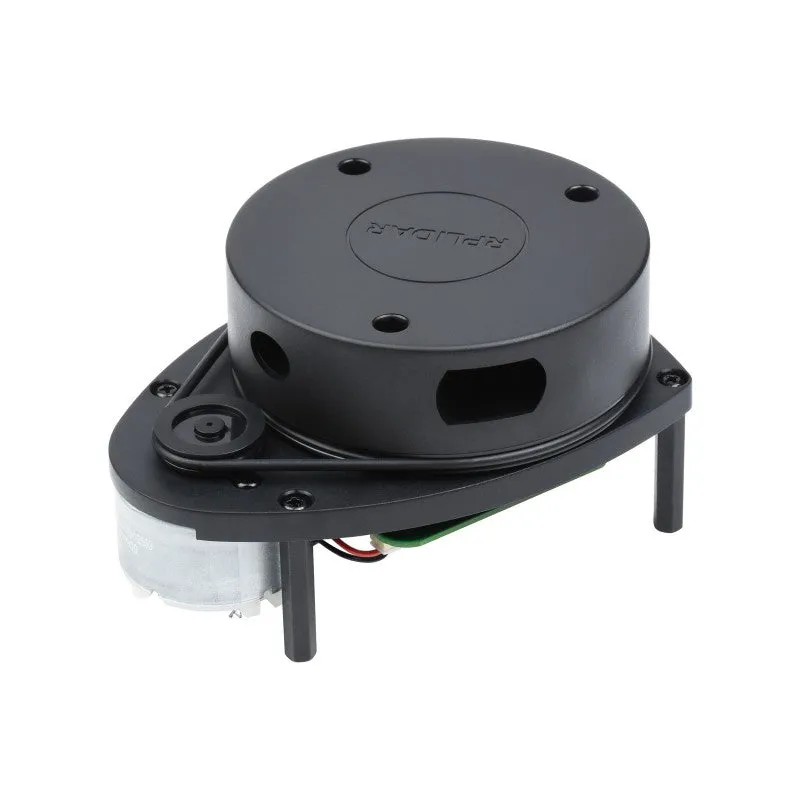
- LiDAR scanner data collection: The Zero W handles serial communication and storage for SLAM mapping when the heavy processing happens off-board
The Raspberry Pi Foundation maintains a helpful list of what you can build with Raspberry Pi Zero that highlights compact, low-power designs.
Projects That Need the Zero 2 W
- Computer vision: Real-time object detection or motion tracking with OpenCV libraries
- Multi-service stacks: Running Pi-hole, a VPN server, and a web dashboard simultaneously
- Advanced robotics: Simultaneous sensor fusion from a lidar scanner, IMU, and camera while controlling motors
- Portable retro consoles: PlayStation 1 and N64 emulation requires the quad-core boost
- Development and compilation: Building code on-board instead of cross-compiling saves iteration time
The SparkFun getting started guide covers setup steps that apply to both boards, though compile times differ significantly between the two.
Raspberry Pi Zero W vs Zero 2 W Specs Comparison
| Feature | Raspberry Pi Zero W | Pi Zero 2 W |
|---|---|---|
| CPU | Single-core 1 GHz BCM2835 | Quad-core 1 GHz BCM2710A1 |
| RAM | 512 MB LPDDR2 | 512 MB LPDDR2 |
| Wireless | 802.11 b/g/n, BT 4.1 | 802.11 b/g/n, BT 4.2 |
| Power Draw | ~150 mA typical | ~350 mA typical |
| Performance | 1× baseline | ~5× multi-threaded |
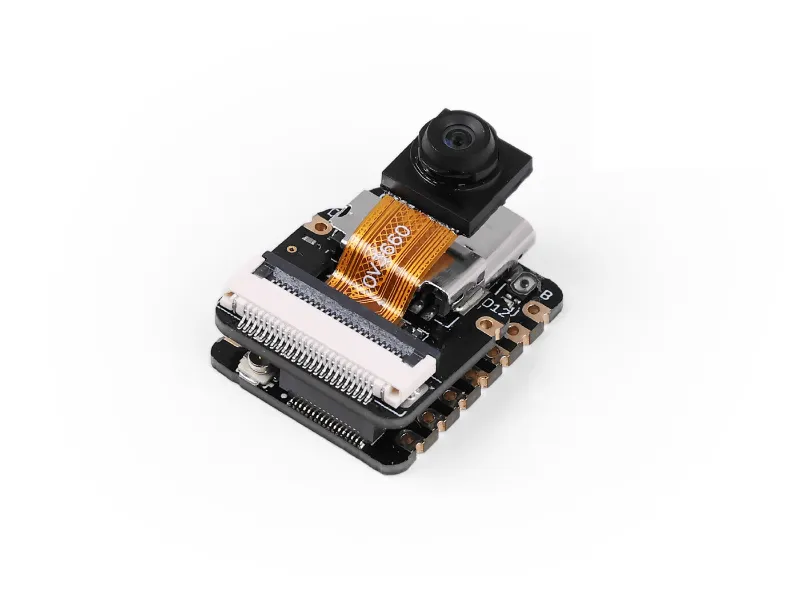
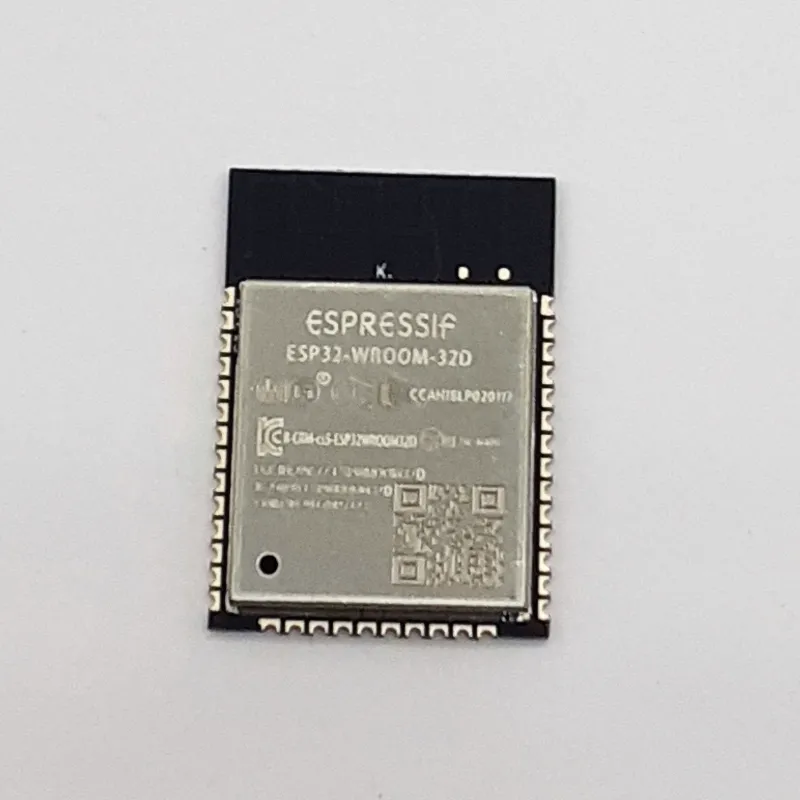
Both boards share the same 40-pin GPIO layout, so peripherals like a seeed studio Grove HAT or a custom PCB with an esp32-wroom-32 module for extended wireless range mount identically. The physical footprint remains 65 mm × 30 mm across both models, and neither includes an Ethernet port or full-size HDMI.
Power Requirements and Raspberry Pi Zero W Power Considerations
The original Zero W typically draws 100 to 150 mA at idle and peaks around 200 mA under load with WiFi active. A 2500 mAh battery bank theoretically provides 12 to 16 hours of runtime for intermittent sensor logging, though real-world results depend on sleep mode implementation and peripheral draw.
The Zero 2 W idles at roughly 200 mA and pulls 300 to 400 mA under sustained CPU load. The same 2500 mAh bank drops runtime to 6 to 8 hours. Both boards accept 5V input via micro USB, and a quality power supply prevents undervoltage warnings that throttle performance.
For solar or battery builds where every milliamp counts, the original Zero W extends deployment time significantly. Stationary projects with wall power benefit more from the Zero 2 W’s extra performance, and grabbing the code at Think Robotics keeps both options budget-friendly.
Which Board Fits Your Build?
Choose the Raspberry Pi Zero W when your project prioritizes low power draw, minimal cost, and straightforward GPIO or network tasks. Sensor logging, basic automation, and simple robotics control run reliably on the single-core architecture without burning through batteries.
Choose the Pi Zero 2 W when you need to run multiple processes, compile code on-board, process video or images, or push beyond 16-bit emulation. The quad-core CPU eliminates the sluggishness that makes the original Zero W frustrating for interactive or compute-heavy work.
Both boards support the same HATs and cases, so upgrading later only requires swapping the board itself. If you plan to prototype on one model and scale to the other, test your software on the slower Zero W first to catch performance bottlenecks early.
Soldering and Assembly Tips
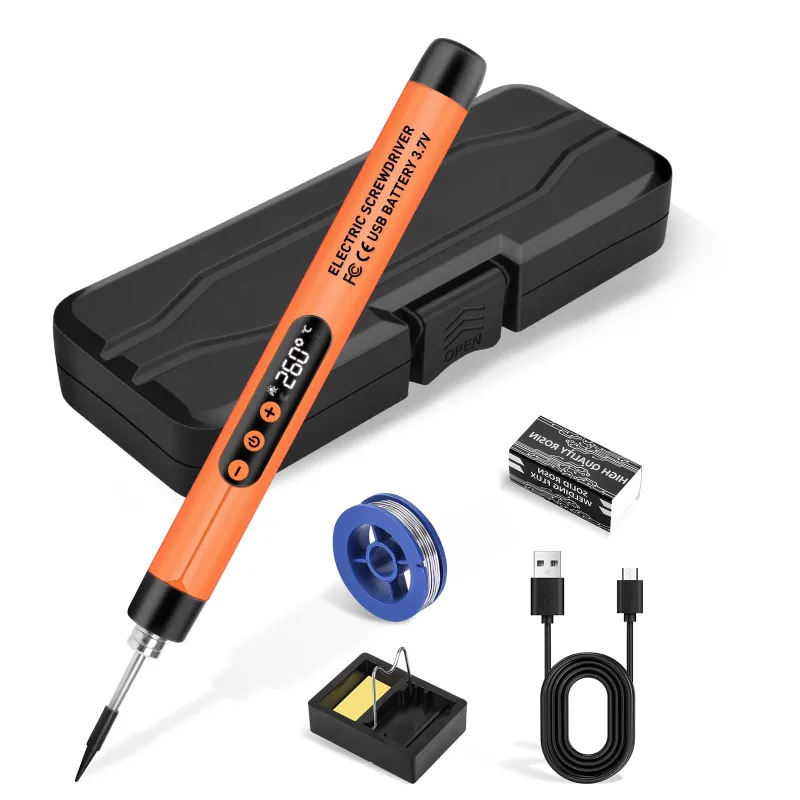
Neither Zero model includes a GPIO header pre-soldered, keeping the profile slim for embedded projects. A soldering iron kit and basic through-hole soldering skills let you add the 40-pin header in under ten minutes. Hold each pin perpendicular and flow solder evenly to avoid cold joints that cause intermittent connections.
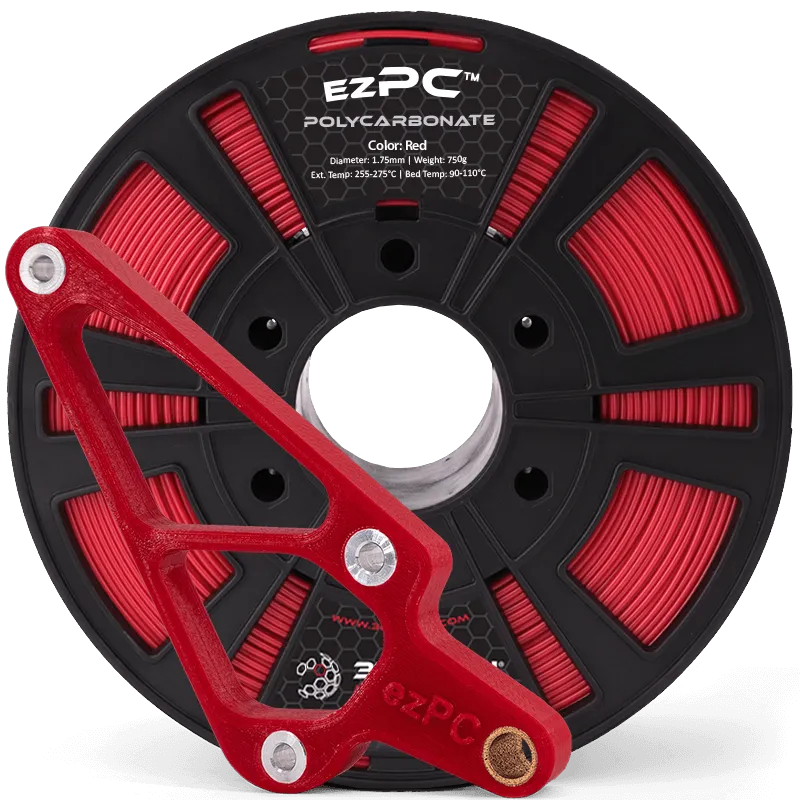
For enclosures or mounting brackets, polycarbonate pc sheet stock machines cleanly and provides impact resistance, while carbon fibre elements reduce weight in mobile builds. If you prototype enclosures in-house, 3d printing materials like PETG balance strength and printability for custom cases that fit both Zero boards.
The community discussion on uses for Raspberry Pi Zero/Zero W offers real-world project examples and troubleshooting threads that apply across both models. For builders stepping up from the Zero series, the rasberry pi 5 and nvidia jetson orin nano super developer kit provide desktop-class performance when compact size becomes less critical than raw compute power.
Questions
Can the Raspberry Pi Zero W run the same projects as the Zero 2 W?
Yes, both boards share identical GPIO pinouts and operating system support, so the same code runs on both. The Zero W simply takes longer to complete CPU-intensive tasks like image processing or compiling, while lightweight sensor and automation projects perform equally well on either board.
How much faster is the Pi Zero 2 W in real-world use?
The Zero 2 W delivers roughly five times the performance in multi-threaded workloads. Boot times drop from 40 seconds to under 20, and tasks like running a desktop environment or processing video become practical where the original Zero W stutters.
Which board is better for battery-powered projects?
The original Raspberry Pi Zero W draws half the current of the Zero 2 W, typically 150 mA versus 350 mA under load. For solar or battery builds where runtime matters more than speed, the Zero W extends deployment time significantly.
Do I need to solder the GPIO header myself?
Both Zero models ship without a pre-soldered header to keep the profile thin. You can solder a 40-pin header yourself with a basic soldering iron, buy a pre-soldered variant from some retailers, or use HATs that connect via the bare through-holes.
Can I upgrade from a Zero W to a Zero 2 W without changing my case or HAT?
Yes, both boards share the same 65 mm × 30 mm footprint and 40-pin GPIO layout. Existing cases, HATs, and mounting hardware fit both models, so upgrading only requires swapping the board and SD card.
What projects actually need the extra CPU cores?
Computer vision with OpenCV, running multiple services simultaneously, PlayStation 1 or N64 emulation, and real-time sensor fusion in robotics all benefit from the quad-core Zero 2 W. Simple GPIO control, sensor logging, and basic web tasks run fine on the single-core Zero W.
Products in this guide
 Shopping at Think Robotics? See the discount code
3% OFF All Orders
Shopping at Think Robotics? See the discount code
3% OFF All Orders
More in this series
Carbon Fibre vs Polycarbonate PC: Choosing Structural Materials for Robot Frames7 Aug 20265 minBest Soldering Iron Temperature for ESP32 Camera Module Installation7 Aug 20264 minDo You Need a LiDAR Scanner for Your Robotics Project?7 Aug 20265 minESP32-WROOM-32 Not Connecting to WiFi: Troubleshooting Guide7 Aug 20264 min How to Set Up the NVIDIA Jetson Orin Nano Super Developer Kit for AI Projects7 Aug 20266 min