 A Gardzen guide
Best Way to Secure Trellis Netting for Cucumbers and Climbing Vegetables
The best way to secure trellis netting for cucumbers involves anchoring it to sturdy vertical supports and maintaining proper tension throughout the growing season.
How to Properly Secure Trellis Netting for Heavy Vines
The best way to secure trellis netting for cucumbers and climbing vegetables is to anchor it to rigid vertical posts at both ends, tension it taut, and add horizontal support wires every 18 to 24 inches.
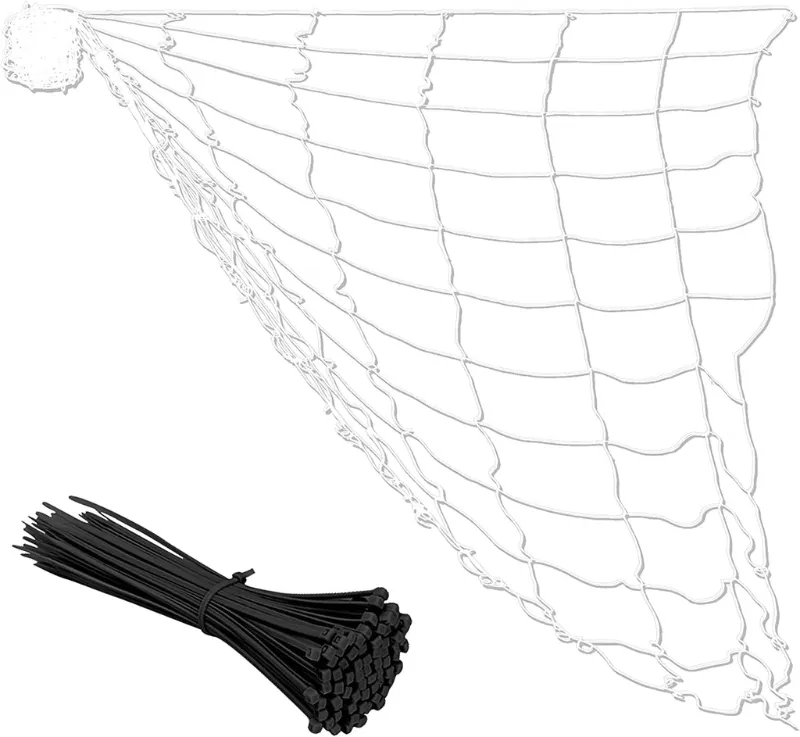
Trellis netting transforms vertical gardening by giving vining crops a stable climbing surface. When secured correctly, a single 5×15 foot trellis netting panel supports 30 to 40 pounds of mature cucumber or pole bean growth without sagging. Poor installation leads to netting that pulls loose, tangles, or crushes plants as they grow.
Choosing the Right Anchor Points and Supports
Your anchor system determines whether your netting stays upright all season or collapses under crop weight. We recommend three proven setups depending on your garden layout.
Fence or wall mounting works when you already have a sturdy structure. Drive screw hooks or staples every 12 inches along the top rail and bottom board, then lace the netting through. This method suits raised beds built against a fence line.
Freestanding T-post frames offer the most flexibility for in-ground rows. Pound 6-foot steel T-posts 18 inches deep at each end of your row, then stretch the netting between them. Add a third center post for runs longer than 10 feet. The posts must be plumb; even a 5-degree lean creates uneven tension.
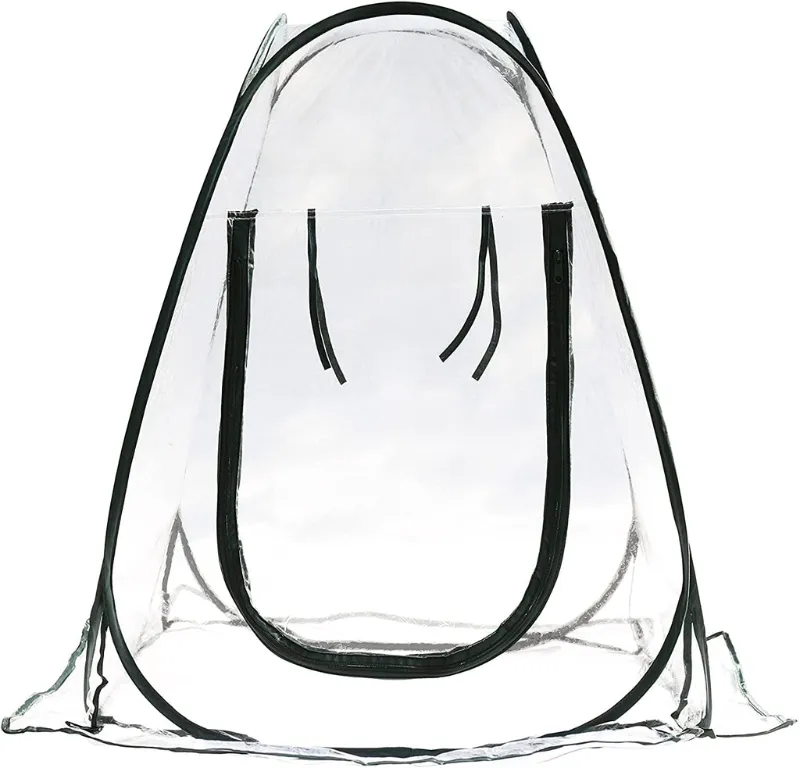
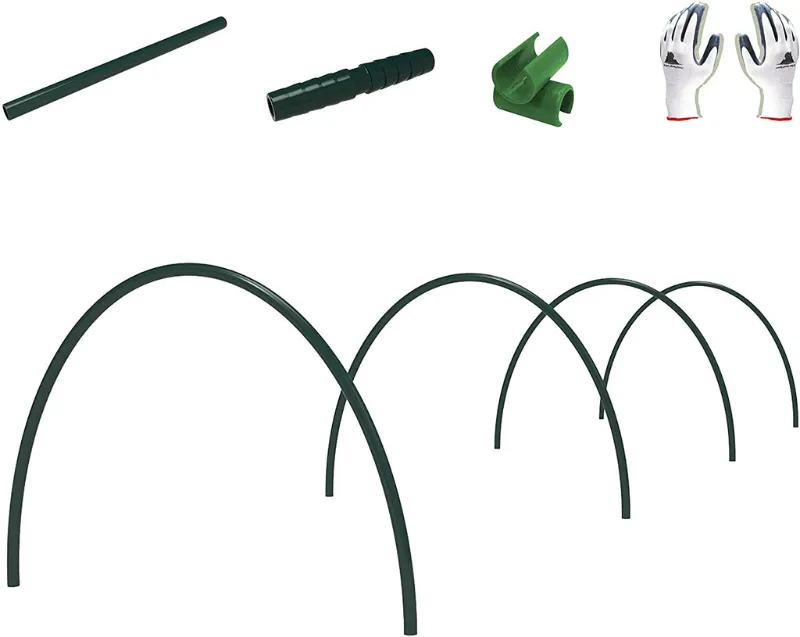
Attached to garden hoops or greenhouse frames lets you combine season extension with vertical support. If you’re already using a portable greenhouse or garden hoops for early-season protection, zip-tie the netting to the hoop framework once your cucumbers outgrow frost risk. This dual-use approach saves space in compact gardens.
Step-by-Step Installation for Maximum Tension
Loose netting sags under crop weight and forces vines to grow horizontally instead of climbing. Follow this sequence for taut, stable installation.
- Set your vertical posts 18 to 24 inches deep, spaced no more than 12 feet apart for heavy-duty trellis netting plastic mesh
- Attach the top edge first using zip ties, wire, or staples every 8 to 10 inches along a horizontal support wire or top rail
- Pull the netting taut from top to bottom before securing the lower edge; we pull until the mesh squares are fully open but not distorted
- Secure the bottom edge to a ground-level wire, stake line, or directly to the soil with landscape staples every 12 inches
- Add mid-span horizontal wires on runs taller than 5 feet; thread paracord or wire through the mesh every 18 inches and tie off to the end posts
This creates a trampoline-tight surface that won’t sag even when loaded with 10 pounds of cucumbers per linear foot. Check the latest price on heavy-duty options rated for tomatoes and winter squash.
Securing Edges and Preventing Wind Damage
Edge failures cause most mid-season collapses. The perimeter of your netting experiences the highest stress from wind, vine weight, and harvest pulling.
Top edge reinforcement matters most. Run a continuous cable, rope, or wire through the top row of mesh squares, then secure it to your posts with turnbuckles or taut-line hitches. This distributes load across the entire top edge instead of concentrating stress at a few tie points.
Side edges need anchoring every 18 to 24 inches down the vertical posts. We use UV-resistant zip ties because they’re fast, adjustable, and won’t rust out mid-season like wire can. For DIY trellis netting setups, reinforce side edges with a vertical cord woven through the outer column of mesh.
Bottom weight or stakes keep wind from lifting the netting. In windy locations, lay a 2×4 along the bottom edge and screw through the wood into landscape staples, or weave a rope through the bottom mesh squares and tie it to ground anchors every 3 feet.
Material Comparison for Climbing Plants
Not all netting performs equally under the mechanical stress of vigorous cucumber and bean vines.
| Material | Best For | Durability | Reusability |
|---|---|---|---|
| Polypropylene mesh | Cucumbers, peas, light beans | 2-3 seasons | Excellent |
| Nylon cord grid | Tomatoes, squash, heavy crops | 5+ seasons | Excellent |
| Jute or sisal | Organic growers, annuals | 1 season (biodegrades) | Compostable |
| Metal wire grid | Permanent structures | 10+ years | Excellent |
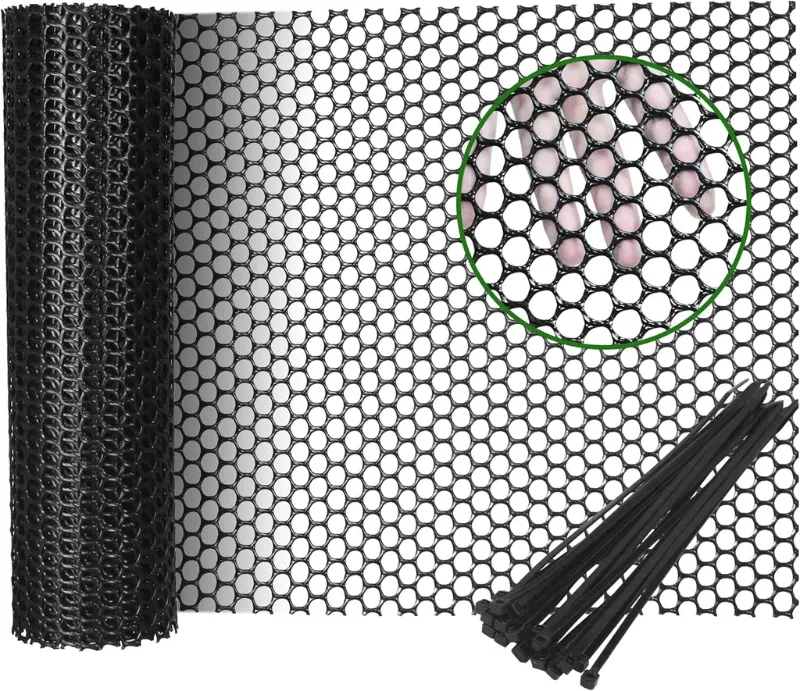
For most home gardeners growing cucumbers and pole beans, a 6-inch square mesh garden net in UV-stabilized polypropylene offers the best balance of strength, cost, and storage. The 6-inch spacing gives vines easy tendrils access while supporting mature fruit weight. Smaller mesh works for peas and lightweight greens but tangles when you try to harvest or remove old vines.
Heavy-duty trellis netting rated for tomatoes uses thicker strands and 4 to 5-inch spacing. It costs about 40 percent more but lasts twice as long and handles indeterminate tomato branches that would bow standard cucumber netting.
Maintenance During the Growing Season
Even perfectly installed netting needs mid-season adjustments as crop weight accumulates.
Retension sagging sections by tightening your horizontal support wires or adjusting turnbuckles at the posts. Netting naturally stretches 2 to 5 percent under sustained load. A section that sags more than 3 inches between supports needs immediate adjustment before vines slip through or fruit touches the ground.
Redistribute vine weight by gently training new growth to unloaded sections of the mesh. Cucumbers concentrate growth in the first 3 to 4 feet of vertical rise. Guide later vines to outer edges where the netting sees less stress.
Inspect attachment points after storms or heavy rain. Zip ties can crack under UV exposure, and wire can work loose from wooden posts. Carry spare ties on every garden check and replace any that look brittle or stretched.
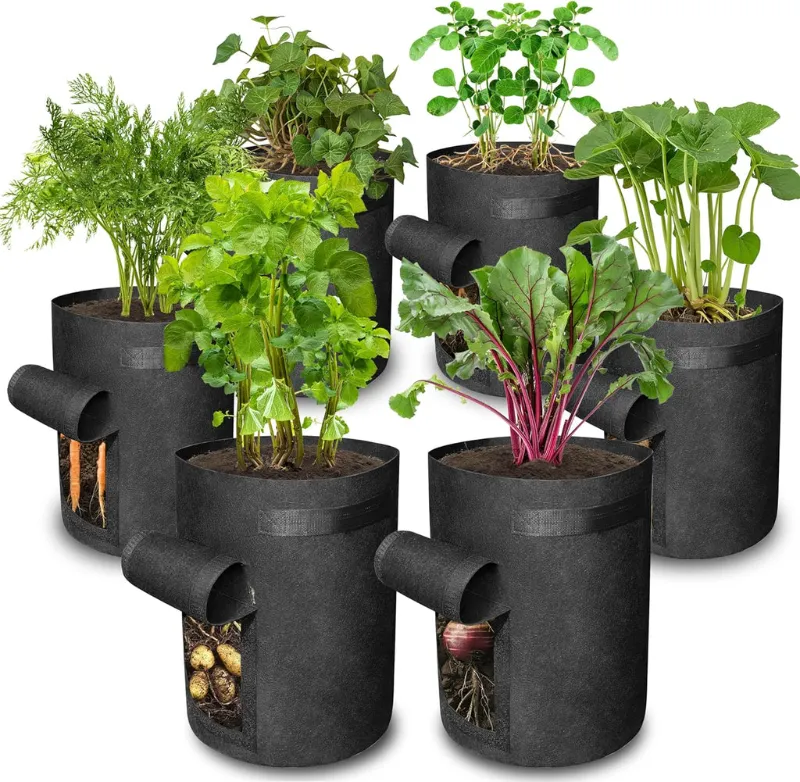
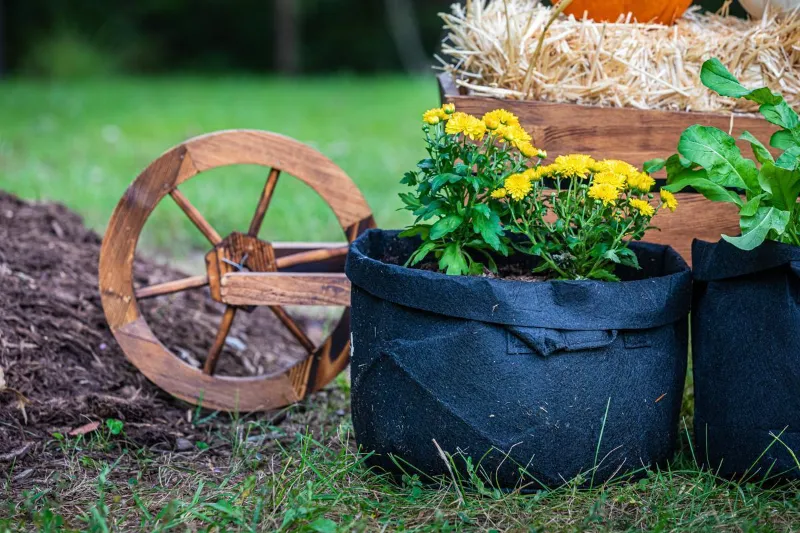
If you’re growing in potato grow bags or containers, remember that the entire planter can tip if your trellis catches wind. Stake the container itself or guy-wire the top of your trellis to prevent tip-over.
Who Should Use Each Method
Beginner gardeners do best with pre-made panels zip-tied to T-posts or an existing fence. This approach requires no tools beyond a post driver and needs only 20 minutes of setup time. Grab the code for 10 percent off starter kits that include posts and netting.
Intensive growers with long rows should invest in a cable-and-turnbuckle system that lets you dial in tension precisely and readjust as crops load the structure. The extra hour of installation saves dozens of mid-season repairs.
Organic and permaculture gardeners often prefer biodegradable jute netting that composts in place each fall, eliminating plastic waste and end-of-season takedown labor. It costs slightly more per season but aligns with zero-waste principles and breaks down cleanly if left in the soil.
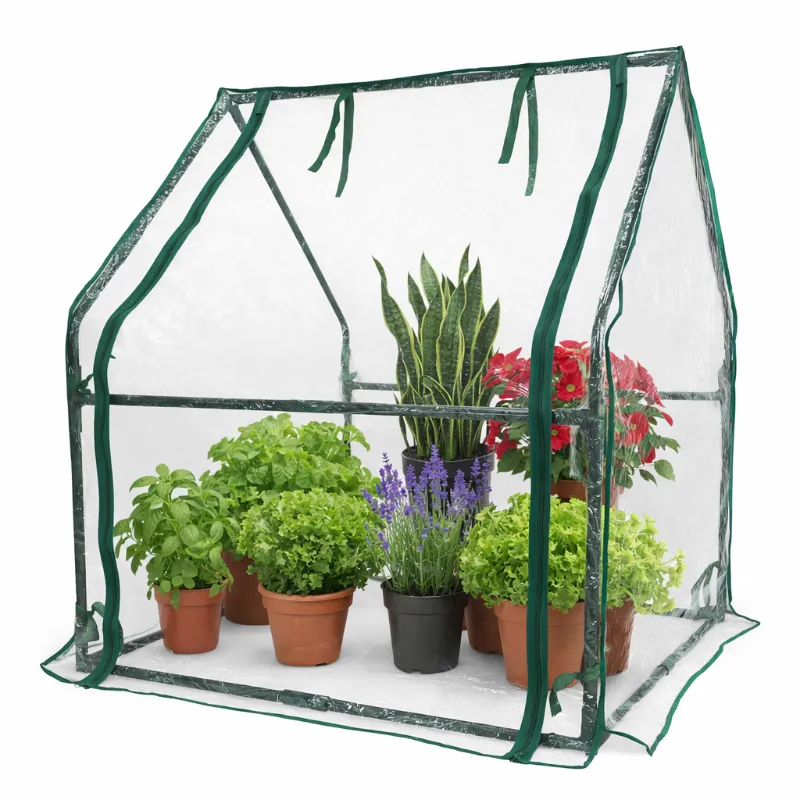
Greenhouse and tunnel growers can attach trellis netting for climbing plants directly to hoop or rafter frameworks, creating a protected vertical layer. This works especially well in a mini greenhouse kit where you’re already controlling temperature and extending the season for heat-loving cucumbers and melons.
The right securing method depends on your crop weight, wind exposure, and whether you want a permanent or seasonal installation. Most cucumber and bean growers get excellent results with polypropylene mesh on T-posts adjusted to trampoline tension, while tomato and squash growers need heavier materials and closer post spacing. Whichever system you choose, proper tensioning and edge reinforcement prevent the mid-season failures that cost you half your harvest.
Questions
How tight should trellis netting be when installed?
Trellis netting should be tight enough that the mesh squares are fully open and flat, with no more than 1 to 2 inches of give when you press the center. Over-tensioning can distort the mesh or pull anchors loose, while loose netting sags under crop weight and prevents proper climbing.
Can I reuse trellis netting from last season?
Yes, polypropylene and nylon netting typically lasts 2 to 5 seasons if cleaned and stored dry. Inspect it for UV damage, tears, or stretched sections before reinstalling. Jute and natural fiber netting biodegrades and should be composted after each season.
What spacing do I need between support posts for cucumbers?
Space support posts no more than 10 to 12 feet apart for cucumber netting. Wider spans sag under the weight of mature vines and fruit. For heavier crops like indeterminate tomatoes or winter squash, reduce spacing to 8 feet or add a center support post.
Do I need different netting for tomatoes versus cucumbers?
Tomatoes need heavier-duty netting with thicker strands because indeterminate varieties produce more weight per square foot than cucumbers. Standard 6-inch mesh cucumber netting works for pole beans and peas, but upgrade to reinforced mesh rated for at least 40 pounds per 10 linear feet for tomatoes.
How do I stop netting from sagging in the middle of the season?
Add horizontal support wires or cords every 18 to 24 inches up the height of your netting, threaded through the mesh and tied to the end posts. These prevent vertical sagging as crop weight accumulates. Check and retension weekly once fruiting begins.
Can I attach trellis netting to a wooden fence?
Yes, wooden fences make excellent trellis anchors. Use screw hooks or fence staples every 12 inches along the top rail and bottom board, then lace the netting through. Make sure the fence is sturdy enough to handle 30 to 50 pounds of loaded vines without leaning.
Products in this guide
 Shopping at Gardzen? See the discount code
10% OFF Sitewide
Shopping at Gardzen? See the discount code
10% OFF Sitewide
More in this series
How Long Do Fabric Grow Bags Last Before They Need Replacing?3 Sep 20265 min When to Remove Faucet Covers in Spring Without Risking Pipe Damage3 Sep 20265 minPotato Grow Bags: Do They Really Increase Yield?3 Sep 20265 minPortable Greenhouse vs Pop Up Greenhouse: Which Suits Your Garden?3 Sep 20265 minHow to Protect Outdoor Faucets From Freezing: Cover Options That Actually Work3 Sep 20266 min