 A Deluxe Canopy guide
How to Set Up an Inflatable Tent Without Damaging the Air Chambers
An inflatable tent sets up fast and stands strong when you prep the ground, inflate chambers evenly, and avoid over-pressurizing the beams.
An inflatable tent sets up in minutes without poles, but careless inflation or rough handling can puncture or weaken the air beams that hold it upright.
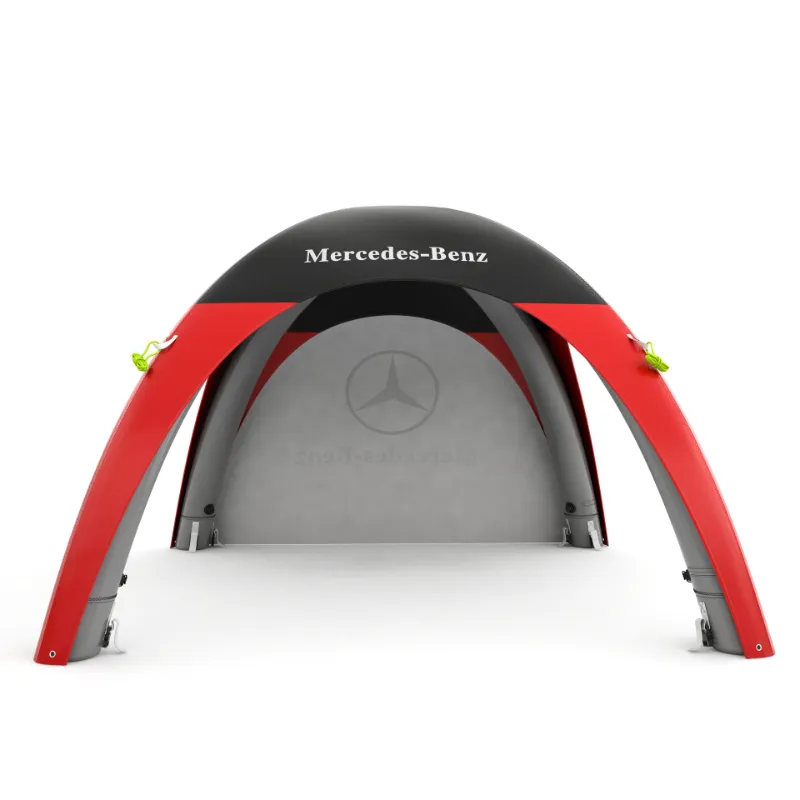
Whether you own a compact inflatable tent for weekend camping or a large inflatable tent camping rig for group trips, these techniques keep your investment performing season after season.
Why Air Chambers Fail During Setup
Air beams burst or leak most often during the first few pitches, when owners rush inflation or skip surface prep. Sharp rocks, thorns, and gravel puncture fabric where the chambers contact the ground. Over-inflation stretches seams past their design tolerance, creating weak points that fail under wind load or temperature swings. Under-inflation lets fabric sag and rub against itself, abrading coatings and accelerating wear.
According to The Truth of Inflatable Tents, modern air-beam shelters match or exceed the rigidity of aluminum poles when inflated to spec, but only if you respect the pressure limits printed on each chamber.
Clear and Inspect Your Pitch Surface
Before you unpack, walk the site and remove every stick, stone, and pinecone. Sweep flat areas with your hand to catch hidden gravel. Lay a footprint or tarp under the tent body to add a puncture-proof barrier between fabric and soil.
Inspect the ground for buried hazards:
- Roots and stumps that can snag fabric during staking
- Ant hills or animal burrows that collapse under weight
- Slope or runoff channels that pool water against air chambers
Even a pebble the size of a dime can dimple an air beam under body weight, stressing the internal baffle and seam tape. We pitch every inflatable tent house for adults on a dedicated footprint and have never torn a chamber floor.
Unroll and Stake Before You Inflate
Spread the tent flat with all zippers closed and valves capped. Stake the four corners finger-tight to anchor the footprint, then add guy lines if wind is forecast. This pre-tensioning prevents the fabric from ballooning unevenly when air enters the chambers.
Check that no fabric is twisted or bunched around valve openings. A kinked chamber will inflate lopsided, putting shear stress on internal baffles and seams. If you are setting up a large inflatable tent camping shelter with multiple beams, identify each valve and confirm the recommended inflation order in your manual.
Inflate Evenly and Stop at Spec Pressure
Attach your pump nozzle securely to the first valve, ensuring an airtight seal. Inflate slowly and watch the beam rise. Stop every few seconds to gauge firmness by pressing the fabric with your thumb. The chamber should feel taut but not drum-tight.
Most inflatable tent models specify a pressure range between 5 and 9 psi. If your pump includes a gauge, stop at the lower end of that range. Air expands in heat, so a tent inflated in cool morning shade will gain pressure by noon. Over-inflating by even 1 psi can stretch TPU laminate beyond its elastic limit, causing micro-tears that grow into leaks.
Step-by-step inflation checklist:
- Confirm valve is clean and free of sand or debris
- Inflate the main ridge or spine beam first for structure
- Move to side or awning beams in sequence
- Press each beam mid-span; it should dimple slightly under firm thumb pressure
- Close and lock every valve immediately after inflation
If you are pitching an inflatable tent in cold weather, add a bit less air. The reverse applies in hot sun: start conservative and top off only if the structure sags.
Avoid Common Setup Mistakes That Damage Chambers
We see the same errors on forums like inflatable tent Reddit threads, where new owners report leaks within the first trip. Recognize these traps and your air beams will last for years.
| Mistake | Consequence | Prevention |
|---|---|---|
| Dragging tent across gravel | Abrasion and punctures in chamber walls | Carry or roll tent to site, unfold in place |
| Over-tightening guy lines | Shear stress on beam anchor points | Stake lines snug, not bar-tight |
| Leaving tent inflated in direct sun for days | UV degradation and pressure spikes | Deflate or shade during extended setup |
| Using a high-volume pump without a gauge | Explosive over-inflation | Inflate by hand or use a pump with PSI readout |
Amazon Is Selling an Inflatable Tent for Backyard Glamping, and many backyard models ship with basic foot pumps that lack pressure control. Invest in a dual-stage pump with a gauge if you plan to use your tent frequently.
Compare Inflatable Tent Setup to Traditional Frames
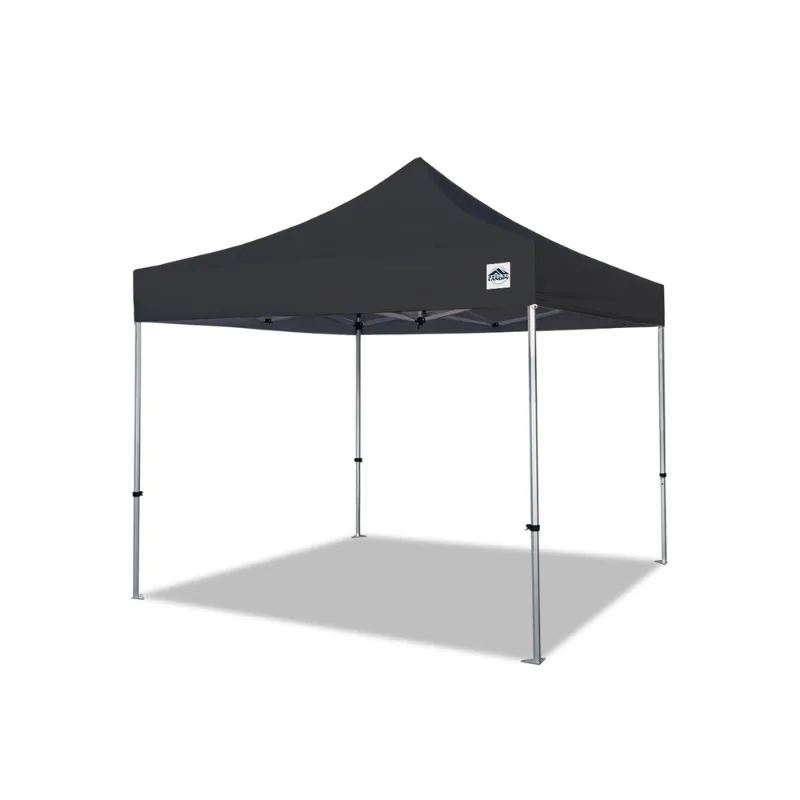
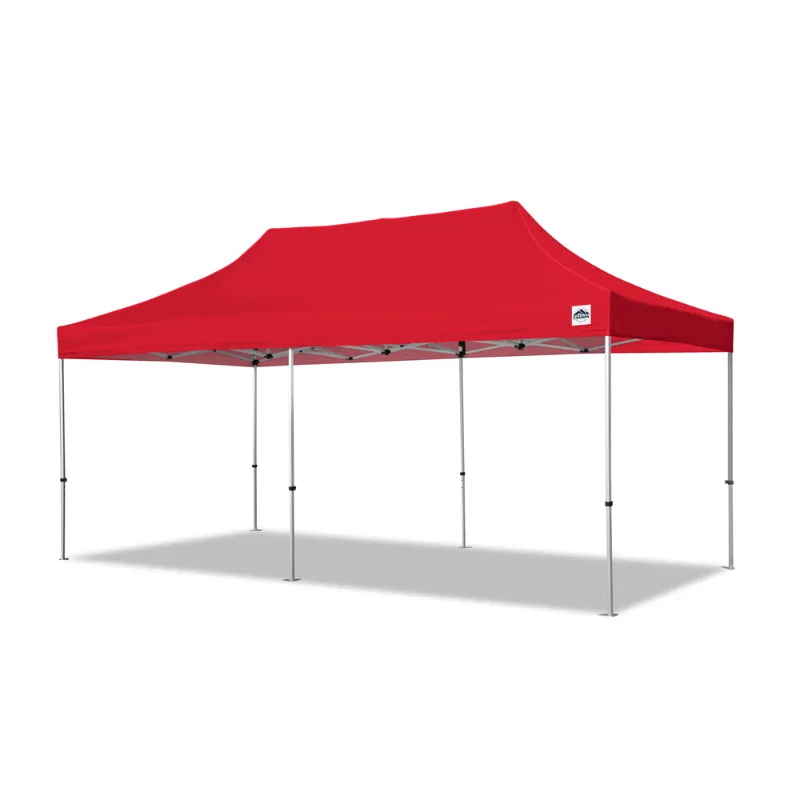
Shoppers often weigh air-beam shelters against pole tents or pop-up canopies. Here is how setup time and chamber care stack up against alternatives like canopy tents 10×10 or custom pop up tents.
| Feature | Inflatable Tent | Pop-Up Canopy | Pole Tent |
|---|---|---|---|
| Setup time | 5 to 8 minutes | 2 to 3 minutes | 10 to 15 minutes |
| Puncture risk | Moderate (air chambers) | Low (fabric only) | Low (aluminum poles) |
| Wind stability | High when properly inflated | Moderate | High |
| Pack size | Compact, no rigid parts | Bulky frame | Long poles |
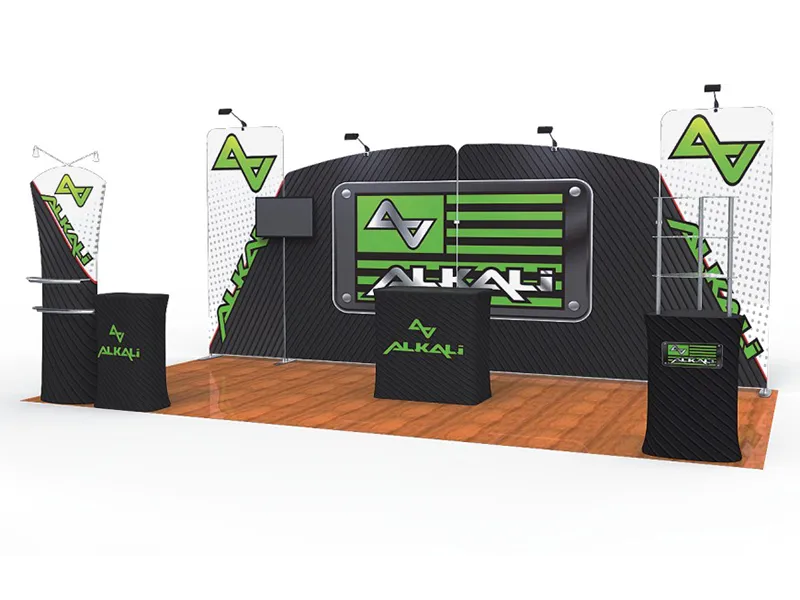
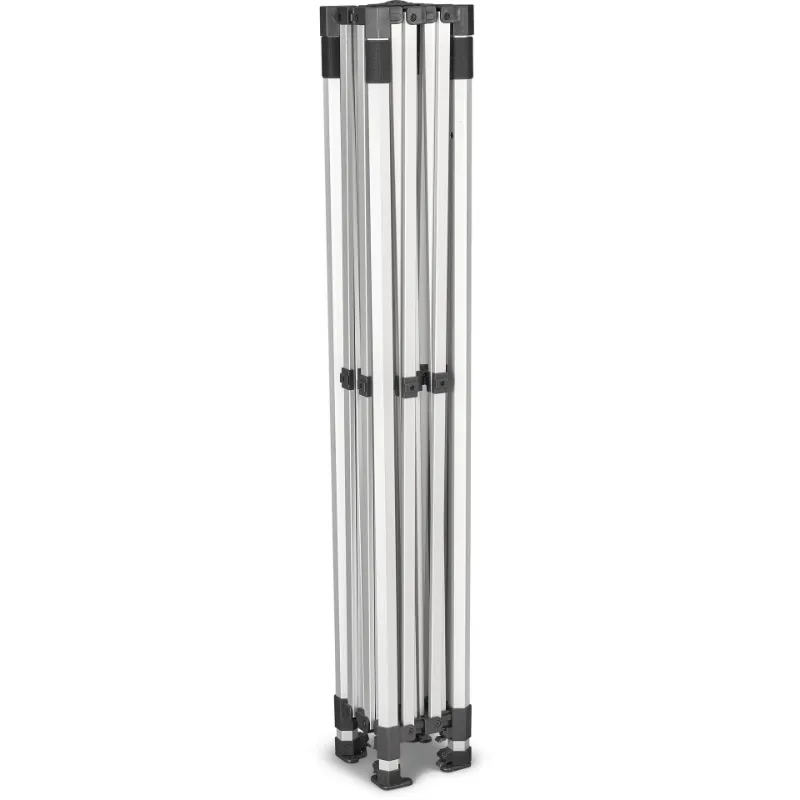
For events and trade shows, a 10×20 trade show booth or 10×20 tent with snap-together canopy frames may be faster if you have a crew. Solo campers prefer the speed and packability of air beams.
Maintain Correct Pressure Through Your Trip
Temperature swings change internal pressure. A tent inflated at 7 psi in 60°F morning air can hit 9 psi by a 90°F afternoon. Walk your site twice daily and press each beam. If it feels rock-hard, crack the valve for one second to bleed excess air. If it dimples deeply, add a few pumps to restore rigidity.
Before striking camp, open all valves and let chambers deflate fully. Press from the peak downward to expel trapped air, then fold along factory creases. Store your inflatable tent in a breathable bag, never sealed in plastic, to prevent mildew on damp fabric.
Grab the current discount code to save on pumps, repair kits, and footprints that extend the life of your air-beam shelter.
Who Should Choose an Inflatable Tent
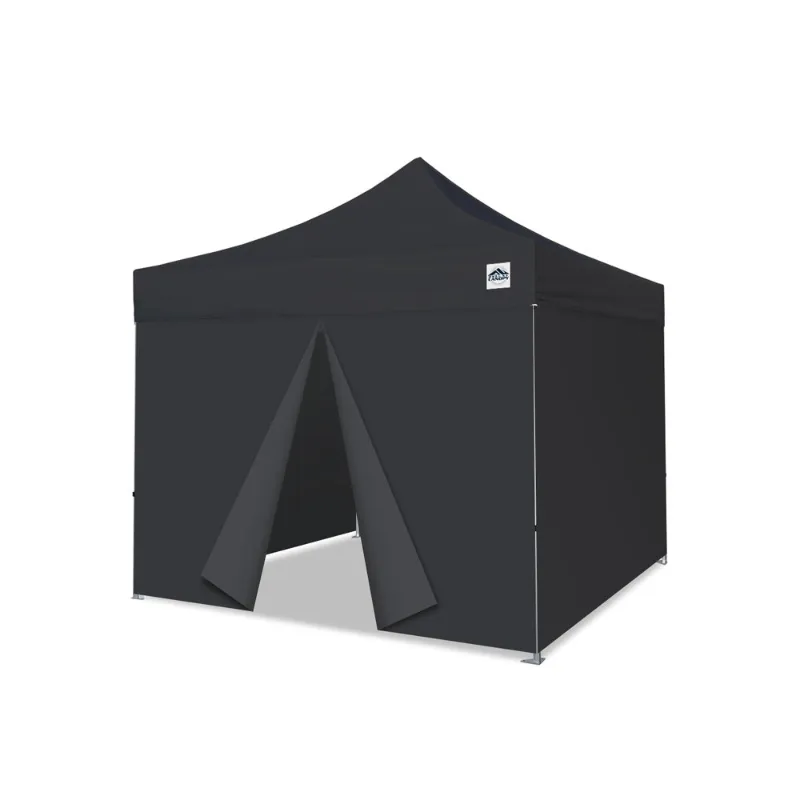
Air-beam shelters excel for car campers, festival-goers, and overlanders who value fast setup and compact storage. A 10×10 tent inflates in under five minutes and packs smaller than a traditional dome with poles, leaving room in your vehicle for a pc box or computer box on work-camping trips.
Avoid inflatable models if you backpack ultralight or trek into areas with no pump access. They also require more care on rocky alpine sites where sharp granite can defeat even the toughest footprint. For these environments, a pole tent remains the safer choice.
If you camp with family or run outdoor events, check the latest pricing and code on inflatable and pop-up shelters to find the right fit for your setup style and terrain.
Questions
How do I know if I have over-inflated my inflatable tent?
Press the air beam with your thumb. It should dimple slightly under firm pressure. If it feels rock-hard or drum-tight, you have over-inflated. Bleed a small amount of air by opening the valve for one second, then test again.
Can I set up an inflatable tent on gravel or rocky ground?
Yes, but always use a footprint or tarp underneath to prevent punctures. Clear sharp stones from the site and sweep the area with your hand before unrolling the tent.
What pump should I use to avoid damaging air chambers?
Use a dual-stage pump with a pressure gauge that reads in PSI. Avoid high-volume pumps without gauges, which can over-inflate beams in seconds and cause seam failure.
How often should I check air pressure during a camping trip?
Check twice daily, especially after temperature changes. Morning cold contracts air, while afternoon heat expands it. Adjust pressure by adding or releasing small amounts to keep beams taut but not rigid.
Do inflatable tents work better than traditional pole tents in wind?
When inflated to spec and properly staked, air-beam tents match or exceed the wind stability of aluminum poles. Flexible beams absorb gusts rather than snapping, but under-inflation reduces their strength.
How should I store my inflatable tent to prevent chamber damage?
Deflate fully by opening all valves and pressing air out from peak to floor. Fold along factory creases and store in a breathable bag in a cool, dry place. Never store damp or in sealed plastic, which traps moisture and weakens fabric.
Products in this guide
 Shopping at Deluxe Canopy? See the discount code
10% OFF Sitewide
Shopping at Deluxe Canopy? See the discount code
10% OFF Sitewide
More in this series
What to Look for When Buying a Trade Show Booth for First-Time Exhibitors24 Aug 20265 minHow Long Do Canopy Frames Last With Regular Outdoor Use?24 Aug 20265 minDo Custom Pop Up Tents Hold Up in Wind and Rain?24 Aug 20264 min10X10 vs 10X20 Canopy Tent: Which Size Do You Actually Need?24 Aug 20265 min