 A GeerTop Outdoor guide
How to Set Up an Inflatable Tent: Step-by-Step Guide for Beginners
An inflatable tent eliminates pole threading and lets you pitch camp in minutes using an air pump instead of traditional frames.
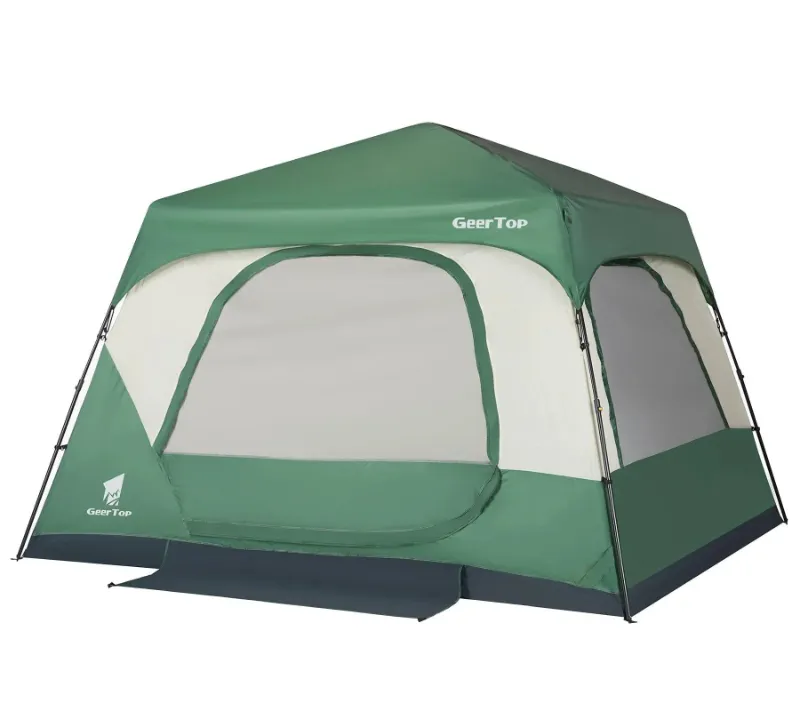
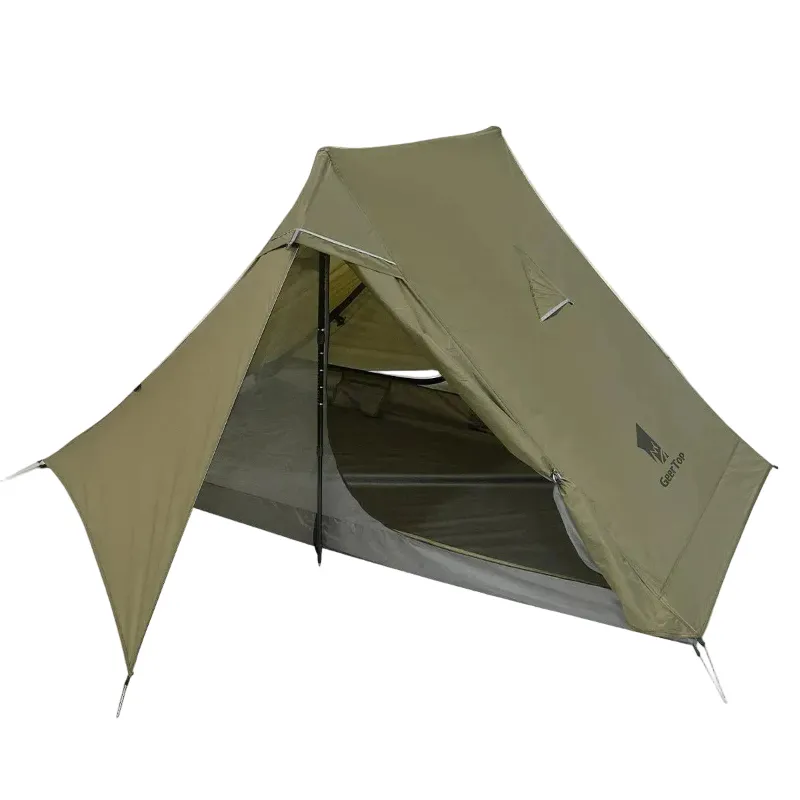
An inflatable tent replaces traditional poles with air beams that you pump up in minutes, making setup faster and simpler for beginners and experienced campers alike. Whether you’re pitching a 6 person camping tent for family weekends or a compact ultralight 2 person tent for solo trips, the process stays straightforward once you understand the basics.
Our focus is on real-world setup, common beginner mistakes, and the small adjustments that make inflation smoother.
What You Need Before Setting Up Your Inflatable Tent
Gather everything before you start so you don’t scramble mid-setup:

- Your inflatable tent with all valves closed
- A compatible pump (manual, electric, or battery-powered)
- Ground stakes and guy lines (usually included)
- A waterproof tarp or footprint to protect the floor
- Mallet or hammer for driving stakes
- Repair kit in case you encounter a puncture
Most inflatable tent designs arrive with a dual-action pump or an electric option. Check which adapter your model requires before you leave home. If you’re camping near your vehicle, a 12V car adapter saves arm fatigue compared to a manual pump.
Step-by-Step: How to Set Up an Inflatable Tent
1. Choose and Prepare Your Site
Pick flat ground free of rocks, sticks, and sharp debris. Clear the area and lay down your waterproof tarp slightly smaller than your tent footprint so rain doesn’t pool between the layers. This step prevents punctures and adds insulation.
2. Unpack and Spread the Tent
Unroll your tent on the tarp and spread it flat with all doors zipped shut. Position it so the entrance faces your preferred direction, then locate the inflation valves. Most models place valves at the base of each air beam.
3. Attach the Pump and Inflate
Connect your pump to the first valve and begin inflating. Work systematically, moving from one beam to the next:
- Inflate each beam to about 80% capacity first
- Return to the first beam and top off to the recommended PSI (usually 7-9 PSI)
- Check that all beams feel equally firm
Over-inflation stresses seams, while under-inflation leaves the structure floppy. Camping experts recommend monitoring pressure in temperature swings, as heat expands air and cold contracts it.
4. Stake Down the Corners
Drive stakes through the corner webbing loops at a 45-degree angle away from the tent. Pull each corner taut before hammering so the floor sits smooth. Use guy lines on larger models like a six person tent to brace against wind.
5. Secure Guy Lines and Adjust Tension
Attach guy lines to the designated loops, usually midway up each beam, and stake them 3-4 feet out. Adjust tension so the tent stands firm but not over-taut. In gusty conditions, add extra guy lines to any available loops.
6. Final Check
Walk around and confirm:
- All valves are closed and capped
- Stakes are secure and angled properly
- Doors zip smoothly
- The rainfly (if separate) covers fully and is staked independently
Common Mistakes and How to Avoid Them
Skipping the footprint. Bare ground wears through tent floors and risks punctures. Always use a tarp or dedicated footprint underneath.
Inflating unevenly. Topping off one beam while others stay soft creates stress points. Bring all beams up together for balanced support.
Ignoring temperature. A tent inflated in cool morning air will over-pressurize by afternoon. Release a bit of air if beams feel rock-hard in the heat, and top off if they soften overnight.
Weak staking. Inflatable shelters catch more wind than pole tents because of their taller profiles. Anchor every stake point, especially on a large inflatable tent camping setup for groups.
Leaving valves open. Double-check that caps are tight. A slow leak overnight turns your shelter into a saggy tarp by morning.
Comparing Inflatable Tents to Traditional Pole Designs
| Feature | Inflatable Tent | Pole Tent |
|---|---|---|
| Setup time | 5-10 minutes | 15-30 minutes |
| Weight | Slightly heavier (pump adds bulk) | Lighter for ultralight models |
| Durability | Puncture risk, easy field repair | Poles can bend or snap |
| Stability | Excellent in wind when staked | Depends on pole quality |
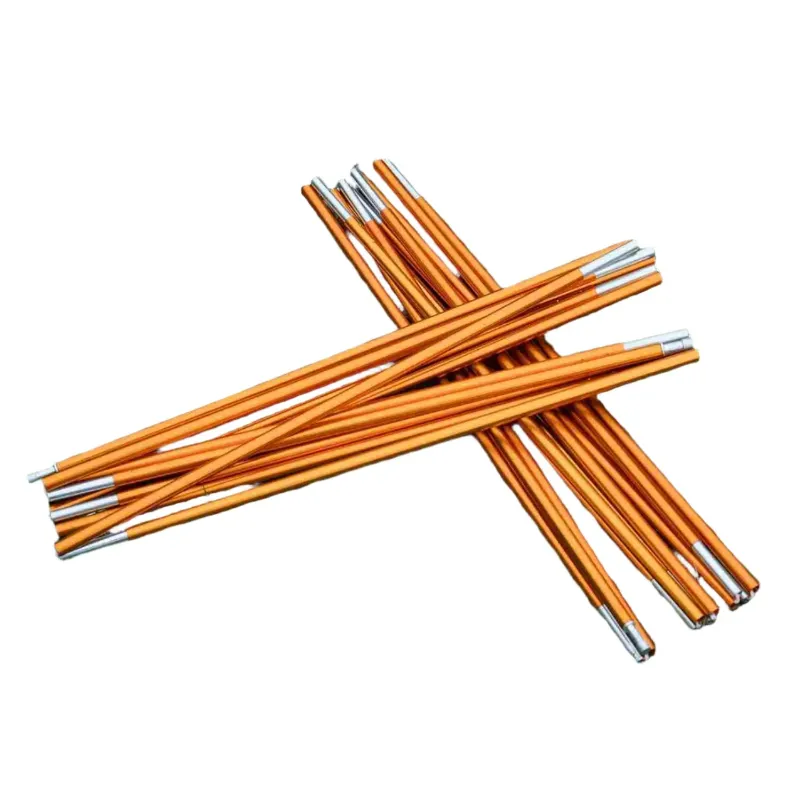
Inflatable designs shine for family camping and car camping where weight matters less than speed. For backpacking, an ultralight 2 person tent with aluminum tent poles may still be the better choice unless you prioritize setup simplicity over ounces.
Deflating and Packing Your Tent
When it’s time to break camp, open all valves and press down on each beam to expel air. Work from the top of the beam toward the valve so air escapes fully. Fold the tent loosely and roll it toward the valves to push out the last bit of air, then pack it in the storage bag.
Clean any mud or debris before packing. A damp tent should be aired out at home within 48 hours to prevent mildew. Store your inflatable tent in a cool, dry place away from direct sunlight, which degrades both fabric and air-beam materials over time.
Tips for Maintaining Your Inflatable Tent
- Check pressure daily. Temperature swings affect PSI, so adjust as needed.
- Inspect seams and valves. Look for wear or small leaks after each trip.
- Patch promptly. Use the included repair kit on any puncture immediately. Most kits work like bike-tire patches.
- Avoid over-tightening guy lines. Let the air beams flex slightly in gusts rather than fighting rigid tension.
- Use a groundsheet. Pair your tent with a waterproof tarp every time, even on soft grass.
Proper care extends lifespan significantly. Many campers report years of reliable use when they follow basic maintenance routines.
Where to Buy and Save on Inflatable Camping Gear
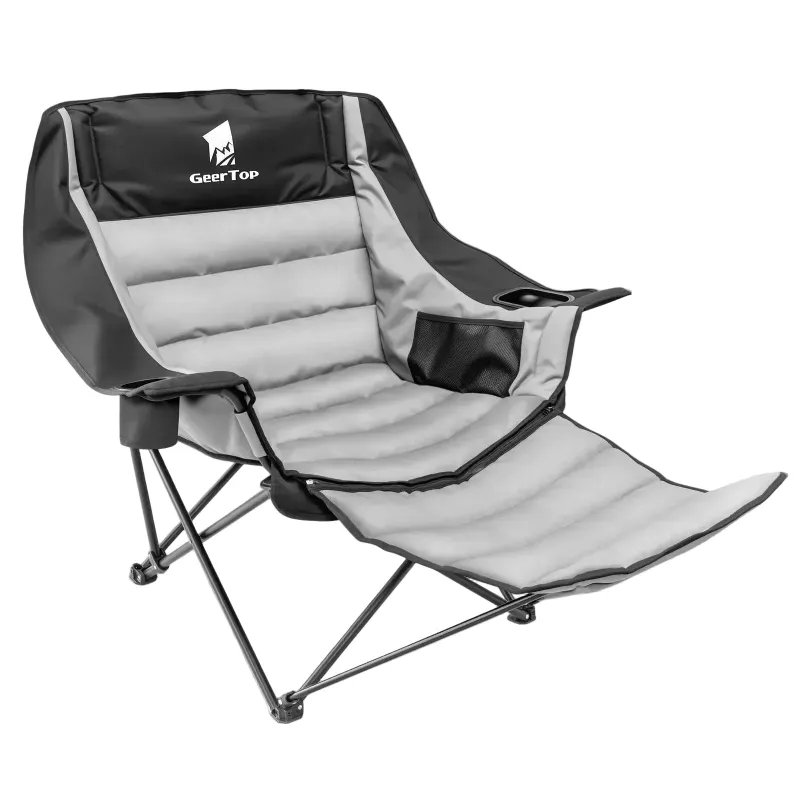
Whether you’re upgrading from a pole tent or buying your first shelter, inflatable designs simplify the camping experience without sacrificing weather protection. Pair your tent with a camping chair with footrest and you’ve got a comfortable basecamp ready in minutes. Check current pricing and availability before your next trip to lock in the best deal on your setup.
Questions
How long does it take to set up an inflatable tent?
Most inflatable tents pitch in 5 to 10 minutes once you have the site cleared and your pump ready. Larger family models may take closer to 15 minutes if you stake all guy lines properly.
Can you repair an inflatable tent if it gets a puncture?
Yes, most inflatable tents include a repair kit with patches and adhesive that work like bicycle tire repairs. Clean the area, apply the patch, and let it cure for the time specified in your kit instructions.
What PSI should I inflate my tent to?
Most inflatable tents recommend 7 to 9 PSI. Check the label near the valves or in your user manual, and adjust slightly if temperature swings cause beams to feel too firm or too soft.
Do inflatable tents work in strong wind?
Inflatable tents handle wind well when properly staked with all guy lines tensioned. Their air beams flex slightly instead of snapping like rigid poles, but you must anchor every stake point to prevent lift.
Should I use a footprint under my inflatable tent?
Always use a waterproof tarp or footprint underneath. It protects the floor from punctures, adds insulation, and extends the life of your tent significantly.
Are inflatable tents heavier than pole tents?
Inflatable tents are usually slightly heavier because you carry a pump along with the tent. For car camping and family trips this trade-off is minor, but backpackers may prefer an ultralight pole design.
Products in this guide
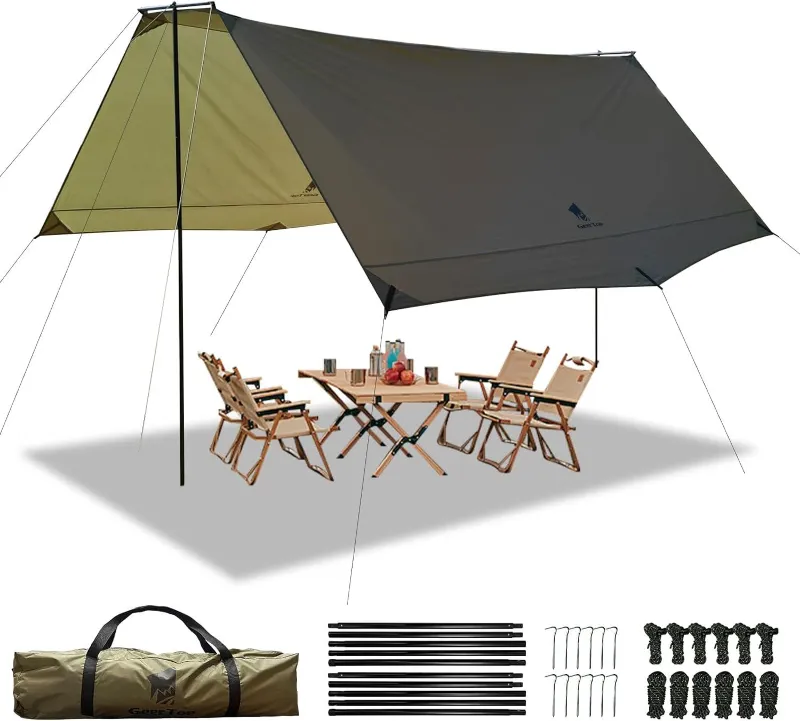 Shopping at GeerTop Outdoor? See the discount code
15% OFF Sitewide
Shopping at GeerTop Outdoor? See the discount code
15% OFF Sitewide
More in this series
How Long Do Flannel Sleeping Bags Stay Warm in Cold Weather?21 Aug 20265 minWhat Do Red and Green Navigation Lights Mean on Boats?21 Aug 20265 minBest 6 Person Camping Tents for Family Weekend Trips21 Aug 20266 minDo Aluminum Tent Poles Break Easily? Durability and Repair Tips21 Aug 20264 min Softshell vs Hardshell Rooftop Tents: Which Is Right for Your Vehicle?21 Aug 20265 min