 A Sub250 guide
Radiolink F722 Flight Controller Setup for Sub-250g FPV Drones
The radiolink f722 is a compact flight controller designed for sub-250g FPV drones, offering dual gyro redundancy and flexible wiring for both DJI digital and analog video systems.
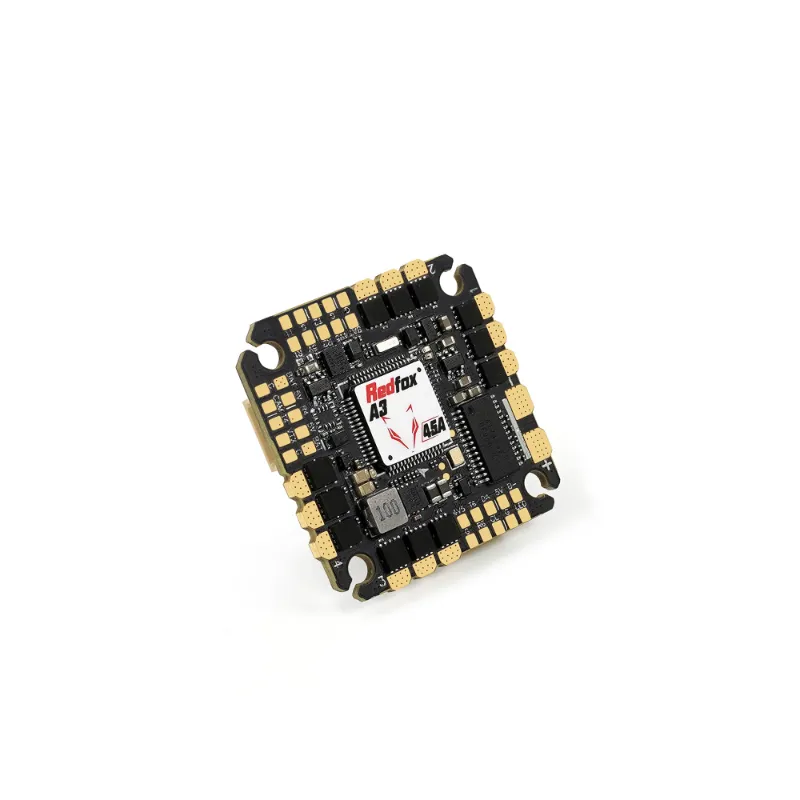
The radiolink f722 is a compact flight controller designed for sub-250g FPV drones, offering dual gyro redundancy and flexible wiring for both DJI digital and analog video systems. This board delivers F7 processing power in a 20x20mm footprint, making it ideal for lightweight racing quads and cinewhoops that need to stay under weight limits while maintaining professional-grade flight performance.
This guide walks you through the complete setup process, from initial wiring to Betaflight configuration and tuning for smooth, responsive flight.
Radiolink F722 Wiring Diagram and Pinout
The radiolink f722 pinout follows a logical layout that simplifies builds. The board includes clearly labeled pads for power, motor outputs, UART ports, and I2C connections. We recommend referencing the official F722 documentation during your first build to identify each pad location.
Power connections:
- Battery voltage (VBAT) connects to the main B+ and B- pads, typically from your 4-in-1 ESC
- 5V and GND pads supply power to your receiver and other peripherals
- The onboard BEC handles voltage regulation, so most pilots skip external regulators
Motor and ESC wiring:
- Motors 1-4 connect via your ESC signal wires to the designated motor pads
- If you’re running a radiolink f722 stack with their matching ESC, the board-to-board connectors handle these signals automatically
- For standalone builds, solder ESC signal wires directly to M1-M4 pads
Video system connections:
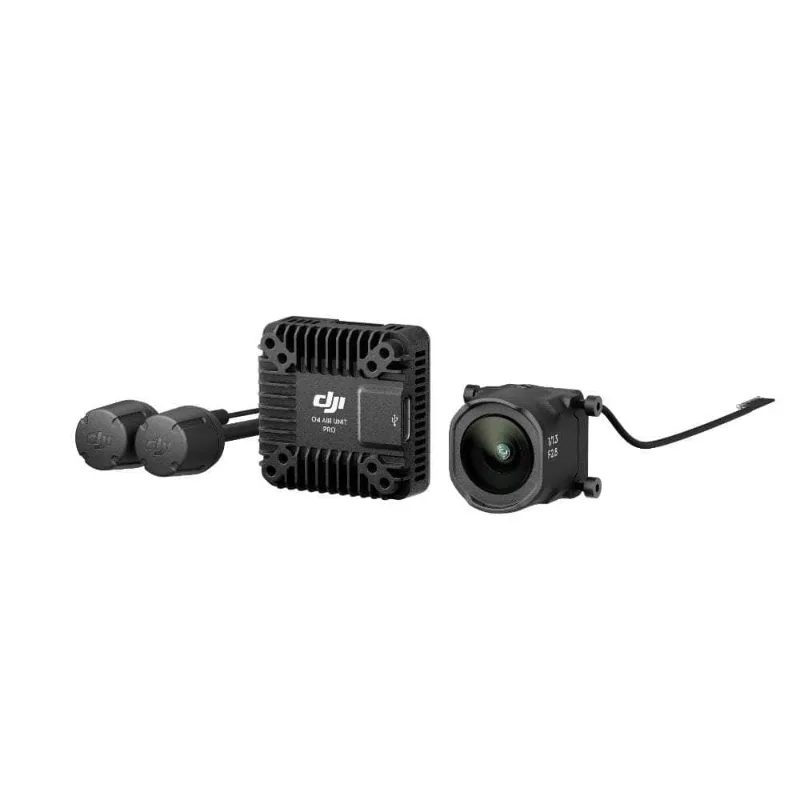
- UART1 or UART2 works for DJI digital systems like the dji o4 air unit pro using MSP
- TX6 and RX6 handle VTX control for analog systems via SmartAudio or Tramp
- The camera input connects to the CAM pad, though most DJI systems bypass this
Receiver wiring:
- SBUS receivers connect to the dedicated SBUS pad and 5V/GND
- Crossfire or ELRS receivers typically use UART2 or UART3, configured in Betaflight ports tab
For detailed pad locations, Radiolink’s FAQ guide includes labeled diagrams that match the physical board layout.
Betaflight Configuration for the Radiolink F722
Flash the latest Betaflight firmware using the RADIOLINKF722 target in Betaflight Configurator. The board enters DFU mode when you hold the boot button while plugging in USB, or by bridging the boot pads if your build doesn’t expose the button.
After flashing, configure these essential settings:
Ports tab:
- Enable Serial RX on the UART where your receiver connects
- Enable MSP on the UART connected to your DJI air unit for OSD
- Enable VTX control on TX6/RX6 if running analog
Configuration tab:
- Set your ESC protocol (DSHOT300 or DSHOT600 for most 4-in-1 ESCs)
- Enable MOTOR_STOP if you want motors to stop when disarmed
- Configure your receiver protocol (SBUS, CRSF, etc.)
PID Tuning:
- Start with Betaflight’s default 4.x PIDs for a 3-inch or 2.5-inch quad
- The dual gyro setup provides clean data, so you can often run higher D values than single-gyro boards
- For sub-250g builds, we typically drop P and D by 10-15% from defaults to account for lighter mass
The board’s F722 processor handles 8k/8k loop rates comfortably, though we find 4k/4k delivers smoother flights on lightweight builds where vibration can be an issue. Check current pricing and our discount code before finalizing your parts list.
Pairing with DJI Digital and Analog Systems
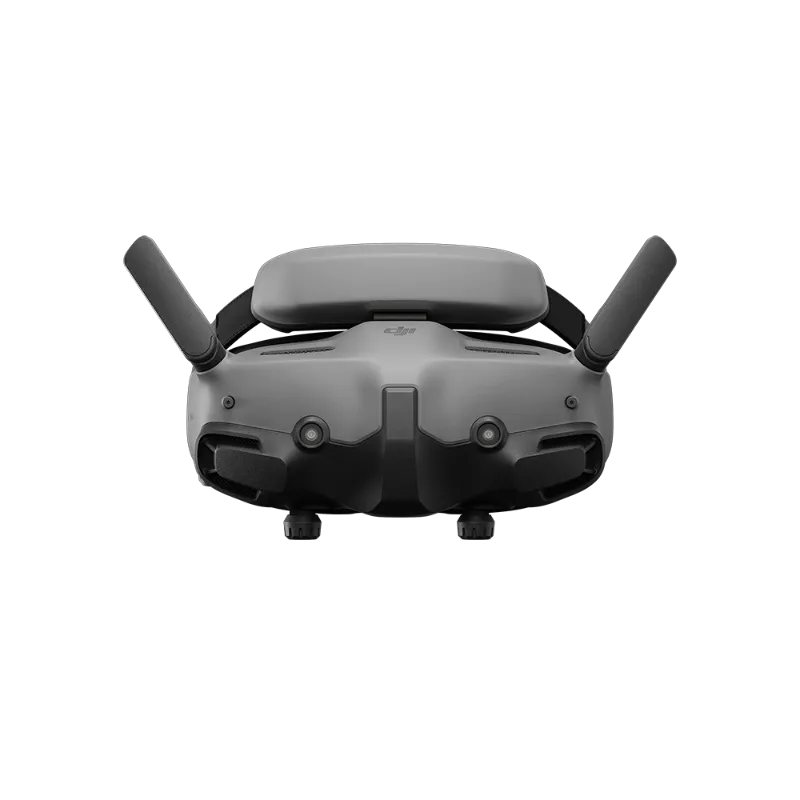
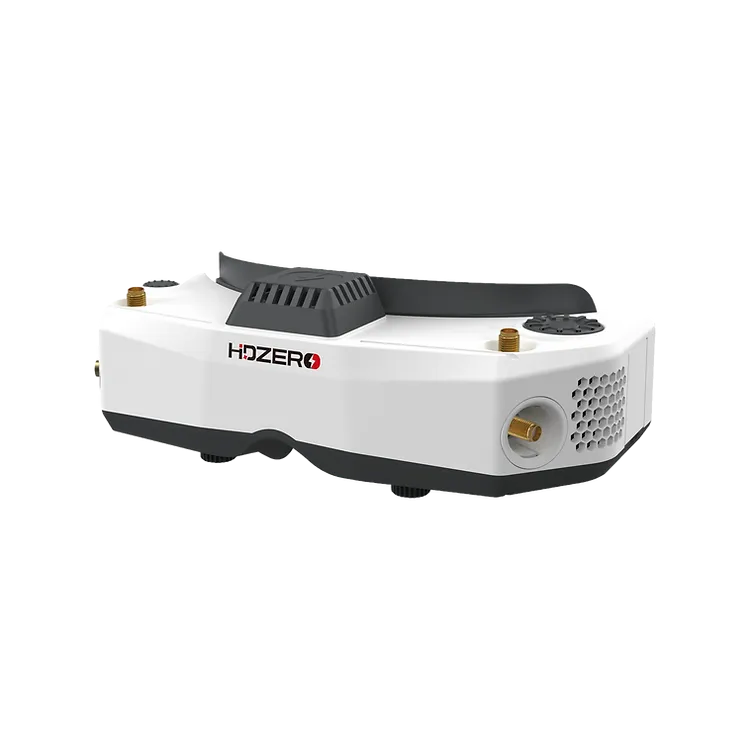
The radiolink f722 works seamlessly with both video systems, making it a versatile choice when you’re deciding between dji goggles 3 and hdzero goggles 2.
For DJI O3 and O4 systems:
Connect the air unit’s TX and RX lines to an available UART (we use UART1). In the Betaflight ports tab, enable MSP on that UART at 115200 baud. The DJI system pulls telemetry and displays your Betaflight OSD through MSP, so you’ll see battery voltage, flight time, and warnings in your goggles without additional wiring. The dji o 4 pro draws minimal current and pairs perfectly with the F722’s power delivery.
For analog systems:
Wire your VTX to the 5V, GND, and video-out pads. Connect the VTX control wire (SmartAudio or Tramp) to TX6. In Betaflight, enable the appropriate VTX protocol in the configuration tab, and you’ll control channels and power through your OSD. Analog builds leave more weight budget for batteries, which matters when every gram counts toward the 250g limit.
Both setups benefit from the F722’s onboard blackbox logging via flash memory, capturing flight data for tuning without adding an SD card’s weight.
Radiolink F722 Stack Options and Mounting
The radiolink f722 flight controller ships as a standalone board or as part of a stack with a matching 4-in-1 ESC. Stack configurations simplify wiring since board-to-board connectors handle motor signals, power, and ground connections. You’ll only need to solder receiver, video system, and battery leads.
Standalone mounting:
- Uses M2 hardware in a 20x20mm pattern, standard for sub-250g frames
- Requires individual wire runs for motor signals, which adds minor weight but improves serviceability
- Mount with soft grommets or rubber standoffs to dampen vibration
Stack mounting:
- The ESC mounts below the FC with standoffs, creating a clean, low-profile setup
- Keeps your build’s center of gravity low, improving handling
- Most stacks include a current sensor pre-wired, eliminating one more solder joint
We prefer stacks for racing builds where clean wiring and low weight matter most, and standalone boards for freestyle quads where we might swap components frequently. Grab the latest discount code to save on your complete setup.
Tuning Tips for Sub-250g Builds
Lightweight drones respond differently than full-size quads, and the radiolink f722 setup needs tuning adjustments to match.
Filter settings:
- Start with Betaflight’s default filters, then reduce gyro filtering if you see soft, delayed responses
- Too much filtering adds latency that kills the snappy feel of a light build
- Run dynamic notch filter with high range (150-600 Hz) to catch motor noise
Rates and expo:
- Higher rates work well on sub-250g quads since lower mass means faster rotation
- We run 700-800 deg/sec max rates on 2.5-inch builds
- Add 10-15% expo to smooth center stick feel while keeping aggressive flips available
PID tuning:
- Reduce P and D gains by 10-20% from Betaflight defaults
- Light frames amplify vibration, so high D can cause hot motors or oscillation
- Increase I gain slightly to maintain solid attitude hold in wind
Throttle curve:
- Linear throttle works for most pilots, but a slight mid-throttle bump (5-10%) helps with cruising efficiency
- The F722’s 8k capable ESC protocol keeps throttle response instant
Test each change in short flights. The board’s blackbox logging captures every adjustment’s impact, making it easy to see whether a PID tweak improved or hurt flight characteristics.
Troubleshooting Common Setup Issues
No USB connection:
- Try a different cable; many phone charger cables lack data wires
- Hold the boot button and reconnect to force DFU mode
- Check that you haven’t accidentally bridged solder joints near the USB port
Motors won’t spin:
- Verify ESC protocol matches your hardware (DSHOT300 vs. DSHOT600)
- Check motor direction in the motors tab; wrong order prevents arming
- Confirm MOTOR_STOP setting matches your preference
No OSD in DJI goggles:
- MSP must be enabled on the correct UART at 115200 baud
- Check TX/RX aren’t swapped between FC and air unit
- Some air units require a power cycle after changing MSP settings
Gyro errors:
- Remount the FC with softer grommets to reduce vibration transfer
- Check that no solder joints or wires touch the gyro IC
- Update to the latest Betaflight firmware; newer versions improve gyro filtering
The radiolink f722 manual includes additional troubleshooting steps for hardware-specific issues. Most problems trace back to wiring mistakes or port configuration rather than board defects, so double-check connections before assuming hardware failure.
For complete parts recommendations and to see current pricing on compatible components, visit our Sub250 deals page. The F722 pairs well with nearly any sub-250g setup, from budget analog builds to premium DJI digital systems, making it one of the most flexible flight controllers in this weight class.
Questions
Is the Radiolink F722 compatible with DJI O3 and O4 air units?
Yes, the F722 works with all DJI digital systems including O3 and O4. Connect the air unit to any available UART and enable MSP in Betaflight's ports tab to display telemetry and OSD in your goggles.
What frame mounting pattern does the Radiolink F722 use?
The F722 uses a standard 20x20mm mounting pattern with M2 hardware, which fits nearly all sub-250g frames including 2.5-inch and 3-inch racing and freestyle builds.
Can I run 8k loop rates on the Radiolink F722 flight controller?
The F722 processor supports 8k/8k loop rates, but we recommend 4k/4k for sub-250g builds. Lighter frames amplify vibration, and the lower loop rate often produces smoother flight characteristics without sacrificing responsiveness.
Does the Radiolink F722 have onboard blackbox logging?
Yes, the F722 includes onboard flash memory for blackbox logging. This captures flight data for PID tuning without adding an SD card's weight, which is valuable when staying under 250 grams.
What receiver protocols work with the F722?
The F722 supports all major receiver protocols including SBUS, CRSF (Crossfire), ELRS, and FrSky. Configure your protocol in Betaflight's configuration tab and assign the appropriate UART in the ports tab.
Should I buy the Radiolink F722 as a stack or standalone board?
Stacks simplify wiring and reduce weight by eliminating motor signal wires, making them ideal for racing builds. Standalone boards offer more flexibility for custom ESC choices and easier component swaps on freestyle quads.
Products in this guide
 Shopping at Sub250? See the discount code
5% OFF All Orders
Shopping at Sub250? See the discount code
5% OFF All Orders
More in this series
What’s the Real Range and Latency of DJI O4 Air Units in 2024?14 Aug 20264 minHDZero Goggles Buyers Guide: Compatibility with DJI Air Units and Flight Controllers14 Aug 20264 minDo You Need the O4 Air Unit Pro or Standard O4 Air Unit?14 Aug 20265 minHow to Install the DJI O4 Air Unit Pro on an FPV Drone14 Aug 20266 minDJI Goggles 3 vs HDZero Goggles 2: Which FPV Goggles Are Worth It?14 Aug 20263 min