 A Sub250 guide
How to Install the DJI O4 Air Unit Pro on an FPV Drone
Installing the dji o4 air unit pro on your FPV drone takes careful wiring and mounting, but our guide walks you through every connection.
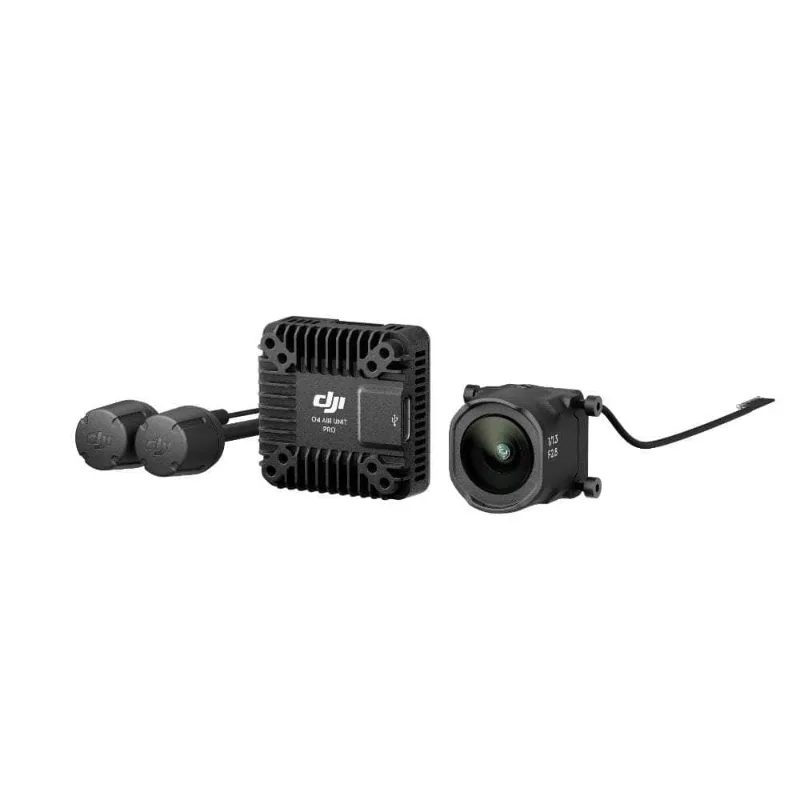
Installing the dji o4 air unit pro means mounting the camera module and main unit, wiring power and UART connections, then configuring Betaflight before pairing with your goggles. Someone comfortable soldering and who has installed a VTX system before can generally do it in 30 to 45 minutes; a first install may take longer while you verify wiring and test the video feed.
What you need before installing
Before opening the package, verify your flight controller supports the O4 protocol and has a free UART port for the air unit’s RX/TX connection.
Tools and materials:
- Soldering iron, temperature-controlled
- Rosin-core solder
- Wire strippers and flush cutters
- Heat shrink tubing in a few sizes
- Isopropyl alcohol and cotton swabs
- Double-sided foam tape or mounting brackets
- A small hex driver set (M2 and M3)
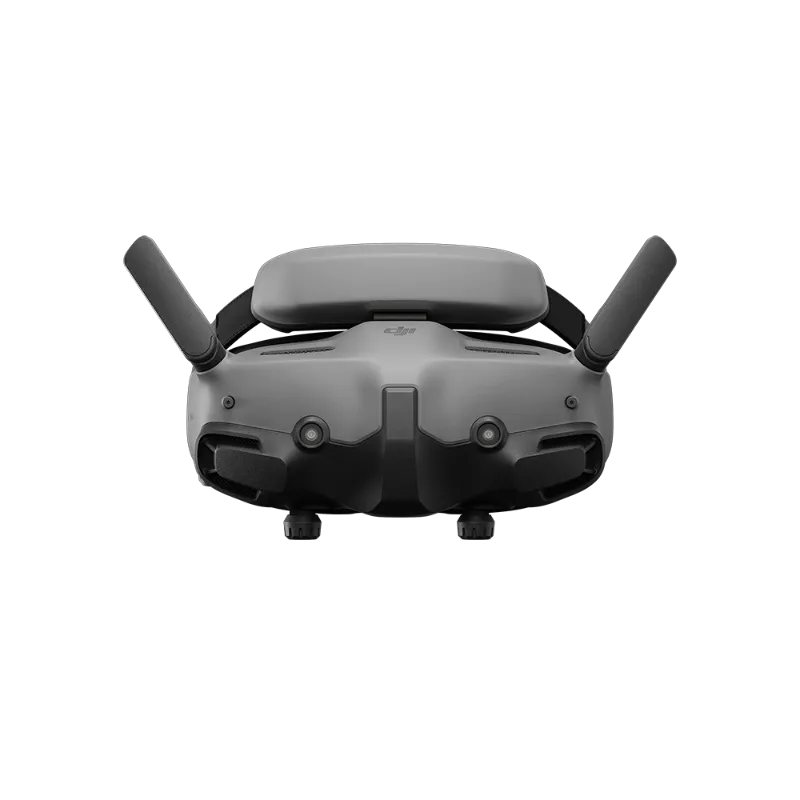
You will also need dji goggles 3 or another compatible set for pairing and testing. The DJI O4 Air Unit Series page lists officially supported goggles if you are unsure about compatibility.
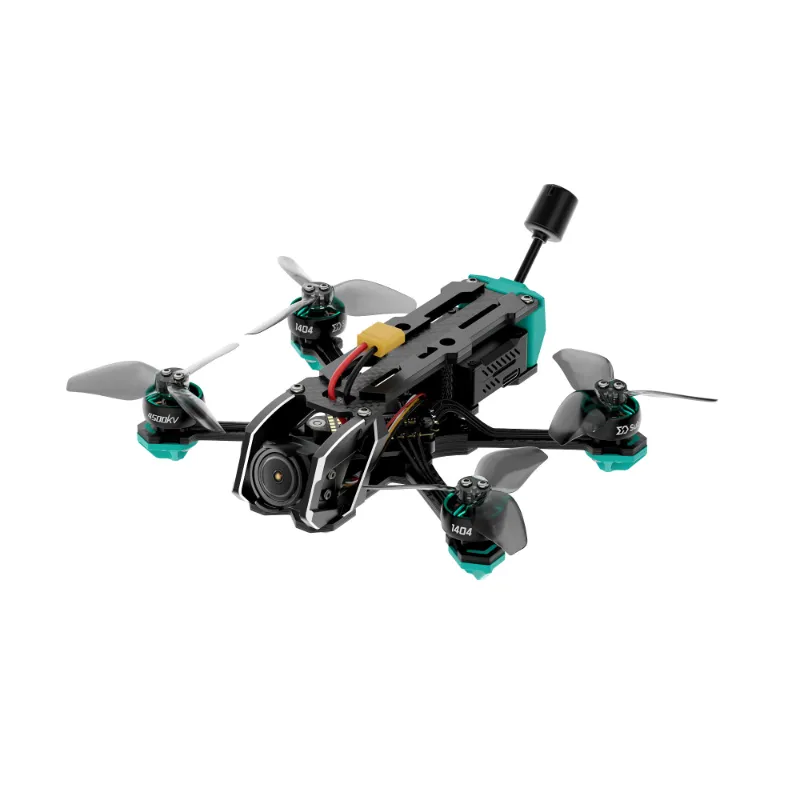
Check your frame’s camera mount angle and available space. The O4 camera module measures 19x19mm, which fits most micro and standard FPV frames, including a compact chassis like the 250/2.5.
Mounting the camera module and air unit
Start by positioning the camera module on the frame’s front camera mount. The dji o4 air unit pro uses a separate camera module connected to the main unit by a flexible coaxial cable, which gives more mounting flexibility than an integrated design.
Camera mounting steps:
- Thread the camera’s coaxial cable through the frame’s camera mount opening
- Secure the camera with M2 screws sized for your frame’s mount
- Set the camera angle for your flying style
- Route the cable along the frame arm, away from motor wires and sharp edges
- Secure the cable every 30 to 40mm with zip ties or heat shrink to prevent flutter
Mount the main air unit in the center stack or on the top plate. Top-plate mounting generally gives better cooling and antenna placement, while stack mounting works when space is tight. Use rubber dampers or foam tape to reduce vibration, since vibration can introduce jello in the footage.
Position the unit so the antenna connectors face outward and away from carbon fiber, which blocks RF signal. Mount the antennas roughly 90 degrees apart in a V or T configuration for better signal diversity.
Wiring power and UART connections
The dji o4 air unit pro runs on 7 to 26V (2S to 6S), so it can take power directly from the battery’s main voltage or through a BEC. Direct battery power generally works fine with a clean 4-in-1 ESC setup; add a dedicated BEC only if you see video cutouts during hard throttle punches, which points to voltage sag.
Power wiring sequence:
- Strip a few millimeters of insulation from the air unit’s red (VCC) and black (GND) wires
- Tin both wire ends and the corresponding pads on your PDB or flight controller
- Solder VCC to a filtered battery voltage pad (BAT or VBAT)
- Solder GND to any ground pad on your PDB or FC
- Apply heat shrink over exposed connections
For UART communication, identify a free UART on your flight controller. UART1 and UART2 typically work best because they support the higher baud rate the O4 needs (115200 minimum).
UART wiring:
- Connect air unit TX (white wire) to FC RX pad
- Connect air unit RX (yellow wire) to FC TX pad
- Leave the green wire (VTX control) disconnected unless you are using SmartAudio passthrough
Double-check polarity before powering up. A reversed power connection can damage the air unit, and DJI does not cover installation errors under warranty.
Configuring Betaflight for the DJI O4 Air Unit Pro
Plug your flight controller into Betaflight Configurator and open the Ports tab. Enable Serial RX on the UART you wired to the air unit, then set the protocol to “DJI FPV” or “DJI HD” depending on your Betaflight version.
- Ports tab: enable Serial RX on your chosen UART, set the baud rate to 115200
- Configuration tab: set Receiver to “Serial-based receiver” and Protocol to “DJI FPV”
- OSD tab: disable analog OSD elements, since the O4 system uses its own digital OSD
- Modes tab: assign arm switch and flight modes as usual
Save and reboot the flight controller. The air unit’s LED typically changes from red (no signal) to green (ready) shortly after power-up. If it stays red, check your UART TX/RX wiring first, since reversed TX/RX pins are a common cause, then confirm the correct UART is enabled in Betaflight.
DJI O4 Air Unit Pro vs. DJI O4 Air Unit: key differences
You may be deciding between the dji o4 air unit and the Pro version. The core difference is the camera module: the Pro includes a stabilized 4K/60fps camera with a stronger low-light sensor, while the standard O4 ships with a 1080p/120fps camera module.
| Feature | DJI O4 Air Unit Pro | DJI O4 Air Unit |
|---|---|---|
| Camera Resolution | 4K/60fps | 1080p/120fps |
| Image Stabilization | Yes | No |
| Low-Light Performance | Enhanced sensor | Standard sensor |
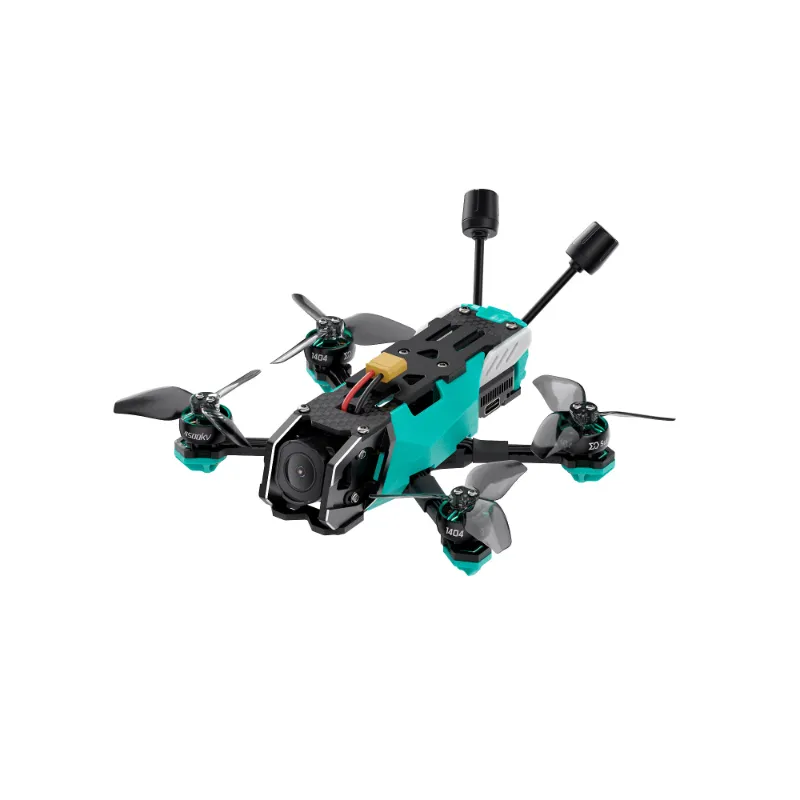
For cinematic freestyle and long-range flying, the Pro’s stabilization and 4K recording are generally worth the price gap. For pure racing or a tight-budget build like the oasisfly25, the standard O4 delivers the same low-latency transmission at a lower cost. Installation steps are identical for both units, so this guide applies to the dji 04 air unit pro and its standard sibling.
Pairing your goggles and final testing
Power up the drone and goggles together. The air unit broadcasts a pairing signal for about a minute after first power-up. In the goggles’ menu, open Device Linking and select the air unit from the list of available devices.
Once paired, you should see live video. Check the OSD elements (battery voltage, flight time, artificial horizon) to confirm the UART connection is working. If OSD data is missing, revisit the Betaflight configuration and confirm MSP is enabled on the same UART.
Pre-flight checks:
- Walk a good distance from the drone to test signal penetration
- Verify the camera angle matches your flying style
- Check for video breakup when standing behind obstacles
- Confirm DVR recording starts as expected, or set it to manual in the goggles menu
- Test that the low-battery warning triggers at your configured voltage
The O4 system operates across 5.1 to 5.9 GHz depending on region. Range in open areas with stock antennas is generally shorter than with aftermarket patch or helical antennas.
For current pricing, check the latest Sub250 discount code before ordering an air unit and compatible goggles.
Troubleshooting common installation issues
No video feed: verify the coaxial cable between camera and air unit is fully seated at both ends. Cables can work loose during frame assembly, which causes intermittent blackouts.
Stuttering or frozen video: check for RF interference from nearby 5.8 GHz analog VTX systems on the bench, since the O4 also operates on 5.8 GHz.
OSD not displaying: confirm MSP is enabled on the correct UART in Betaflight’s Ports tab, and that you are running a Betaflight version with DJI OSD support.
Air unit overheating: make sure there is adequate airflow over the main unit. Top-plate mounting with the heatsink exposed to prop wash generally cools better than stack mounting in an enclosed frame. Mount the unit away from the ESC and flight controller to avoid heat stacking, and if it still runs hot in aggressive freestyle sessions during summer, consider adding a small heatsink or improving airflow around it.
If you are still troubleshooting after a while, power everything down for a few minutes to reset the pairing state, then start fresh with the linking process.
Questions
Can I use the DJI O4 Air Unit Pro with HDZero goggles?
No. The DJI O4 Air Unit Pro only works with DJI's own goggles, such as the Goggles 3 or Goggles 2. HDZero uses a different transmission protocol that is not compatible with DJI's O4 system.
What flight controllers are compatible with the O4 air unit?
An F4, F7 or H7 flight controller with a free UART port and a recent Betaflight version that supports the DJI FPV protocol should work. Check your specific flight controller's documentation to confirm.
Do I need a separate BEC to power the DJI O4 Air Unit Pro?
Not usually. The air unit accepts 7-26V (2S to 6S) and can generally run directly from battery voltage. Add a BEC only if you see video cutouts during throttle punches, which points to voltage sag below 7V.
How long does it take to install the O4 air unit on a typical FPV drone?
Someone comfortable soldering and familiar with VTX installs can generally do it in 30 to 45 minutes. A first-time install may take longer while you verify wiring, configure Betaflight and test the video feed.
Can I record 4K footage directly to the air unit?
No. The O4 Air Unit Pro records to your goggles' internal storage or a microSD card, not to the air unit itself. Check your goggles' specific DVR resolution and frame rate support.
What camera angle should I set for freestyle flying with the O4 Pro?
There is no single correct angle. Most freestyle pilots balance forward visibility against horizon reference and adjust from there based on speed and trick style. The adjustable mount lets you fine-tune without re-soldering.
Products in this guide
 Shopping at Sub250? See the discount code
5% OFF All Orders
Shopping at Sub250? See the discount code
5% OFF All Orders
More in this series
What’s the Real Range and Latency of DJI O4 Air Units in 2024?14 Aug 20264 minRadiolink F722 Flight Controller Setup for Sub-250g FPV Drones14 Aug 20266 minHDZero Goggles Buyers Guide: Compatibility with DJI Air Units and Flight Controllers14 Aug 20264 minDo You Need the O4 Air Unit Pro or Standard O4 Air Unit?14 Aug 20265 minDJI Goggles 3 vs HDZero Goggles 2: Which FPV Goggles Are Worth It?14 Aug 20263 min