 A AAA PRESETS guide
How to Install and Use LUTs in Premiere Pro and DaVinci Resolve
Installing a vhs overlay premiere pro effect or LUT takes just a few clicks once you know where to place the files in your editing software.
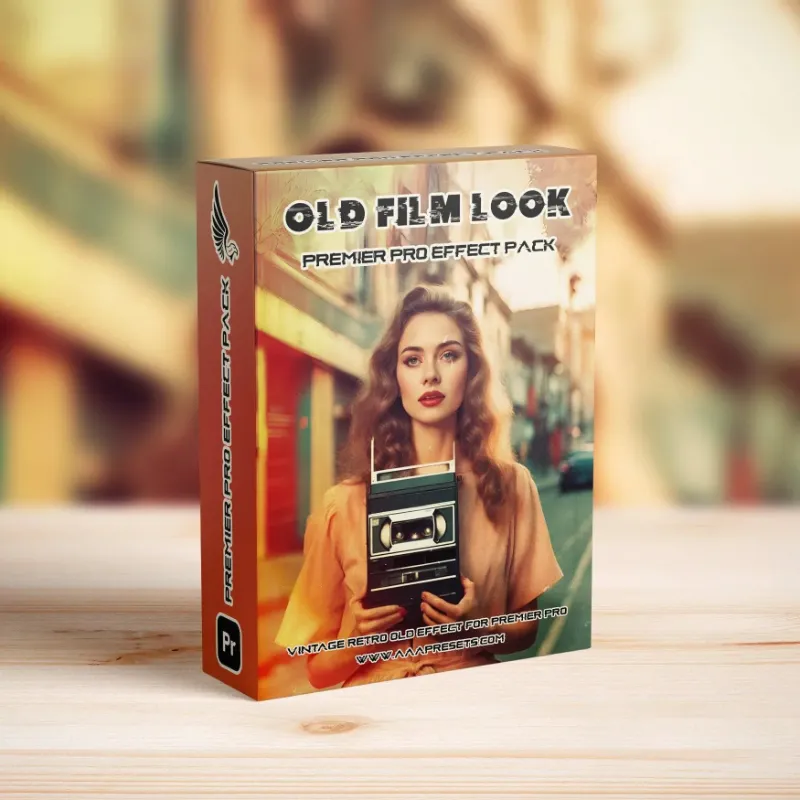
A vhs overlay premiere pro effect or LUT can transform your footage in seconds, and installing them in Premiere Pro or DaVinci Resolve is straightforward once you understand the file structure. Whether you’re working with a vhs overlay premiere pro pack, a cinema luts collection, or a lut pack for color grading, the installation process follows the same core steps.
What Are LUTs and Overlays
LUTs (Look-Up Tables) are mathematical formulas that remap your video’s color values to create a specific look or mood. A best luts collection typically includes.cube or.3dl files that work across multiple editing platforms. Overlays, by contrast, are video files (usually with alpha channels) that layer on top of your footage to add texture, grain, or effects like VHS tape distortion.
The key difference: LUTs adjust color mathematically, while overlays add visual elements. A VHS effect often combines both, using a LUT for the color shift and an overlay for scan lines, glitches, and chromatic aberration. You can grab our discount code to save 10% on premium packs that include both.
How to Install LUTs in Premiere Pro
Premiere Pro stores LUTs in a dedicated folder within your system’s application directory. Here’s how to add them:
- Locate your Premiere Pro LUTs folder: On Windows, navigate to `C:Program FilesAdobeAdobe Premiere Pro [version]LumetriLUTsTechnical`. On Mac, go to `Applications/Adobe Premiere Pro [version]/Adobe Premiere Pro.app/Contents/Lumetri/LUTs/Technical`.
- Copy your LUT files: Download your lut pack and extract the .cube or .3dl files. Paste them directly into the Technical folder (or create a Custom subfolder for organization).
- Restart Premiere Pro: The software scans the folder on launch, so close and reopen it.
- Apply the LUT: Select your clip, open the Lumetri Color panel, scroll to Creative, and choose your LUT from the Look dropdown under the Input LUT or Creative section.
For a vhs overlay premiere pro free workflow, you can combine a LUT with free overlay footage from Mixkit’s VHS template library by dragging the overlay onto a track above your clip and setting the blend mode to Screen or Overlay.
How to Install LUTs in DaVinci Resolve
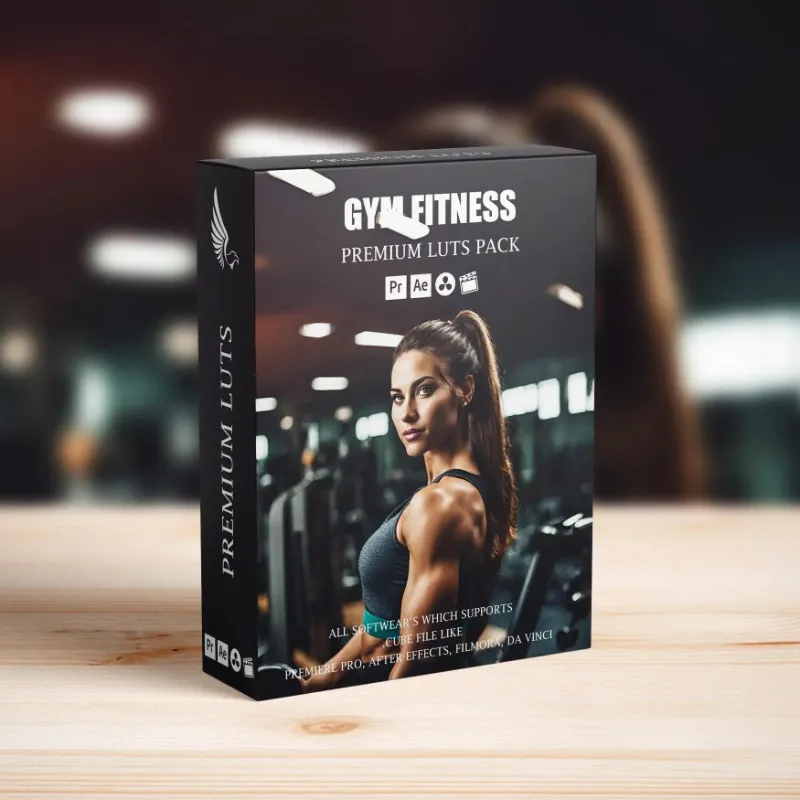
DaVinci Resolve offers more flexibility with custom LUT directories, making it easier to organize large collections like gym luts or cinema luts.
- Open LUT folder preferences: In Resolve, go to Preferences (gear icon) > Color Management > LUT Folders. Click “Open LUT Folder” or add a custom path.
- Add your LUT files: Copy your .cube files into the revealed folder (typically `Library/Application Support/Blackmagic Design/DaVinci Resolve/LUT` on Mac or `AppDataRoamingBlackmagic DesignDaVinci ResolveSupportLUT` on Windows).
- Refresh the LUT list: Return to Resolve and right-click in the LUT browser, then select “Refresh LUT List.”
- Apply in the Color page: Select your clip, switch to the Color page, right-click a node, and choose 3D LUT. Your imported LUTs will appear in the dropdown.
Resolve’s node-based system lets you stack a LUT with color adjustments and an overlay on separate nodes for granular control over the vhs effect premiere pro 2026 creators are emulating.
Installing Video Overlays in Both Editors
Video overlays work the same way in both applications since they’re standard video files (MP4, MOV, or PNG sequences).
In Premiere Pro:
- Import the vhs overlay premiere pro file into your project bin
- Drag it onto a video track above your main footage
- Change the blend mode in the Effect Controls panel (Screen works well for light overlays, Multiply for dark grain)
- Adjust opacity to taste (typically 20-40%)
In DaVinci Resolve:
- Import the overlay into your media pool
- Place it on a timeline track above your footage
- In the Color page, use the RGB Mixer or Composite mode to blend
- Fine-tune with the Opacity slider in the inspector
Adobe’s own guide on how to add a VHS effect in Premiere walks through combining built-in effects with custom overlays for a complete retro look.
Organizing and Managing Large LUT Collections
If you work with multiple packs like a lute color palette for product shots and fall lightroom presets converted to video LUTs, organization prevents workflow slowdowns.
- Use subfolders: Create category folders (Vintage, Cinematic, Seasonal) inside your main LUT directory
- Naming conventions: Rename cryptic filenames to descriptive labels (e.g., “Warm_Autumn_Grade.cube” instead of “LUT_047.cube”)
- Test before shoots: Apply LUTs to sample footage in the lighting conditions you’ll face, then favorite the winners
- Version control: Keep original, unedited LUTs separate from your modified versions
For current pricing on curated collections that skip the trial-and-error phase, check our discount page for bundles that include installation guides.
Troubleshooting Common LUT Issues
LUT not appearing in dropdown:
- Verify the file extension (.cube and .3dl are most compatible; some .look files won’t work)
- Check folder permissions (you may need admin rights to write to Program Files on Windows)
- Restart your editing software after adding files
Colors look wrong or over-saturated:
- Ensure your footage is in the correct color space (Rec.709 for web, Log for cinema)
- Apply LUTs to color-corrected footage, not raw clips
- Reduce LUT intensity using the opacity or mix slider in Lumetri/Resolve
Overlay looks pixelated:
- Match the overlay resolution to your timeline (don’t upscale 1080p overlays on 4K timelines)
- Use ProRes or high-bitrate MP4 overlays rather than heavily compressed files
The VHS overlay pack from Color Grading Central includes troubleshooting tips specific to retro effects that also apply to premium vhs overlay premiere pro products.
Free vs Premium LUT and Overlay Packs
Free vhs overlay premiere pro downloads and LUTs are excellent for learning and testing, but premium packs offer advantages for client work:
| Feature | Free Packs | Premium Packs |
|---|---|---|
| File Quality | Often compressed, limited resolution | Full-res, uncompressed or ProRes |
| Variety | 5-15 options | 50-200+ LUTs and overlays |
| Commercial Use | Sometimes restricted | Cleared for client projects |
| Support | Community forums only | Installation help, updates |
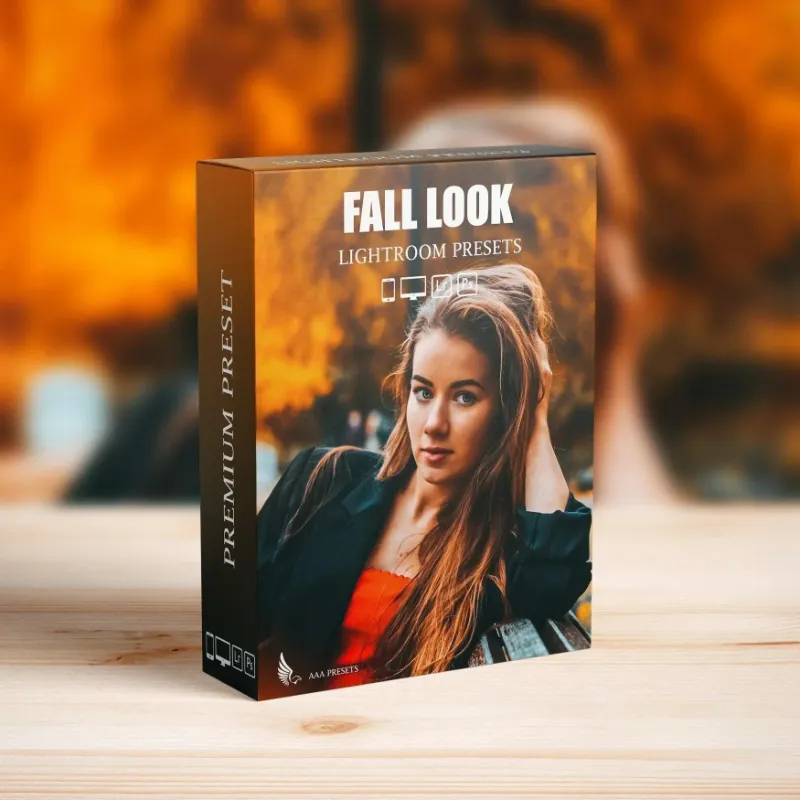
A best luts collection typically includes seasonal variations like lightroom fall presets adapted for video, giving you consistent looks across photo and video deliverables. We recommend starting with free options to identify your style, then investing in a comprehensive pack for production work.
Questions
Can I use a vhs overlay premiere pro effect on 4K footage?
Yes, but make sure your overlay file matches or exceeds your timeline resolution. Upscaling a 1080p overlay on 4K footage will look soft and pixelated. Many premium packs include 4K versions specifically for high-resolution projects.
Do LUTs work the same way in Premiere Pro and DaVinci Resolve?
The color transformation is identical since both programs read the same.cube and.3dl files, but Resolve's node system gives you more control over layering LUTs with other adjustments. Premiere applies LUTs within the Lumetri panel as a single effect.
Where can I find free VHS overlays that are safe for commercial use?
Mixkit and Color Grading Central offer royalty-free VHS overlays with commercial licenses. Always check the terms, as some free packs restrict monetized content. Premium packs guarantee commercial clearance.
Why does my LUT look different on every clip?
LUTs transform existing color data, so poorly lit or incorrectly white-balanced footage will produce inconsistent results. Color correct your clips to a neutral baseline (proper exposure, white balance) before applying any LUT for predictable results.
How many LUTs should I apply to one clip?
Stick to one creative LUT per clip. You can layer a technical LUT (like Log-to-Rec.709 conversion) before your creative LUT, but stacking multiple creative LUTs compounds color shifts and usually looks unnatural. Use nodes or adjustment layers if you need complex grades.
Can I convert Lightroom presets into video LUTs?
Yes, but the process requires third-party tools or plugins since Lightroom and video editors use different color engines. Some preset packs like fall lightroom presets include matching video LUTs so you maintain consistent color across photo and video projects without manual conversion.
Products in this guide
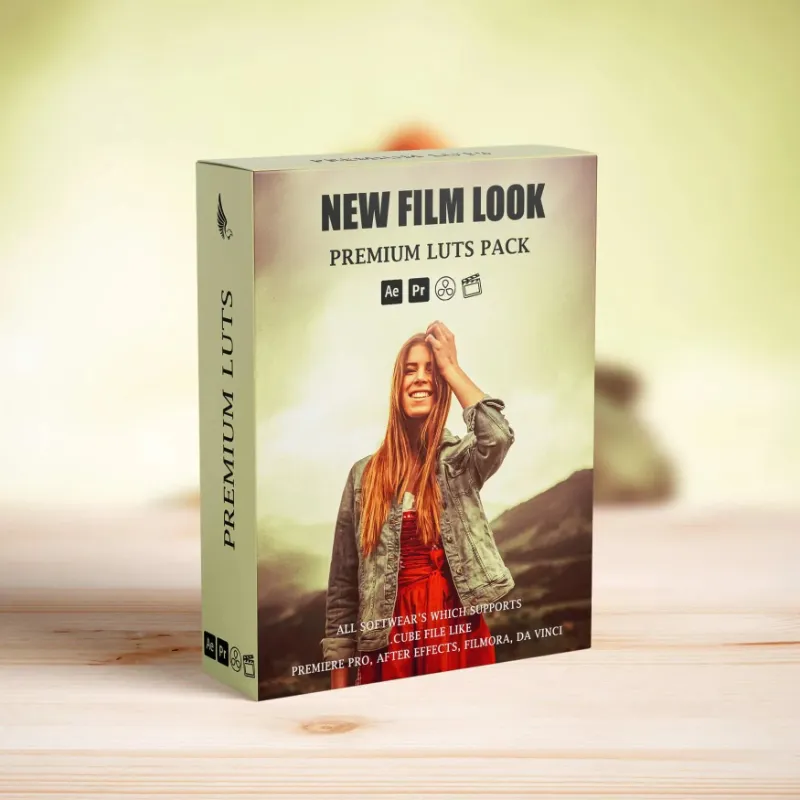
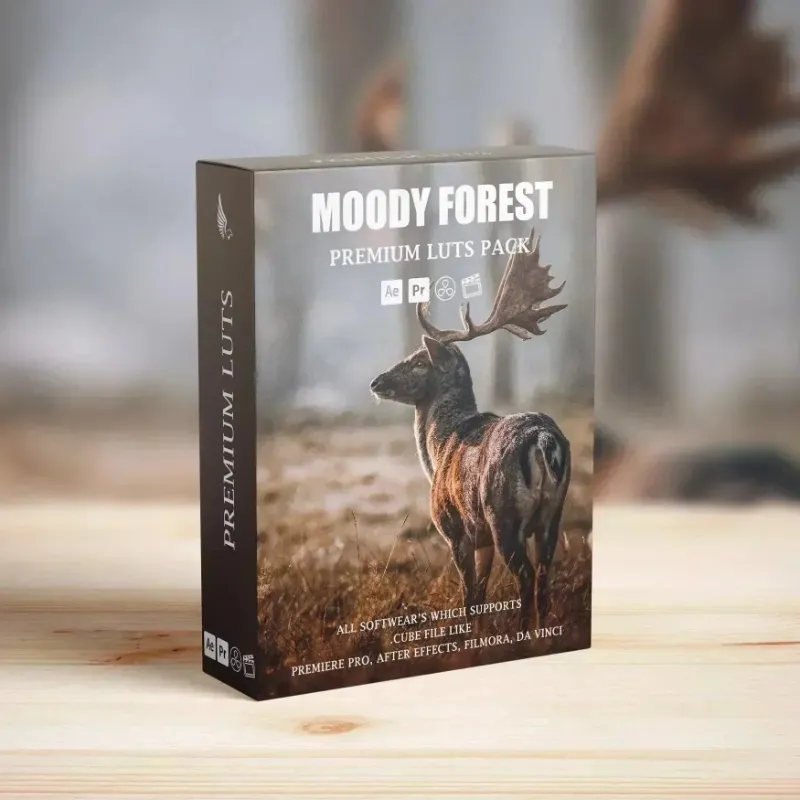
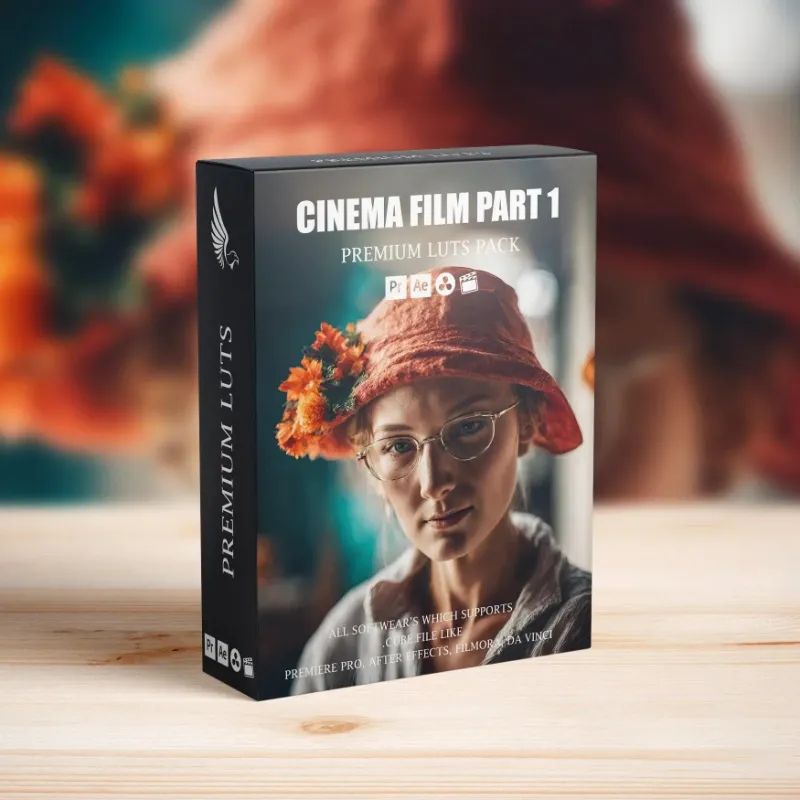 Shopping at AAA PRESETS? See the discount code
10% OFF All Orders
Shopping at AAA PRESETS? See the discount code
10% OFF All Orders
More in this series
How Long Do VHS Overlays Stay Relevant for Retro Video Effects?15 Aug 20264 minWhat’s the Difference Between LUTs and Lightroom Presets?15 Aug 20265 minDo Gym LUTs Actually Work for Fitness Content Creators?15 Aug 20266 minFall Lightroom Presets vs. Manual Color Grading: Which Saves Time?15 Aug 20264 minBest LUT Packs for Cinematic Color Grading15 Aug 20265 min