 A AAA PRESETS guide
Best LUT Packs for Cinematic Color Grading
A lut pack delivers instant cinematic color grading across your entire video workflow, from DaVinci Resolve to Premiere Pro.
A lut pack is a collection of lookup tables that apply professional color grades to your video footage in seconds, giving you instant access to cinematic looks without manual grading.
What Makes a Quality LUT Pack Worth Buying
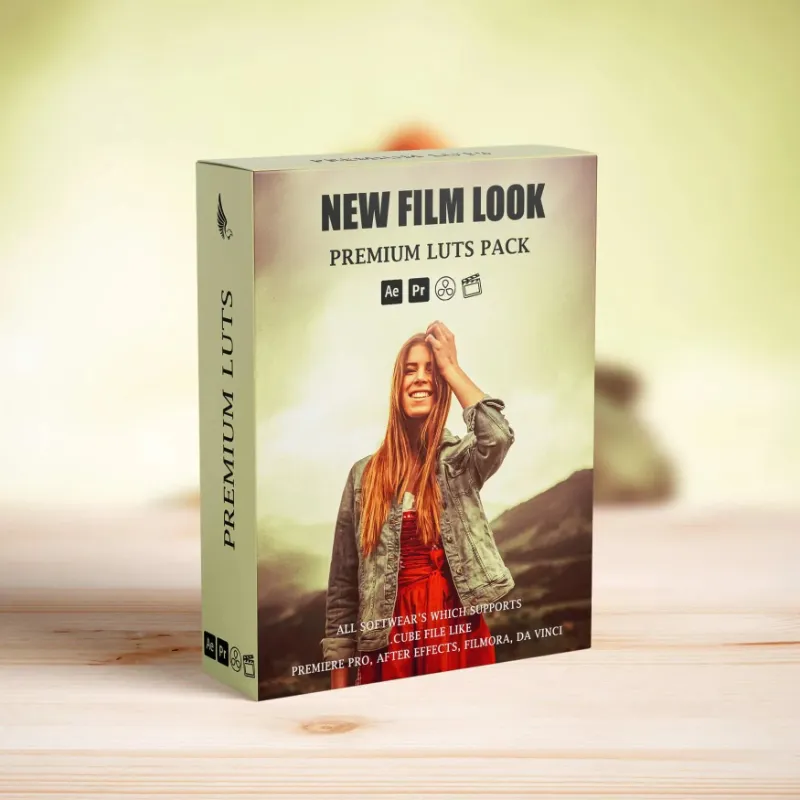
Professional cinema luts separate themselves from free options through color science, dynamic range preservation, and compatibility across editing platforms. The best collections include 20 to 50 distinct looks that cover everything from moody thriller tones to bright commercial vibes, each calibrated to work with Log and Rec.709 footage.
Look for packs that include both creative and technical LUTs. Creative LUTs apply a specific aesthetic (vintage film, teal and orange, desaturated documentary), while technical LUTs convert Log profiles from your camera into viewable color space before you apply the creative grade. A complete lut pack should offer:
- Log conversion LUTs for Canon, Sony, Panasonic, and RED cameras
- Creative grade options spanning 10+ distinct moods
- .cube file format for universal compatibility with DaVinci Resolve, Premiere Pro, Final Cut Pro, and Photoshop
- Preview thumbnails so you can audition looks quickly
- Adjustment instructions that explain how to dial intensity up or down
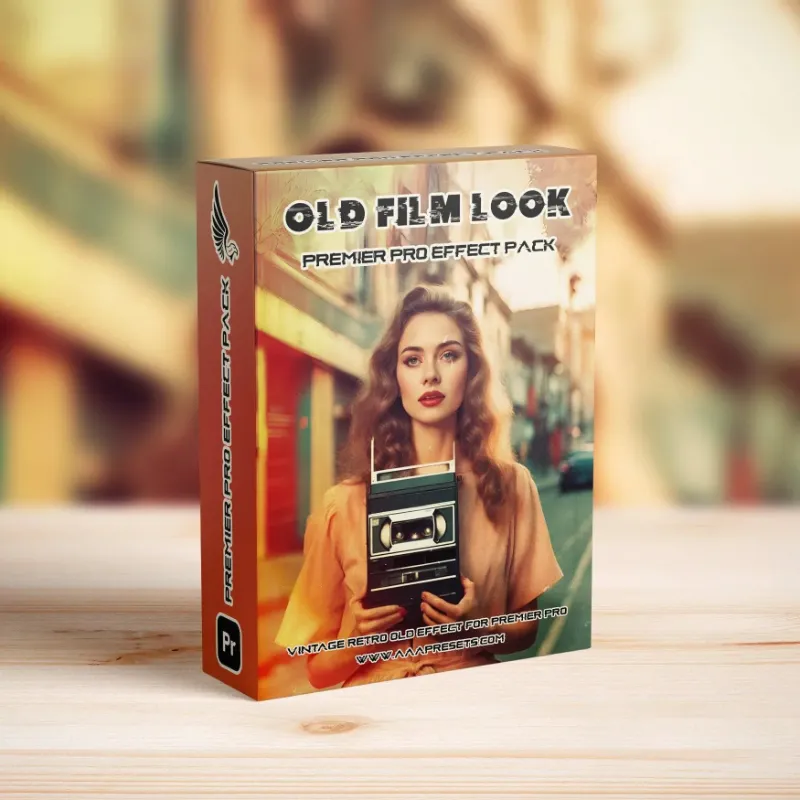
Many editors also appreciate vhs overlay premiere pro assets that layer authentic analog texture over modern footage.
Top Cinema LUT Packs for Film and Commercial Work
Cinematic color grading relies on controlled contrast, refined skin tones, and color palettes that guide the viewer’s eye.
Professional colorists typically start with a base correction LUT, then layer a creative LUT at 50 to 80% opacity for subtlety. This two-step workflow prevents the over-processed look that plagues amateur edits. When you check the latest price on premium packs, you’re investing in years of color science research compressed into drag-and-drop files.
Comparison: Cinema vs Fresh LUT Styles
| Style | Best For | Typical Look |
|---|---|---|
| Cinema | Narrative film, music videos | Deep shadows, warm highlights, controlled saturation |
| Fresh | Lifestyle, travel, social content | Bright midtones, punchy colors, lifted blacks |
| Vintage | Period pieces, nostalgic content | Film grain emulation, faded highlights, shifted hues |
Sites like Lutify.me offer free cinematic color grading LUTs that give you a taste of professional workflows before you invest in a full collection. We recommend testing free options first to understand which color palettes match your shooting style.
LUT Pack for DaVinci Resolve vs Premiere Pro
Both platforms read.cube files natively, but DaVinci Resolve offers finer control over LUT intensity and node-based grading that lets you stack multiple looks. A lut pack for DaVinci Resolve typically includes installation instructions for the correct LUT folder path, which varies between Mac and Windows systems.
In Premiere Pro, you’ll apply LUTs through the Lumetri Color panel under the Creative section. The key difference: Resolve processes LUTs in 32-bit floating point by default, preserving more highlight and shadow detail than Premiere’s 8-bit pipeline unless you adjust project settings.
- Install .cube files in the LUT folder (Creative Cloud > Lumetri > LUTs for Premiere)
- Apply LUTs after basic exposure and white balance correction
- Reduce opacity to 60-70% for natural results
- Stack a film grain overlay for authentic texture
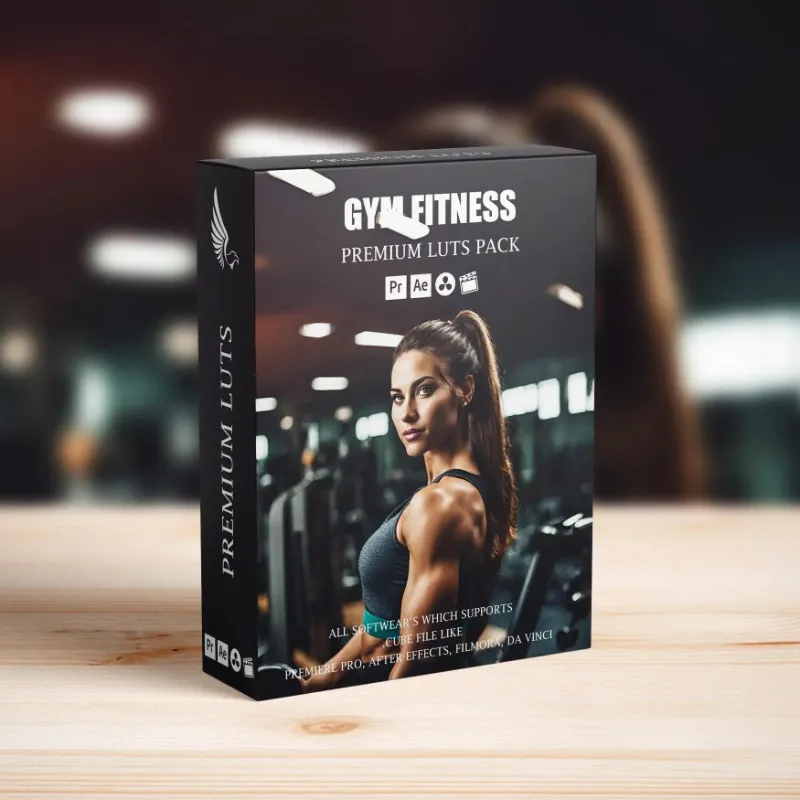
For vlog and social content, gym luts provide high-energy grades optimized for fitness and action footage with fast cuts and dynamic lighting. These specialized packs account for the harsh fluorescent lighting common in gym environments.
Free LUT Packs vs Premium Collections
Free luts color grading pack downloads serve two purposes: learning the LUT workflow and testing whether a particular color style suits your footage. Resources like Giggster’s free LUT pack offer 12 professional-grade options for Photoshop and video editing.
The trade-off comes down to variety and refinement. A free lut pack might include 5 to 10 looks, while premium collections from AAA Presets bundle 40+ options with technical LUTs for every major camera Log profile. Free packs also lack the intensive testing across skin tones and lighting scenarios that separates amateur from professional tools.
Premium packs consistently preserved better skin tone accuracy, avoided color banding in skies, and required fewer manual corrections. If you grade more than one project per month, the time savings justify the investment.
Uppbeat’s free LUTs collection pairs well with their royalty-free music library, giving indie filmmakers a complete post-production resource. Start here if you’re building your first color grading workflow.
Specialized LUT Packs for Season and Style
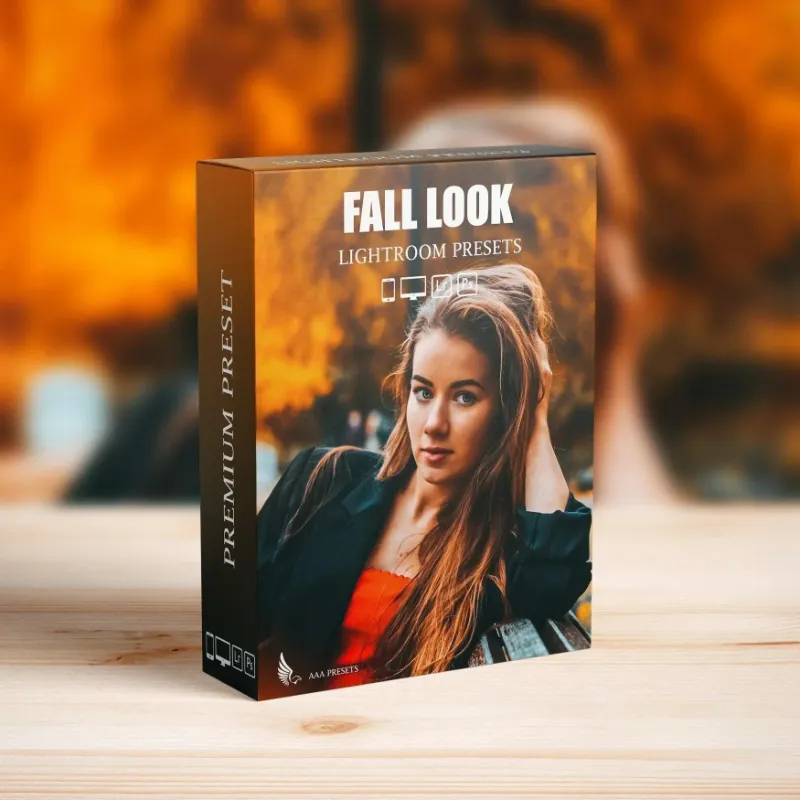
Beyond general cinematic grades, niche packs target specific aesthetics. Fall Lightroom presets and lightroom fall presets translate autumn color palettes (burnt orange, deep red, golden yellow) into video LUTs, perfect for October and November content when warm tones dominate viewer expectations.
A lute color palette approach focuses on complementary color relationships rather than film emulation, giving you grades built around teal-orange, purple-yellow, or red-cyan pairings. These work exceptionally well for music videos and fashion content where bold color statements drive the visual identity.
When to Choose Specialized Over General Packs:
- You shoot 80% of content in one season or environment
- Your brand identity demands consistent color signatures
- You need grades that complement specific wardrobe or set design choices
- Time constraints require zero-adjustment, drag-and-drop reliability
Specialized packs reduce decision fatigue. Instead of auditioning 50 looks, you choose from 10 options all calibrated for your specific use case.
How to Install and Adjust Your LUT Pack
Most lut pack meaning simply refers to bundled.cube files, but installation varies by platform. In DaVinci Resolve, navigate to Project Settings > Color Management > LUT Folder and note the directory path. Copy your.cube files there, restart Resolve, and access them via the LUT dropdown in any Color node.
For Premiere Pro, place LUTs in the Lumetri folder within your Adobe installation directory. Mac users find this at Library > Application Support > Adobe > Common, while Windows users check Program Files > Adobe > Common.
After applying a LUT, always fine-tune these parameters:
- Temperature adjustment to match your white balance
- Exposure tweaks in highlights and shadows independently
- Saturation reduction to 80-90% for natural skin tones
- Contrast curves to recover any crushed blacks or blown highlights
No LUT works perfectly at 100% opacity straight out of the camera. Professional colorists treat LUTs as starting points, not final grades. Grab the code for 10% off to build your collection with premium options that require minimal adjustment.
Choosing the Right LUT Pack for Your Workflow
Match your pack to your shooting format and delivery platform. YouTube creators need punchy, high-saturation grades that hold up through compression. Wedding videographers require flattering skin tones across diverse lighting. Commercial work demands brand color compliance and client approval speed.
Test any lut pack against your actual camera’s Log profile before committing. Some packs optimize for Sony S-Log3, others for Canon C-Log, and results vary dramatically when you mismatch profiles. We recommend starting with the lut pack that explicitly lists your camera brand in the compatibility notes.
Build a curated library of 15 to 20 go-to LUTs rather than hoarding hundreds. Pros rely on a tight rotation of proven grades they can apply confidently under deadline pressure. Your signature style emerges from consistency, not variety.
Questions
What is a lut pack and how does it work?
A lut pack is a collection of lookup table files that remap the colors in your video footage to achieve specific cinematic looks. Each LUT applies a mathematical transformation to pixel values, instantly changing your color grade without manual adjustments.
Can I use the same LUT pack in both DaVinci Resolve and Premiere Pro?
Yes,.cube format LUTs work in both DaVinci Resolve and Premiere Pro, as well as Final Cut Pro and Photoshop. You simply copy the files to each program's LUT folder and they appear in the color grading panel.
Are free LUT packs good enough for professional work?
Free LUT packs work well for learning and testing workflows, but premium collections offer more variety, better skin tone accuracy, and camera-specific technical LUTs. Professional colorists typically invest in paid packs for client work where consistency and quality matter.
Should I apply cinema luts at 100% intensity?
No, most professional colorists apply creative LUTs at 60 to 80% opacity for natural results. Full-intensity LUTs often oversaturate skin tones or crush shadow detail, so dial down the effect and fine-tune exposure afterward.
Do I need different LUT packs for Log vs Rec.709 footage?
Yes, Log footage requires a technical conversion LUT before applying creative grades, while Rec.709 footage can accept creative LUTs directly. Quality LUT packs include both types so you can grade footage from any camera profile.
How many LUTs should a good pack include?
Professional LUT packs typically include 20 to 50 looks covering diverse moods and styles, plus technical conversion LUTs for major camera brands. More important than quantity is having versatile options that match your specific shooting style and subject matter.
Products in this guide
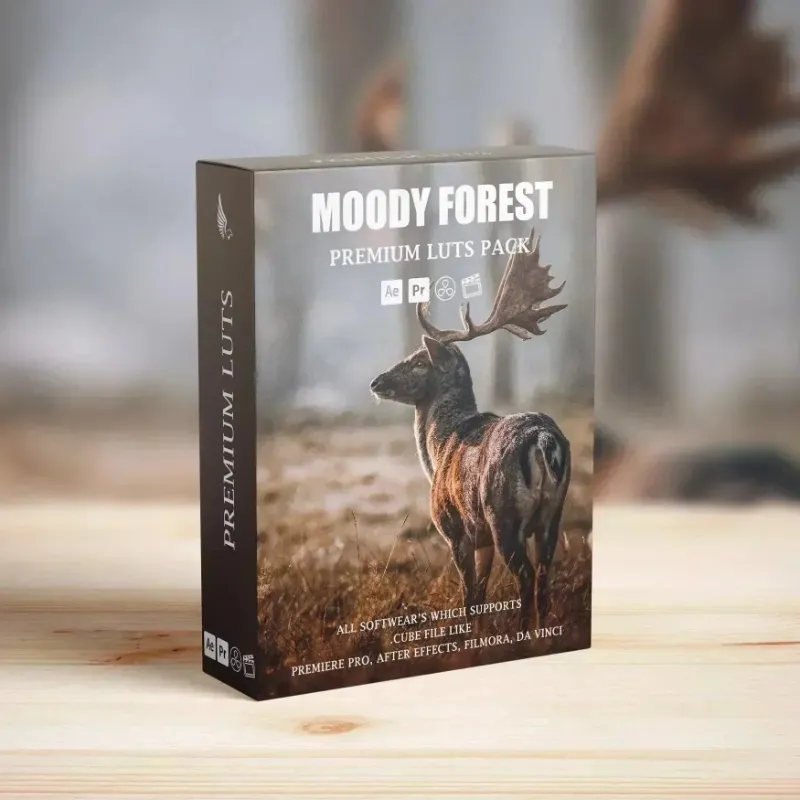
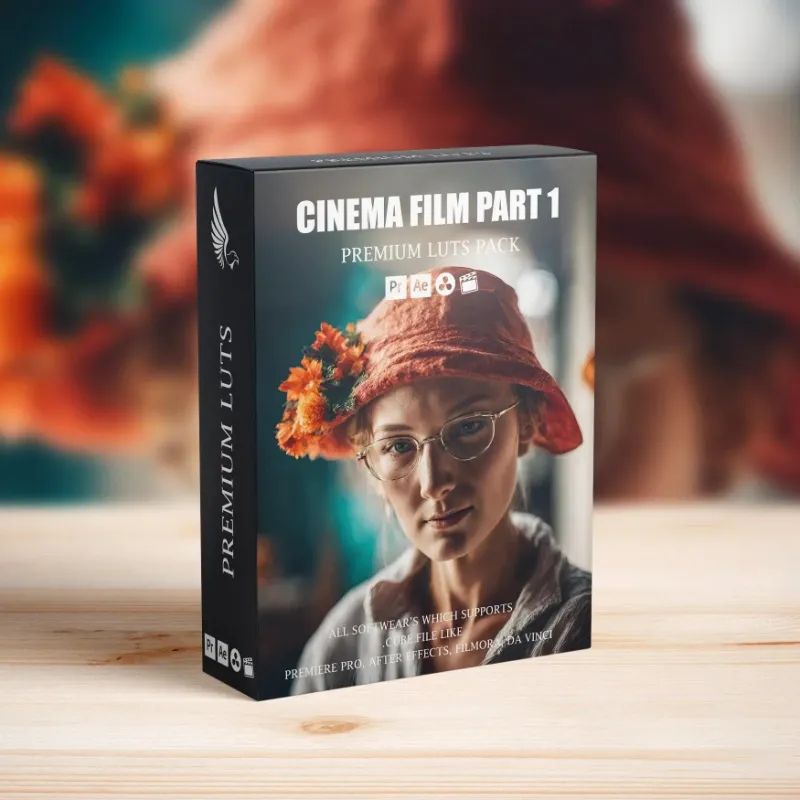
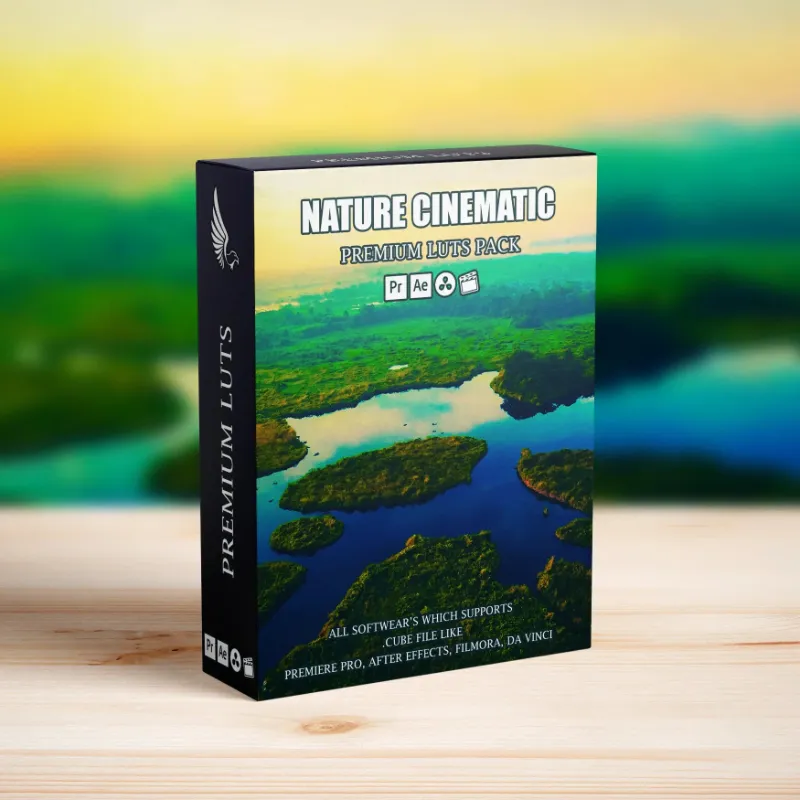 Shopping at AAA PRESETS? See the discount code
10% OFF All Orders
Shopping at AAA PRESETS? See the discount code
10% OFF All Orders
More in this series
How Long Do VHS Overlays Stay Relevant for Retro Video Effects?15 Aug 20264 minWhat’s the Difference Between LUTs and Lightroom Presets?15 Aug 20265 minDo Gym LUTs Actually Work for Fitness Content Creators?15 Aug 20266 minFall Lightroom Presets vs. Manual Color Grading: Which Saves Time?15 Aug 20264 minHow to Install and Use LUTs in Premiere Pro and DaVinci Resolve15 Aug 20264 min