 A Metalkitor guide
How to Assemble Your First Toyan V8 Engine
A toyan engine is a precision miniature engine kit that replicates full-scale mechanics in a desktop model, and assembling one is easier than most beginners expect.
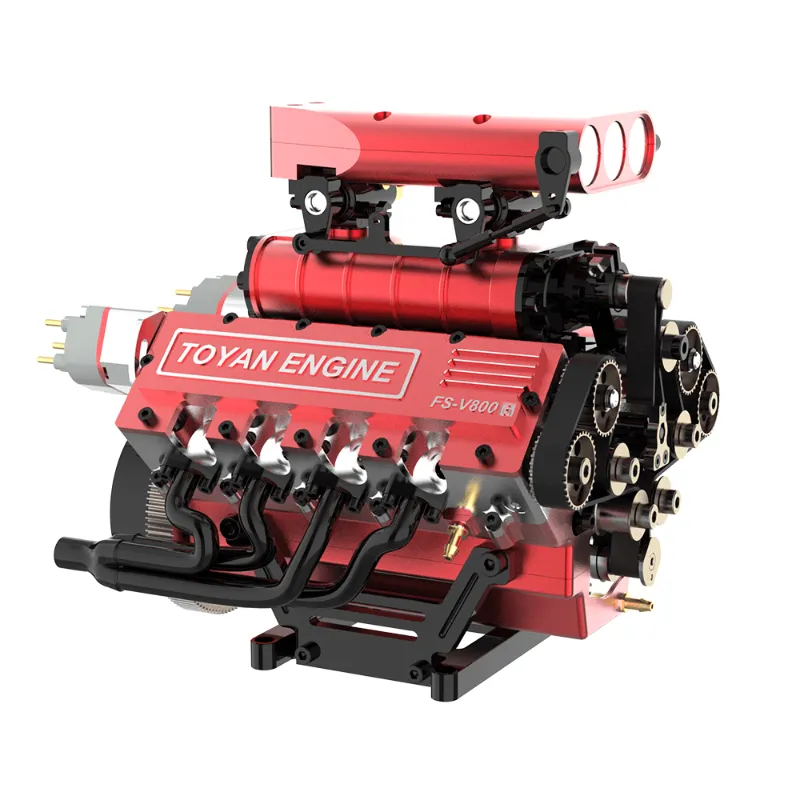
A toyan engine is a miniature engine kit that replicates full-scale mechanics in a desktop model, and building one is more approachable than it first looks. Whether you choose a toyan v8 engine or a simpler variant, the process teaches real mechanical principles while producing a functioning, display-worthy model.
What makes Toyan engine kits different
The toyan engine line stands out because the kits include machined metal parts, a functional timing system and a real combustion cycle. Unlike static metal puzzles or display-only models, these engines run on fuel and produce power. The Toyan engine manufacturer designs each kit with numbered parts, exploded view diagrams and video support, which shortens the learning curve.
For a first build, Toyan strikes a reasonable balance between detail and approachability. V8 models deliver the most dramatic visual impact, while simpler variants use fewer parts and assemble faster.
Tools and workspace to set up first
You will need a clean, well lit table and a few basic tools that most kits do not include:
- Small screwdriver set (Phillips and flat head, precision sizes)
- Needle-nose pliers and tweezers for small fasteners
- Hex key set (metric, small sizes)
- Threadlocker (blue, medium strength)
- A small container or magnetic tray for screws
- A magnifying glass or headlamp for tiny parts
Lay out all components and check them against the parts list before you begin. Missing or damaged pieces are uncommon, but catching them early saves frustration. Keep the exploded diagram nearby and cross off each step as you complete it. Plan for an uninterrupted session, since rushing leads to stripped threads and misaligned timing.
Step by step assembly
Most toyan engines follow a similar build sequence, though part counts and sub-assemblies vary by model. Follow your kit’s own manual for exact torque and clearance figures, since these differ between models.
Stage one: crankcase and crankshaft
Start with the crankcase halves and crankshaft. Apply a thin film of assembly grease to bearing surfaces, seat the crankshaft into the lower case, align the oil passages and bolt the upper case on, tightening screws in a star pattern to avoid warping. The crankshaft should spin freely with no binding.
Stage two: pistons, connecting rods and timing
Install pistons onto connecting rods, checking the orientation notch faces the correct side per your manual. Slide the piston rings into their grooves, staggering the gaps so they do not line up, then attach each rod to the crankshaft journal and lower the cylinder sleeves over the pistons. Supercharged variants add a pulley system here, so follow the diagram closely.
Stage three: cylinder heads and valvetrain
Bolt the cylinder heads to the block, torquing screws evenly. Install camshafts, rocker arms and valve springs, checking that each valve opens and closes smoothly when you rotate the crankshaft by hand. Misaligned timing at this stage will prevent the engine from firing, so double check cam position against the timing marks.
Stage four: carburetor, ignition and fuel system
Mount the carburetor to the intake manifold and connect the fuel lines. Install the spark plug and ignition coil, routing wires away from moving parts. Prime the fuel system by turning the engine over slowly until fuel reaches the carburetor.
Common mistakes and how to avoid them
First builds tend to run into the same handful of errors:
- Over-tightening screws. Aluminum threads strip easily. Snug is enough; use threadlocker instead of extra force.
- Skipping lubrication. Dry bearings can seize during break-in. Use the included assembly oil on every sliding surface.
- Ignoring timing marks. Even one tooth off can prevent the engine from starting. Verify cam and crank alignment twice.
- Forcing parts. If a component does not fit, stop and check the diagram rather than pushing harder.
Keep a small notebook to track which screws go where, since many kits use several different screw lengths and mixing them up derails progress.
Break-in and first run
Once assembly is complete, follow your kit’s manual for the break-in procedure, which typically starts with rotating the crankshaft by hand to seat bearings and rings without combustion stress, followed by a short first run at a richer fuel mixture and lower RPM than normal operation.
Monitor engine temperature during the first few runs. If the cylinder head becomes too hot to touch, stop and check for a lean mixture or timing issue. A properly tuned engine should idle smoothly and accelerate cleanly without stalling.
For current pricing on fuel, accessories and additional kits, see the current Metalkitor discount code.
Which model suits a first build
Simpler, lower part count kits teach the same mechanical principles as a V8 with fewer opportunities for mistakes, and generally take less time to complete. We would suggest starting with a simpler model, then moving up to a V8 or supercharged variant once you have one successful build behind you. Check the parts list and estimated build time on each product page before you choose, since these vary by model.

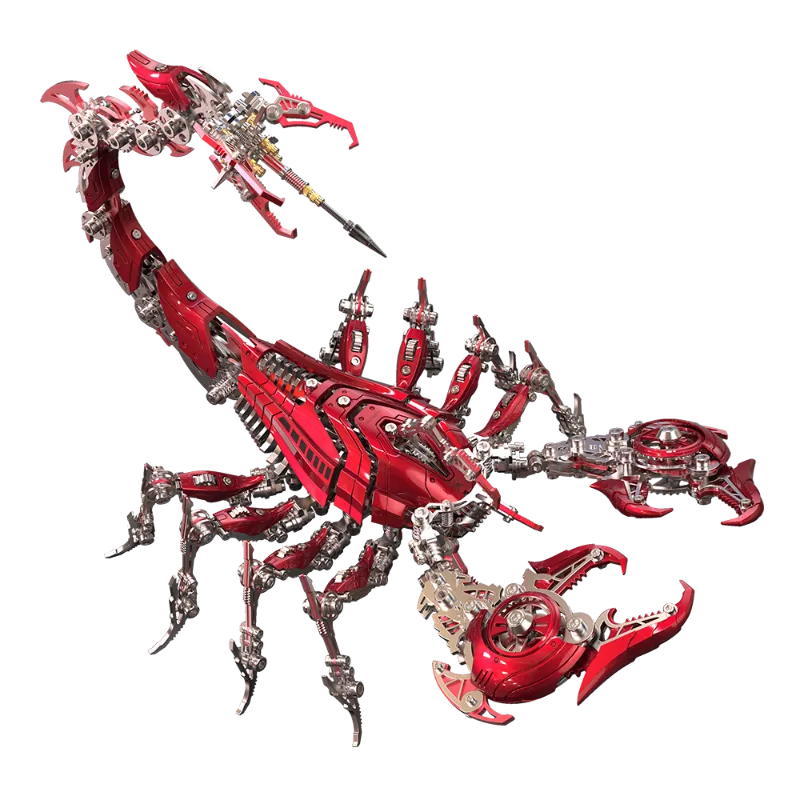
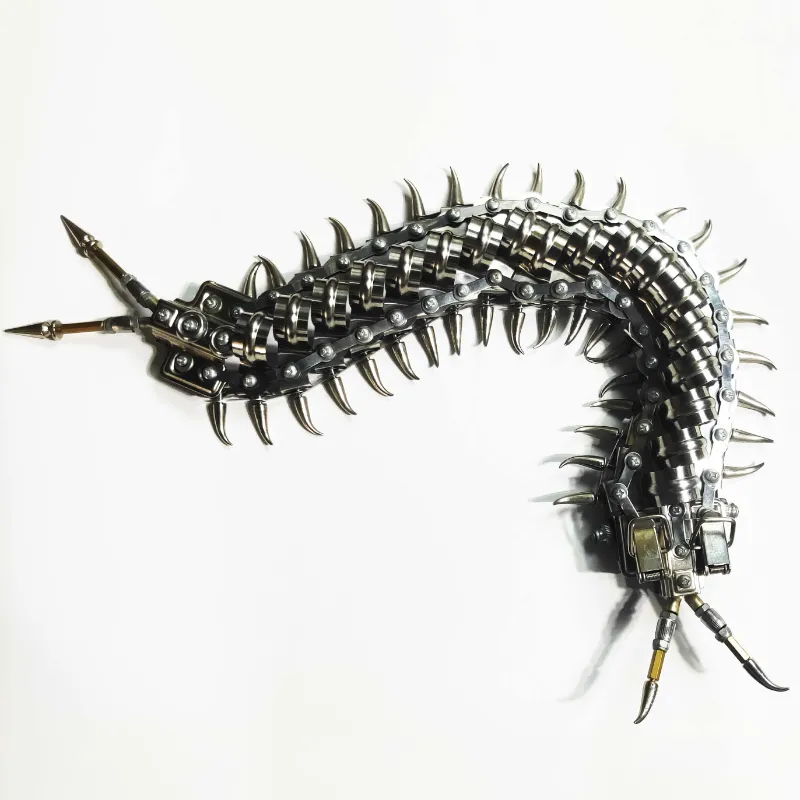
If you want a different kind of project, the 3D metal mantis puzzle kit and metal scorpion king puzzle kit offer intricate assembly without a combustion system, while the 3D metal centipede puzzle kit adds articulated segments in a smaller package.
Where to buy and getting support
If a part arrives missing or damaged, contact the seller with your model number before assuming the kit is incomplete. The Metalkitor discount code page lists the current sitewide offer, which applies across the model engine range.
Buy from an authorized retailer that offers parts support rather than an unusually cheap marketplace listing, since lower quality metal and looser tolerances can make assembly far harder.
Assembling your first model engine takes patience, but the mechanical understanding and the finished result are worth the time. Start with the right tools, follow the sequence in your manual carefully, and your toyan v8 engine should run as smoothly as the full-scale motors it replicates.
Questions
How long does it take to assemble a Toyan engine kit?
It depends on the model and your experience. A simpler variant with fewer parts generally takes a few hours, while a V8 can take considerably longer. Check the estimated build time and part count on the product page, and plan for uninterrupted sessions rather than rushing.
Do I need prior mechanical experience to build a Toyan V8?
No prior experience is required, but comfort with small hand tools helps. The included diagrams and manufacturer videos guide you through each step, and the parts are numbered for identification.
What type of fuel do Toyan engines use?
Most Toyan engines run on a methanol and synthetic oil mixture similar to RC car fuel. The exact ratio is listed in your kit's manual, and pre-mixed fuel is available from hobby shops and online retailers.
Can I display the engine without running it?
Yes. Many builders assemble these engines purely for display and skip the fuel system installation, mounting the finished engine on a stand instead. Testing it once can still help confirm everything was assembled correctly.
What is the difference between Toyan and other model engine kits?
Materials, tolerances and included instructions vary by manufacturer and price point. Compare the parts list, included support materials and reviews for the specific models you are considering before you buy.
Are replacement parts available if I lose or break a component?
Check with the retailer or manufacturer directly. Authorized sellers typically stock replacement parts for major models, and contacting support with your model number is the fastest way to get the right part.
Products in this guide
 Shopping at Metalkitor? See the discount code
12% OFF Sitewide
Shopping at Metalkitor? See the discount code
12% OFF Sitewide
More in this series
Metal Model Kits: Buy for the Display or the Build?18 Aug 20265 minTroubleshooting Common Issues with Toyan Engine Kits: Starting Problems and Tuning Solutions18 Aug 20266 minWhat Makes the Centipede Lighter Crafting Process Worth the Build Time?18 Aug 20265 minDo Metal Puzzles Dull Over Time? Maintenance Tips for Puzzle Metalic and Similar Kits18 Aug 20264 minToyan vs Cison Model Engines: Which Brand Offers Better Performance and Value?18 Aug 20265 min