 A Digital Zakka guide
How to Use a Diamond Sharpening Stone to Get a Razor-Sharp Edge
A diamond stone delivers a razor-sharp edge faster than traditional whetstones when you master the right angle, pressure, and stroke technique.
A diamond stone delivers a razor-sharp edge faster than traditional whetstones when you master the right angle, pressure, and stroke technique.
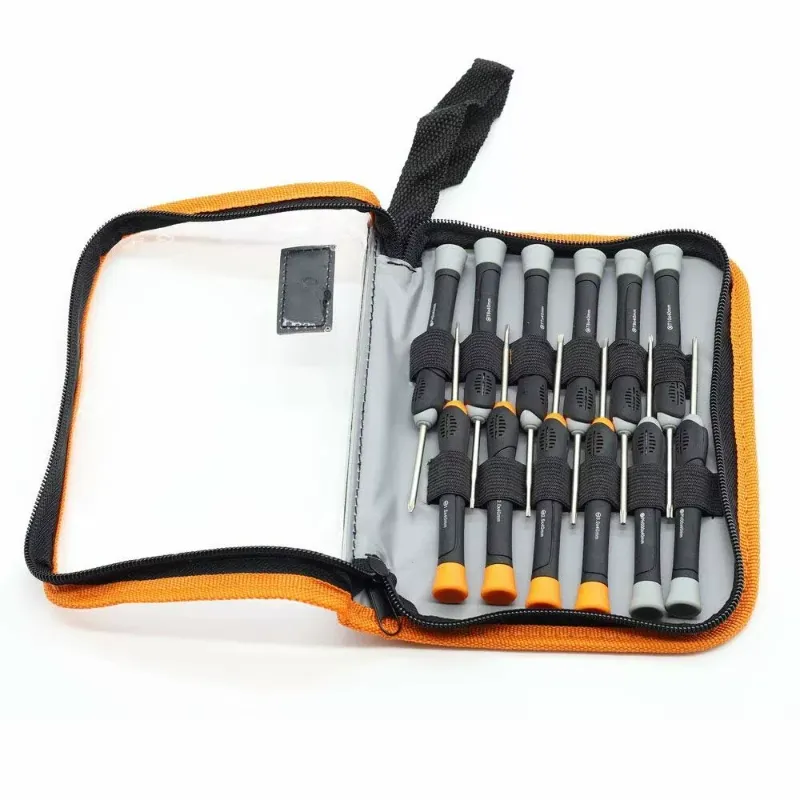
Whether you’re sharpening kitchen knives, precision screwdriver bits, or outdoor tools, the same core principles apply. Below we walk through exactly how to set up, sharpen, and maintain your blades using a diamond stone sharpener.
Why Choose a Diamond Stone Sharpener Over Whetstones
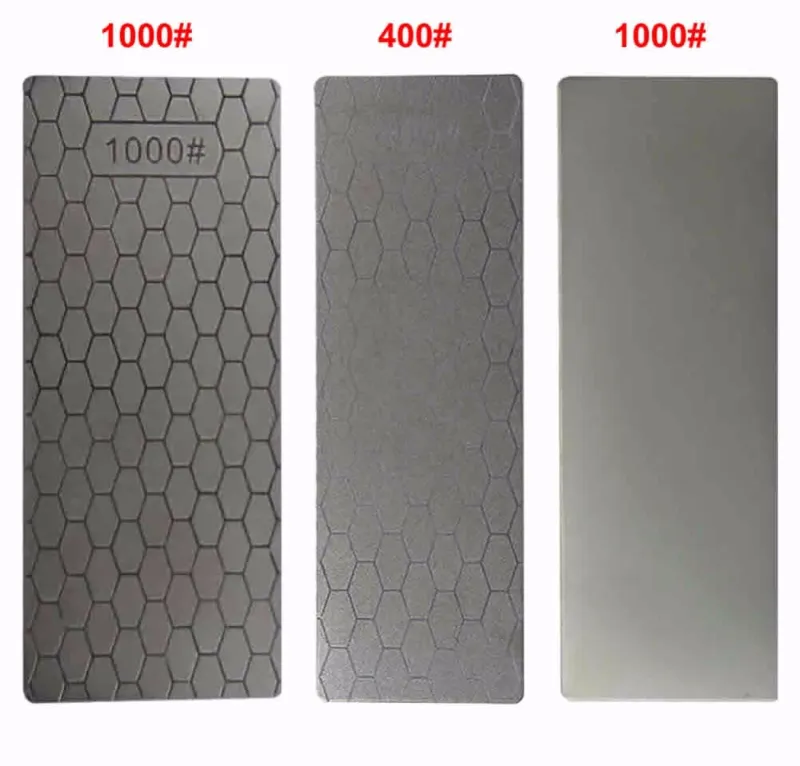
Diamond stones use industrial diamond particles bonded to a metal or plastic plate. This construction offers three major advantages over oil stones and water stones:
- Speed: Diamond abrasives remove metal 3 to 5 times faster than aluminum oxide or silicon carbide
- No soaking: Unlike water stones that require 10 to 20 minutes of prep, diamond plates work dry or with a light water spray
- Durability: A quality diamond stone will outlast a dozen traditional whetstones without dishing or needing flattening
The tradeoff is edge feel. Some knife enthusiasts prefer the polished finish from fine Japanese water stones, but for utility sharpening (workshop tools, hunting knives, everyday carry blades), diamond wins on practicality.
Selecting the Right Grit for Your Task
Diamond stone grit ratings run opposite to sandpaper: lower numbers mean coarser abrasive. Most sharpening tasks require two or three stages.
| Grit Range | Purpose | Typical Use |
|---|---|---|
| 200 to 325 | Coarse | Repair chips, reshape bevels, very dull blades |
| 400 to 600 | Medium | General sharpening, routine maintenance |
| 1000 to 1200 | Fine | Refining edges, polishing after coarse work |
We recommend starting with a double-sided 400/1000 combination stone for versatility. Check the latest price to see if our 10% discount applies to multi-grit options.
If you’re sharpening carbide tools or reshaping damaged edges frequently, add a 200-grit plate. For razors or specialty blades that demand mirror polish, a 1200+ finishing stone is worth the investment.
Step-by-Step Sharpening Technique
Setup and Positioning
Secure your diamond stone sharpener on a non-slip surface or damp towel. Position it perpendicular to your body so you can sweep the blade away from yourself. Add 2 to 3 drops of water or honing oil to float away metal particles (diamond stones work dry, but lubrication prevents loading and extends plate life).
Finding and Holding the Correct Angle
Most kitchen knives sharpen at 15 to 20 degrees per side; outdoor and utility knives take 20 to 25 degrees. To visualize 20 degrees, imagine the blade standing upright at 90 degrees, halve that to 45, then halve again to roughly 22.
- Hold the knife handle in your dominant hand
- Place two or three fingers of your other hand on the blade flat, near the edge
- Tilt until you feel the bevel sit flush against the stone
- Lock your wrists and maintain this angle throughout the stroke
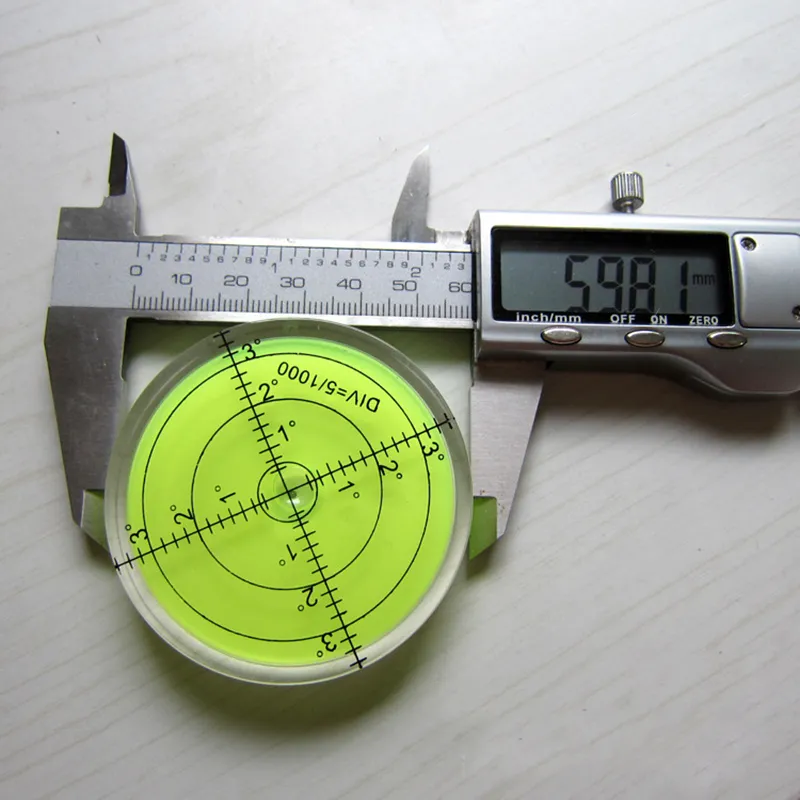
Consistency matters more than the exact degree. If you struggle with freehand angle control, a simple spirit level or angle guide clipped to the spine can help you train muscle memory.
The Sharpening Stroke
Start at the heel (the part of the edge closest to the handle) with light to moderate pressure. Draw the blade across the stone in a smooth arc, moving from heel to tip while keeping the edge in contact. Imagine you’re trying to shave a thin layer off the stone surface.
- Pressure: Firm enough to feel resistance, light enough that you’re not bending the blade
- Speed: One full stroke every 2 to 3 seconds; rushing causes uneven bevels
- Count: 10 to 15 strokes per side on your working grit, then flip and match the count exactly
You’ll know you’ve raised a burr when you feel a tiny wire edge along the opposite side. Run your thumb gently perpendicular to the edge (never along it) to detect the burr. Once it’s present along the full length, move to your finer grit and repeat with lighter pressure.
Transitioning Between Grits and Finishing
After forming a burr on your coarse stone, rinse the blade and switch to medium grit. Repeat the same stroke pattern with 10 strokes per side, using slightly less pressure. The burr will shrink. On your final fine grit, reduce to 5 to 8 strokes per side with very light pressure to polish away any remaining burr and micro-serrations.
Some sharpeners finish with a few edge-trailing strokes (pulling the spine forward, edge away from the stone) to remove the last traces of burr. Test sharpness by slicing newspaper or shaving arm hair. A razor-sharp edge will bite and cut cleanly without tearing.
If you’re also maintaining workshop tools like a 12 in 1 magic precision screwdriver, the same principles apply to the flat bits, but you’ll sharpen the tip face at the factory grind angle (usually 25 to 30 degrees for slotted drivers).
Maintaining Your Diamond Stone and Extending Its Life
Diamond stones don’t dish like natural stones, but they do load with metal particles and can glaze over time. After each session:
- Rinse both sides under running water
- Scrub lightly with a nylon brush or old toothbrush to clear embedded swarf
- Dry completely before storing flat (never store wet, as moisture can creep under the diamond layer and cause delamination)
Every 10 to 15 sharpening sessions, clean more aggressively with a dedicated stone cleaner or a paste of baking soda and water. Avoid soaps with heavy oils or silicones, which can build up and reduce cutting efficiency.

Store your stone in a protective case or wrap it in cloth. If you travel with sharpening gear (camping, field dressing, on-site repair work), a padded case like the telesin expandable action cam carrying case offers similar foam-lined protection sized for flat accessories.
Common Mistakes and How to Avoid Them
Inconsistent angle: The most common error. Practice on an old butter knife until your muscle memory locks in. Mark the bevel with a Sharpie; if you’re holding the correct angle, the ink will wear evenly.
Too much pressure: Let the abrasive do the work. Excessive force heats the edge, wears the stone unevenly, and can roll delicate edges.
Skipping grits: Jumping from 200 to 1200 leaves deep scratches under a thin polish. Each grit should erase the scratches from the previous stage.
Not raising a burr: If you don’t feel a burr form on the coarse stage, you haven’t reached the apex. Keep going until it appears along the entire edge.
For the best results and to save on your first diamond stone sharpener, grab the code before starting your order. The 10% discount applies across all orders and helps offset the upfront cost of quality abrasives.
Once you’ve dialed in your technique, a single diamond stone will keep every blade in your workshop sharp for years. The speed and simplicity make it our top recommendation for anyone moving beyond pull-through sharpeners and into real edge maintenance.
Questions
Do I need water or oil with a diamond stone?
Diamond stones work dry, but a light spray of water helps float metal particles away and prevents the surface from loading. Oil works too, though water is easier to clean. Avoid heavy oils that can gum up the abrasive.
How long does a diamond sharpening stone last?
A quality diamond stone will last 10 to 15 years of regular home use before the abrasive layer wears down. They outlast traditional whetstones by a wide margin and never need flattening.
Can I sharpen serrated knives on a diamond stone?
Serrated edges require a tapered rod or specialized tool to reach into each gullet. Flat diamond stones work only for the flat side of a serrated blade, which isn't enough to restore the edge.
What grit diamond stone should I start with?
Start with a 400/1000 double-sided combination stone. The 400 grit handles routine sharpening and light repairs, while the 1000 grit refines the edge. Add coarser or finer grits later as your needs grow.
Why does my knife still feel dull after sharpening?
You likely didn't raise a burr on the initial grit, meaning you never reached the apex of the edge. Sharpen longer on your coarse stone until you feel a wire edge form along the entire blade.
Can I use a diamond stone on ceramic knives?
Yes, diamond is one of the few abrasives hard enough to sharpen ceramic. Use light pressure and a fine grit (1000+) to avoid chipping the brittle edge.
Products in this guide
Shopping at Digital Zakka? See the discount code
10% OFF All Orders
More in this series
Electric Pottery Wheel Buying Guide: What Beginners Get Wrong Before Their First Purchase19 Aug 20266 minThe Best Tools Every DIY Electrician Should Own (Voltage Tester Pen Included)19 Aug 20265 min Wading Suit Fishing Gear vs. Regular Waterproof Pants: What Serious Anglers Actually Need19 Aug 20265 minTelesin Expandable Action Cam Carrying Case Review: Is It Worth It for Adventure Photographers?19 Aug 20263 min