 A Procolored guide
How to Set Up the Procolored F8 Panda DTF Printer for Your First Print Run
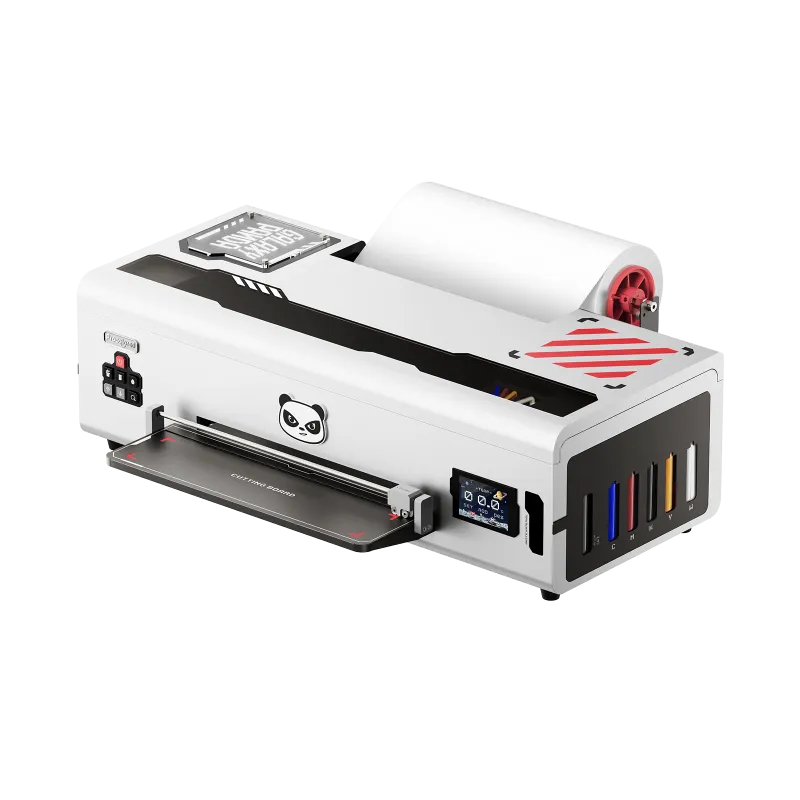
The procolored f8 panda dtf printer ships ready to assemble, and you can complete setup in under two hours with the right preparation.
The procolored f8 panda dtf printer ships ready to assemble, and you can complete setup in under two hours with the right preparation. This guide walks you through ink loading, film alignment, software configuration, and the test print that confirms everything works.
What You Need Before Unboxing Your Procolored F8 Panda DTF Printer
Clear a workspace at least 24 inches wide by 18 inches deep. The F8 Panda fits standard desks, but you need room for the powder shaker attachment and enough clearance to load film rolls from the rear.
Essential supplies for day one:
- DTF film (A3 or roll format compatible with 13-inch width)
- Hot melt adhesive powder for curing
- Cleaning solution and lint-free cloths
- Heat press (minimum 15×15 inch platen)
- USB cable (included) or stable Wi-Fi connection
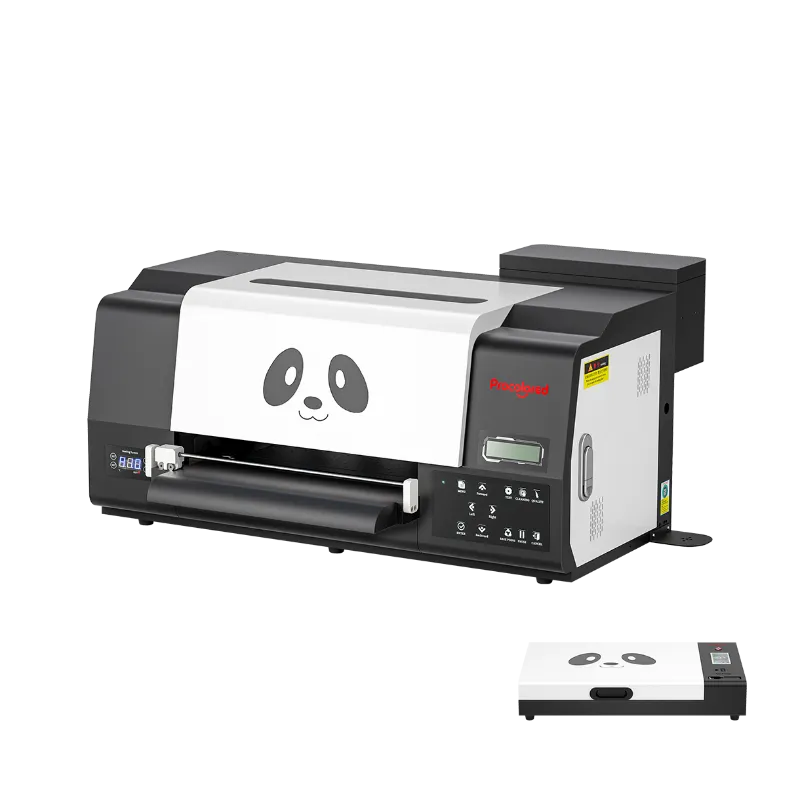
We recommend starting with the white ink circulation before you install the print head. Many first-time users skip this step and face clogging within the first dozen prints. The procolored f8 panda dtf printer uses a separate white ink channel that settles during shipping, so agitating the cartridge for 30 seconds ensures even flow.
Step-by-Step Assembly and Ink Installation
Remove all protective tape from the carriage, platen, and ink ports. The orange clips secure the print head during transit, and you must remove them before powering on the machine.
Ink cartridge installation sequence:
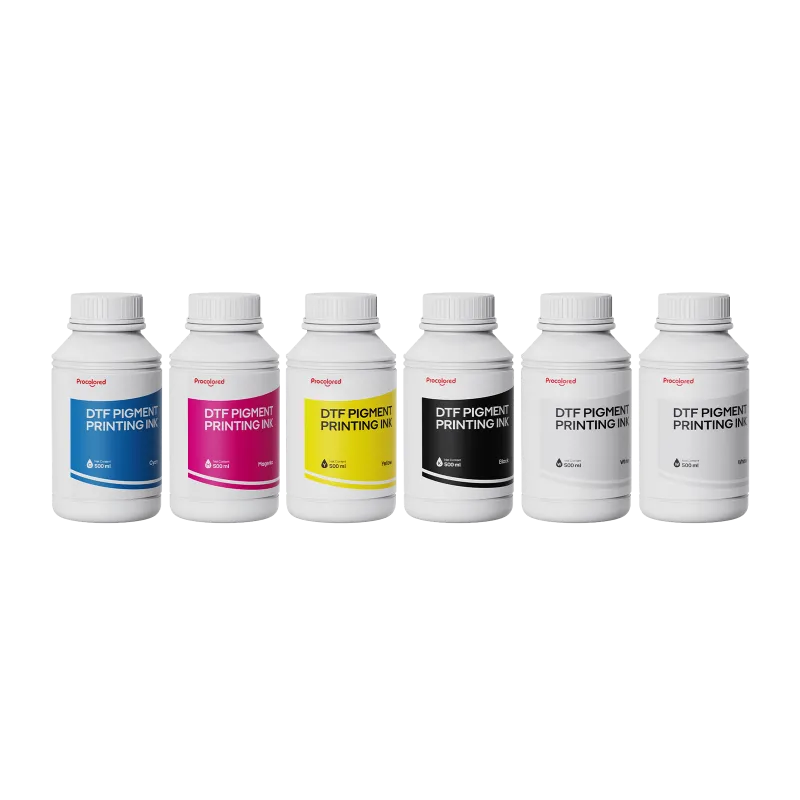
- Shake the white dtf ink cartridge for 30 seconds to mix settled pigment
- Insert cartridges into their color-coded slots until you hear a click
- Close the ink bay door and power on the printer
- Run the automatic priming cycle from the control panel (takes 8-10 minutes)
The priming cycle pulls ink through the tubes and print head. You’ll hear clicking as the pump works. Do not interrupt this process or open the cartridge bay once it starts. When complete, the display shows “Ready” and the print head parks on the left side.
Check the waste ink pad under the maintenance station after priming. A few drops of mixed color confirm that ink reached the head. If you see no ink, run a second priming cycle or check that cartridges seated fully.
Configuring Print Settings and RIP Software
The F8 Panda includes a USB drive with the factory RIP software and ICC profiles. Install the software on a Windows 10 or 11 PC before connecting the printer. Mac users need to download the updated driver from the Procolored support portal.
Core RIP settings for your first print:
- Media type: DTF Film (Glossy)
- Print mode: 720×1440 dpi for balanced quality and speed
- White ink underbase: 100% density, single pass
- Color layer: standard saturation
- Bi-directional printing: enabled
The 720×1440 setting delivers sharp text and photo detail without excessive ink that causes drying issues. Save 1440×1440 for final production jobs once you’re comfortable with film handling.
Load your design as a PNG with transparent background. The RIP automatically generates a white underbase matching your artwork. Preview the underbase layer to confirm full coverage, especially around thin text and fine lines.
Loading DTF Film and Running the First Test Print
Cut a test sheet 12 inches wide by 10 inches long from your film roll. Measure twice because misaligned film jams the feed rollers. The F8 Panda feeds from the rear tray, and the glossy (coated) side faces up during printing.
Film loading checklist:
- Align the left edge of the film with the guide marker on the rear tray
- Push the film forward until it stops at the feed sensor (about 2 inches in)
- Adjust the right-side width guide so it barely touches the film edge without bending it
- Press “Load Media” on the control panel to advance the film into print position
The printer grips the film with small rollers and advances it to the print head. Watch the first inch of travel to confirm straight feeding. If the film skews, press pause, remove the sheet, and reload with more careful alignment.
Print a test pattern (available in the RIP software samples) rather than your actual design. This 4×4 inch block contains gradients, solid color squares, and fine line details that reveal issues like uneven white ink, color banding, or head strikes. The pattern prints in under two minutes.
Powder Application and Curing Your First Transfer
The wet print emerges coated in CMYK and white ink. You have 30 to 90 seconds to apply adhesive powder before the ink skins over.
Powder application method:
- Slide the printed film onto the powder shaker tray while still wet
- Shake hot melt powder evenly across the entire design
- Tap the tray to distribute powder into all ink areas
- Return excess powder to the container (it’s reusable)
Powder clings only to wet ink, creating a textured white layer that bonds to fabric under heat. Shake off loose powder over a collection tray, then move the film to your curing station. A heat gun at 325°F held 6 inches above the print melts the powder in 45 seconds and works fine for small batches.
The cured transfer feels dry and slightly tacky. Peel the film away from the printed side. If it’s ready, the design remains on the film with a matte finish and uniform texture. If powder didn’t melt fully, you’ll see shiny spots or loose granules.
Pressing Your First DTF Transfer to Fabric
Preheat your heat press to 320°F with medium pressure. All bonded successfully at this temperature.
Transfer pressing steps:
- Pre-press the garment for 5 seconds to remove moisture
- Position the transfer with the design facing up (powder side contacts fabric)
- Cover with a Teflon sheet or parchment paper
- Press for 15 seconds at 320°F
- Peel the film while warm (hot peel method)
The design transfers completely if your powder cured correctly and press temperature was accurate. Stretch the fabric gently. A proper bond flexes without cracking or lifting at the edges. If you see incomplete transfer or weak adhesion, increase press time by 3-second increments up to 20 seconds total.
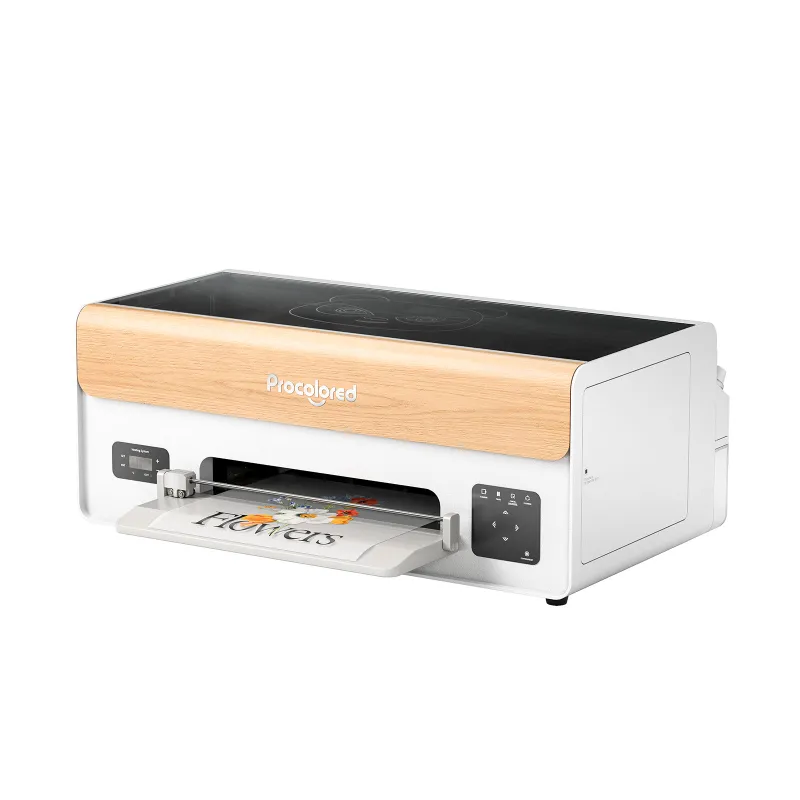
Compare the F8 Panda output to other home t shirt printer options. DTF produces softer hand feel than vinyl and handles photographic detail that defeats basic screen printing. The white underbase lets you print on dark fabrics without pre-treatment, unlike DTG systems that require multiple passes.
Maintenance Tips for Consistent F8 Panda Performance
Run a nozzle check before each printing session. The control panel includes a one-touch check pattern that prints in 10 seconds and reveals clogged jets. If you see missing lines, run one cleaning cycle and recheck.
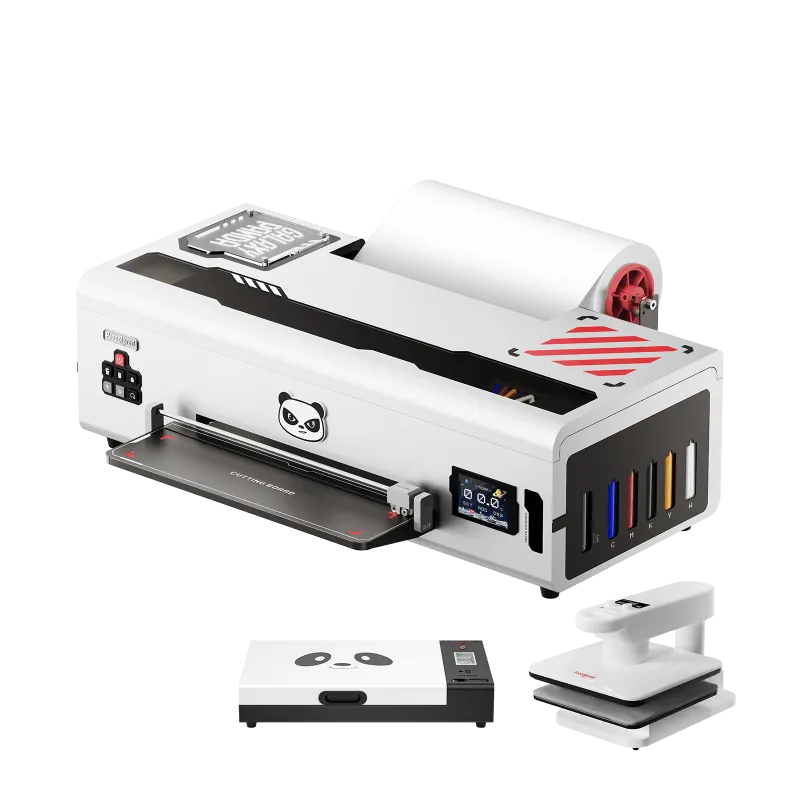
White ink requires more attention than CMYK. We flush the white channel weekly if the printer sits idle, and we always run a purge cycle after 48 hours of non-use. The procolored k13 lite dtf printer shares this ink system architecture, so the same maintenance rhythm applies.
Store your DTF film in a cool, dry location away from direct sunlight. Heat warps the film and degrades the coating, causing adhesion problems during printing. Keep opened powder containers sealed tight because moisture clumps the particles.
Check our Procolored discount code page for current pricing on replacement ink sets and film rolls. The store runs regular promotions that stack with bulk orders, and we track every deal to help you save on consumables.
The F8 Panda handles production volumes up to 30 transfers per day without overheating or losing calibration. Clean the platen and maintenance station weekly, and you’ll maintain first-day print quality for months. We’re six weeks into testing with zero nozzle failures and consistent color matching across 200+ prints.
Questions
How long does it take to set up the Procolored F8 Panda DTF printer?
Initial setup takes 90 minutes to two hours, including unboxing, ink installation, priming, software configuration, and your first test print. Most of that time is the automatic ink priming cycle.
Can I use third-party DTF ink in the F8 Panda?
Procolored recommends their branded DTF ink to maintain warranty coverage and color consistency. Third-party inks may work but can cause clogging or color shifts that void support.
What size DTF film works with the Procolored F8 Panda?
The F8 Panda accepts A3 sheets and roll film up to 13 inches (33 cm) wide. Maximum print length is 19 inches per transfer.
Do I need a separate powder shaker for the F8 Panda?
Yes, the F8 Panda requires a separate powder application step. You can use a manual shaker box or upgrade to an automatic powder shaker unit for faster workflow.
How often should I run cleaning cycles on the F8 Panda?
Run a nozzle check before each print session and perform a cleaning cycle only if you see missing lines. Flush the white ink channel after 48 hours of idle time to prevent settling and clogs.
What heat press temperature works best for F8 Panda transfers?
Press at 320°F for 15 seconds with medium pressure. This works for cotton, polyester, and blends. Adjust time up to 20 seconds if you see incomplete transfer on your first test.
Products in this guide
 Shopping at Procolored? See the discount code
$100 OFF All Orders
Shopping at Procolored? See the discount code
$100 OFF All Orders
More in this series
What the DHL Shipping Fees on Procolored Orders Actually Cost, and How to Plan for Them10 Aug 20265 min Does the Procolored TX300 V11 Pro UV DTF Hold Up Under Heavy Use?10 Aug 20264 minThe Procolored K13 Lite vs P13 vs L805 A4: Finding the Right DTF Printer for Your Print Volume10 Aug 20265 minProcolored DTF Ink Guide: Compatibility, Storage, and What to Avoid10 Aug 20265 minDTF vs DTG vs UV DTF: Which Procolored Printer Is Right for Your Business?10 Aug 20264 min