 A VisualTimmy guide
How to Install and Organize Procreate Brushes for Faster Workflow
Installing and organizing procreate brushes properly cuts your project setup time in half and keeps your most-used tools within two taps.
Procreate brushes install in seconds through the Files app or direct downloads, but organizing them into task-based sets is what actually speeds up your workflow.
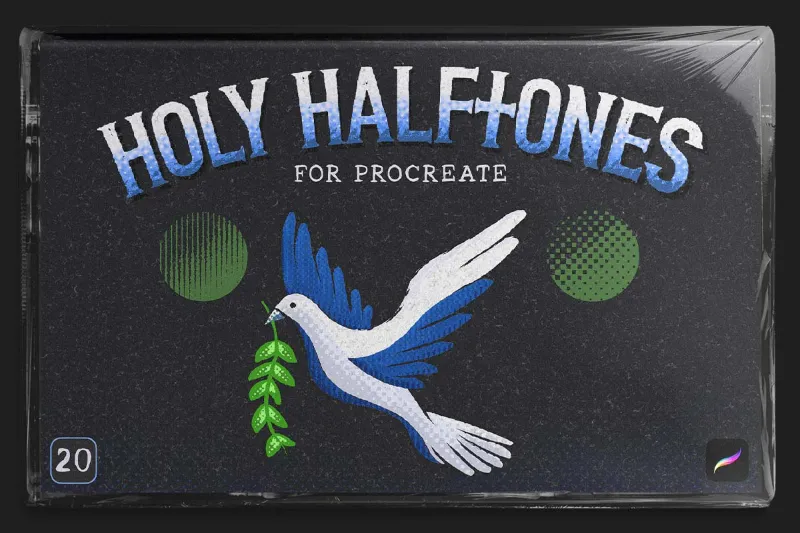
Whether you’re working with watercolor procreate brushes, halftone brushes procreate, or specialty tools like a pattern brush, the installation process stays consistent. The real efficiency gains come from how you group and label your sets after import.
How Procreate Brushes Download and Install
Procreate accepts `.brush` and `.brushset` files from any source, including Gumroad, Etsy, and the official free brushes community. When you download a brush file to your iPad, it typically lands in your Downloads folder or iCloud Drive.
Installation steps:
- Locate the `.brushset` or `.brush` file in the Files app
- Tap the file once to trigger the import
- Procreate opens automatically and adds the brush to your library
- The new brush or set appears at the top of your Brush Library panel
For bulk imports, you can select multiple `.brushset` files at once. Procreate processes them sequentially and places each set as a separate folder in your library. If you’re importing individual `.brush` files without a set wrapper, Procreate drops them into the “Imported” category by default.
We recommend downloading brush packs directly on your iPad rather than transferring from a Mac, since AirDrop and cloud sync occasionally corrupt the file metadata. If you must transfer from a computer, use the Files app’s “On My iPad” location and verify the file extension shows correctly before tapping.
Best Ways to Organize Procreate Brushes by Project Type
The default Procreate library lists every brush set chronologically, which becomes unmanageable once you pass 20 sets. We organize brushes by project type rather than style or source, since that matches how you actually work.
Task-based organization structure:
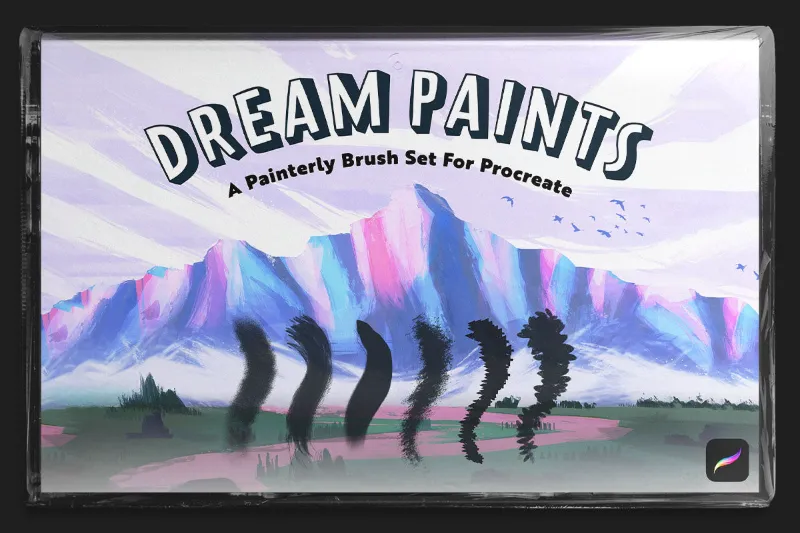
- Linework & Inking: technical pens, dreamy sketch brush set, manga brushes
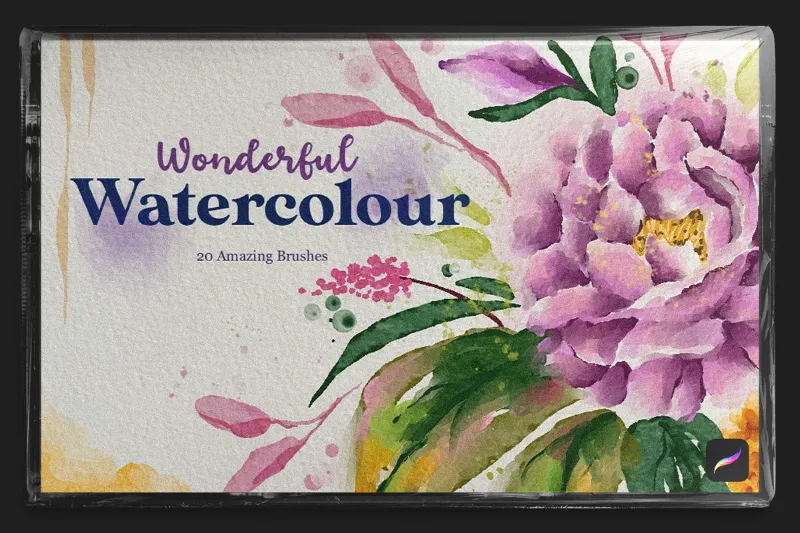
- Painting & Rendering: watercolor procreate brush, oils, blending tools
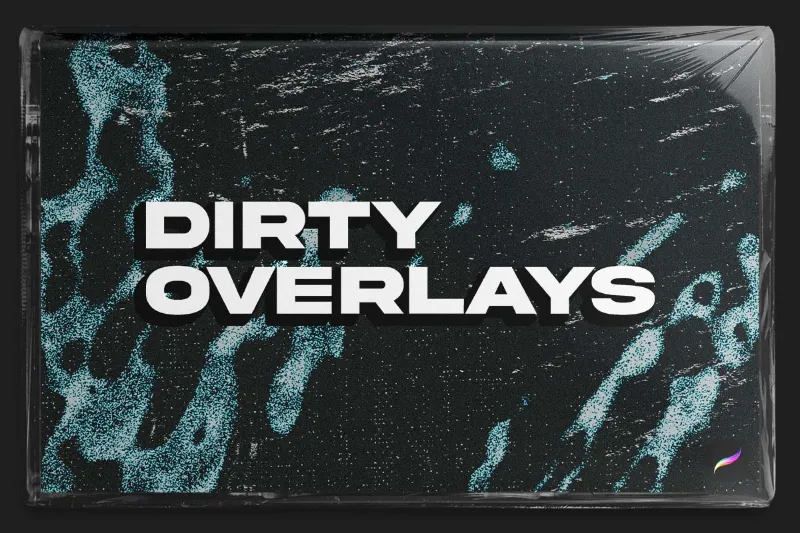
- Texture & Effects: dirty overlay, halftone brush procreate, grain
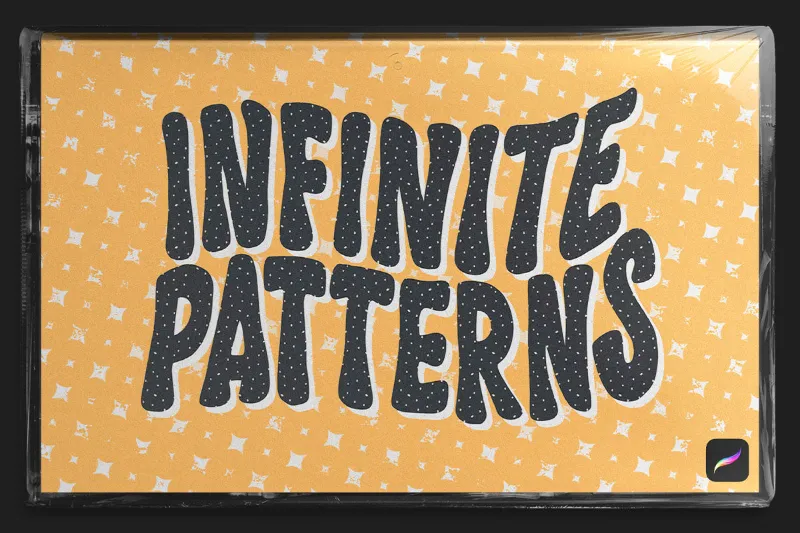
- Patterns & Fills: procreate pattern brushes, stamps, seamless tiles
To create a new set, tap the `+` icon in the Brush Library and choose “New Set.” Drag existing brushes from other sets into your new folders. You can duplicate a brush across multiple sets without increasing file size, so feel free to put your favorite inking pen in both “Linework” and “Comics” if that saves you hunting time.
For artists who switch between client work and personal projects, we also keep a “Current Project” set at the top of the library. Load it with the 8 to 12 brushes you’re using this week, then reset it when you move to the next job. This keeps your most-used tools within two taps regardless of how large your full library grows.
How Procreate Brushes Work with Color Palettes and Overlays
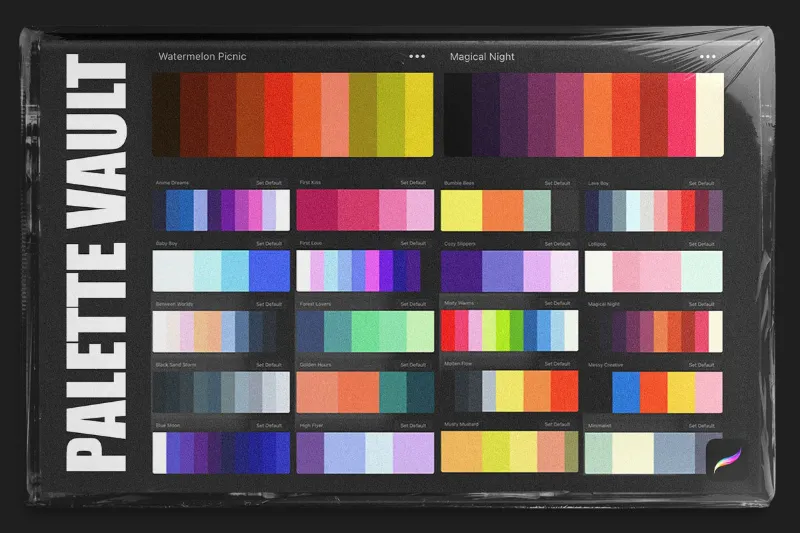
Brushes interact with procreate palettes and texture layers in ways that affect your organization strategy. A halftone brush works best with a limited palette, while watercolor sets need transparent overlays for realistic blending.
We keep related assets grouped by naming convention. For example, a set called “Vintage Comic” contains the halftone brushes, a matching 12-color palette, and notes on which dirty overlay pairs best. When you open that set, everything you need for that style lives in one place.
Workflow pairing examples:
| Brush Type | Pair With | Why It Matters |
|---|---|---|
| Watercolor | Wet-edge palettes, paper textures | Opacity blending needs consistent color temperature |
| Halftone | High-contrast palettes, grain overlays | Limited colors prevent muddy dot patterns |
| Pattern fills | Palette swap packs | Recolor seamless patterns without redrawing |
Some artists store palettes as swatches within the brush set notes. Tap the set name, choose “About this Set,” and paste hex codes or RGB values in the description field. This works well for client brand colors that must stay locked to specific brushes.
For current pricing on brush and palette bundles, check our VisualTimmy discount code page where we maintain a 15% off code for all orders.
How to Manage Procreate Brushes Free and Paid Collections
Mixing free and premium brushes in one library creates clutter if you don’t mark which sets you actually use.
Free brush management:
- Download free Procreate brushes from reputable sources only (Folio, Gumroad verified creators, App Store brush apps)
- Create a “Testing” set for new free downloads before integrating them into your main workflow
- Delete underperforming free brushes monthly, keeping 200+ brushes slows your picker load time
Premium brush packs usually include better documentation and update support. When you buy procreate brushes from established creators, you typically get a PDF with recommended settings and example artwork. File these PDFs in a “Brush Guides” folder in the Files app, named to match your brush set names.
If you’re working with legacy Procreate files from older iPad models, check Apple’s Legacy Procreate Brushes and Palettes compatibility guide. Some brush dynamics changed between Procreate 4 and 5, particularly pressure curves and grain behavior.
Backup and Sync Strategies for Large Brush Libraries
Procreate doesn’t sync brushes through iCloud automatically. If you work across multiple iPads or plan to upgrade devices, you need manual backup.
Export your organized library:
- Swipe left on any brush set in the library
- Tap “Share” and choose a destination (Files app, AirDrop, cloud storage)
- Procreate exports a `.brushset` file containing all brushes in that set
- Repeat for each custom set you’ve created
We back up brush libraries monthly to a dedicated “Procreate Assets” folder in iCloud Drive. Name each export with a version date (e.g., `Linework-2024-12.brushset`) so you can roll back if an iOS update causes compatibility issues.
For teams sharing brushes, export your organized sets and upload them to a shared Dropbox or Google Drive. Other artists can download and tap to install, preserving your folder structure and brush order. This works particularly well for studio style guides where everyone needs identical tools.
Storage-conscious users should audit brush sets quarterly. A typical premium brush pack runs 5 to 50 MB depending on grain textures and stamp complexity. If you’re not using a set regularly, export it as backup and delete it from your active library to free space.
Where to Find the Best Procreate Brushes and Current Deals
VisualTimmy offers curated brush packs tested for professional workflows, including specialty sets like procreate pattern brushes and dreamy sketch brush set.
Grab the current 15% discount code to save on your next brush purchase. The code works across the entire VisualTimmy catalog, including brush bundles, overlay packs, and color palette collections.
After installing new brushes, spend 15 minutes organizing them immediately. Drag each brush into your task-based sets, delete any duplicates of tools you already own, and test pressure curves on a scratch canvas. This upfront investment cuts your mid-project interruptions by more than half and keeps your creative momentum intact when deadlines tighten.
Questions
How do I install procreate brushes from Gumroad or Etsy?
Download the.brushset or.brush file to your iPad, open the Files app, and tap the file once. Procreate launches automatically and imports the brush into your library at the top of the Brush Library panel.
Can I use the same Procreate brush in multiple sets without duplicating files?
Yes, you can drag a brush into multiple sets and Procreate references the same file without increasing storage. This lets you organize the same tool by project type, style, and client without wasting space.
Do free Procreate brushes work as well as paid ones?
Free brushes vary widely in quality. Community-sources like Procreate Folio and established Gumroad creators offer excellent free options, but many free brushes lack pressure curve refinement and grain optimization found in premium packs.
How do I back up my organized Procreate brush library?
Swipe left on each brush set in your library, tap Share, and export the.brushset file to iCloud Drive or another cloud service. Repeat for all custom sets you've created to preserve your folder structure.
Why do my watercolor Procreate brushes look different after updating iOS?
Apple occasionally updates the graphics engine, which can affect brush dynamics like opacity blending and grain behavior. Check the creator's update notes or re-download the latest version of the brush pack for compatibility fixes.
How many Procreate brushes should I keep in my active library?
Most professionals keep 50 to 100 brushes organized into 6 to 10 task-based sets. Larger libraries slow the picker interface and make it harder to find the right tool quickly during client work.
Products in this guide
 Shopping at VisualTimmy? See the discount code
15% OFF All Orders
Shopping at VisualTimmy? See the discount code
15% OFF All Orders
More in this series
Dreamy Sketch Brush Set Review: Is It Worth It for Digital Illustration?3 Sep 20263 minWhy Your Procreate Color Palettes Look Flat (And How to Fix Them)3 Sep 20266 minBest Procreate Pattern Brushes for Seamless Background Design3 Sep 20264 minDo Procreate Texture Overlays Work With All Brush Types?3 Sep 20265 minWatercolor vs Halftone Brushes in Procreate: Which Style Fits Your Art?3 Sep 20264 min