 A SwitchBot guide
How to Install a SwitchBot Garage Door Opener Without Replacing Your Existing Opener
A wifi garage door opener retrofit lets you add smartphone control and voice commands to your existing garage door system without the expense of a full replacement.
A wifi garage door opener retrofit lets you add smartphone control and voice commands to your existing garage door system without the expense of a full replacement. SwitchBot’s solution works with most garage door brands already installed in your home, giving you remote access and automation in under 30 minutes.
Why Retrofit Instead of Replace Your Garage Door Opener
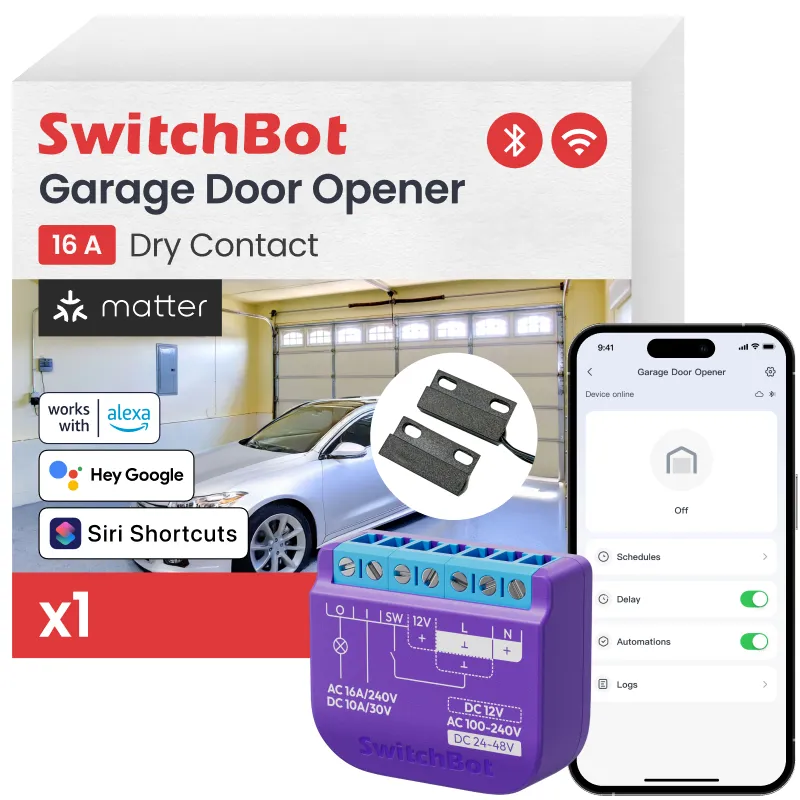
Most garage doors installed in the last 20 years work perfectly fine mechanically. The only thing missing is smart connectivity. Smart garage door openers that retrofit onto your existing system cost a fraction of a new opener and preserve your current wall button, remote, and keypad functionality.
The installation requires no electrical work or wiring changes. You mount a small device to your existing opener, pair it with your phone, and calibrate the open and closed positions. Your original opener continues to function exactly as before, but now you can also control it remotely through an app or voice assistant.
For the best wifi garage door opener installation experience, you’ll need a stable home network signal that reaches your garage. Most retrofits connect via Bluetooth to a hub placed inside your home, which then bridges to your wifi network.
What You Need Before You Start
Before beginning your wifi garage door opener installation, gather these items:
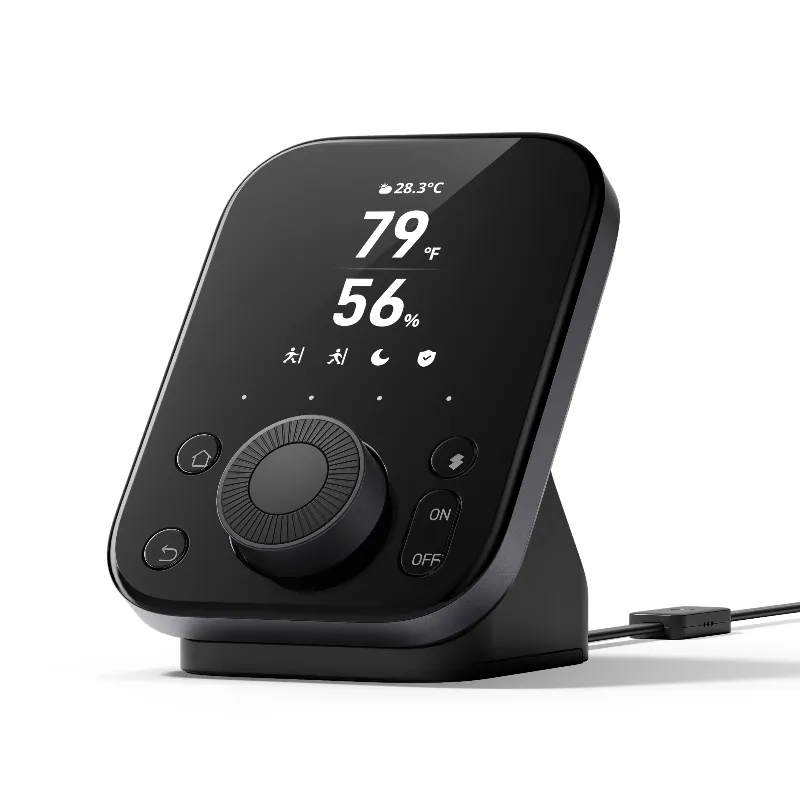
- The retrofit controller unit – Wifi garage door opener device designed for your opener type
- Hub connectivity – The SwitchBot Hub 3 enables remote access and works with Alexa, Google Home, and other platforms
- Smartphone – iOS or Android device with the manufacturer’s app installed
- Basic tools – Screwdriver, measuring tape, and cleaning cloth for mounting surface
- Stable wifi signal – Test connectivity in your garage before mounting
Most systems work with chain-drive, belt-drive, and screw-drive openers. According to Chamberlain’s setup documentation, compatibility varies by brand, so verify your specific model before purchasing.
Step-by-Step Installation Process
The installation follows a straightforward sequence that takes 20 to 30 minutes for most users.
Mount the Controller
- Clean the mounting surface on your garage door opener rail or wall near the motor unit
- Position the controller where it can reach both the door sensors and the opener mechanism
- Use the included adhesive or screws to secure the device firmly
- Ensure cables reach the door without creating tension or blocking movement
Connect to Power and Sensors
Most retrofit units include a USB power cable and door position sensors:
- Route the power cable to a nearby outlet or connect to the opener’s accessory terminals if available
- Attach the position sensor to the garage door itself using the adhesive backing
- Align the sensor with the controller’s detection range (typically within 6 feet)
- Test the magnetic or optical sensor by manually opening and closing the door
Pair with Your Hub and Phone
Open the wifi garage door opener app and follow the pairing sequence:
- Enable Bluetooth on your smartphone and place it within 3 feet of the controller
- Press the pairing button on the controller until the LED blinks
- Select “Add Device” in the app and choose “Garage Door Opener”
- Connect the device to your SwitchBot Hub 3 for remote access outside your home
- Name the device (e.g., “Main Garage” or “Left Bay”)
Grab the current discount code to save on your hub and controller bundle.
Calibrate Open and Close Positions
Calibration ensures the app accurately displays your door’s status:
- Open your garage door fully using your existing wall button
- In the app, tap “Door is Open” to record the sensor position
- Close the door completely and tap “Door is Closed”
- Test the calibration by opening and closing through the app three times
- Adjust sensor placement if the app shows incorrect status
Compatibility with Existing Systems
The retrofit approach works with most residential garage door openers manufactured after 2000.
| Opener Brand | Compatibility | Notes |
|---|---|---|
| Chamberlain | Excellent | Includes myQ-enabled models |
| LiftMaster | Excellent | Same parent company as Chamberlain |
| Genie | Good | May require adapter for older wall consoles |
| Craftsman | Good | Most models after 2005 work well |
Some security features on newer openers may require additional pairing steps. Check your opener’s manual for any “vacation lock” or “control lock” settings that might block external commands.
Features You Gain with a Smart Retrofit
Once your wifi garage door opener installation is complete, you unlock several practical features:
- Remote monitoring – Check door status from anywhere through the app
- Voice control – “Alexa, close the garage door” works with compatible hubs
- Scheduled closing – Auto-close at 10 PM if you forgot
- Activity log – See when the door opened and who triggered it
- Guest access – Share temporary control with delivery drivers or house guests
The best wifi garage door opener app integrations also support automation rules. For example, trigger your garage to close automatically when your home security system arms, or receive a push notification if the door stays open longer than 15 minutes.
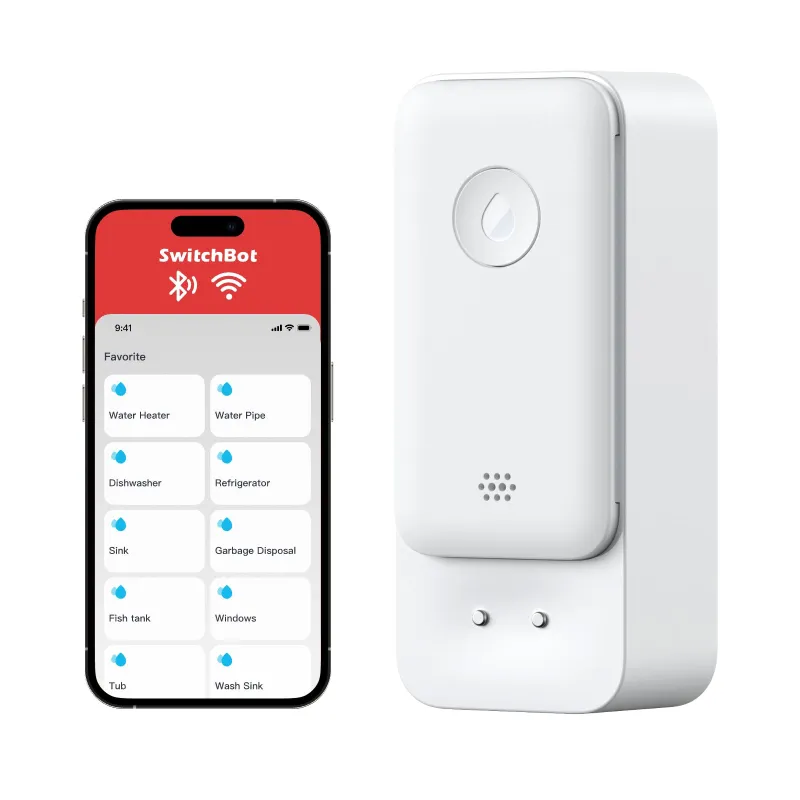
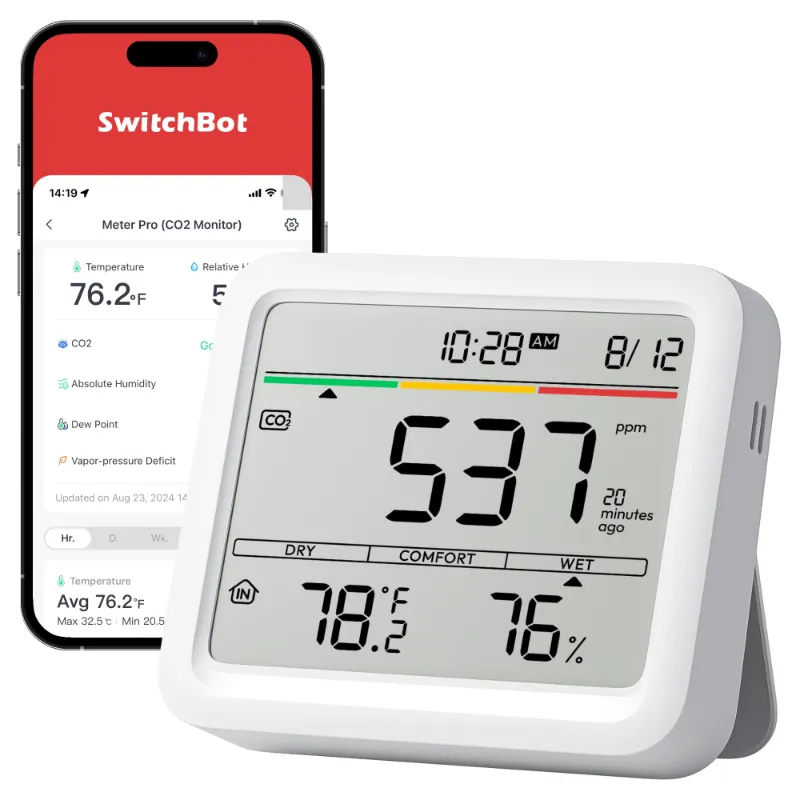
Many users pair their garage controller with other smart home devices like a water sensor near the water heater or a co2 monitor for comprehensive home monitoring through a single app ecosystem.
Troubleshooting Common Installation Issues
Door won’t respond to app commands: Verify the controller has power and the LED shows solid blue or green. Check that your hub has internet connectivity and the device shows “online” in the app.
Incorrect door status: Recalibrate the position sensors and ensure nothing blocks the sensor’s line of sight. Metal objects near the sensor can interfere with magnetic detection.
Intermittent connection: Move your hub closer to the garage or add a wifi extender to improve signal strength. The controller communicates with the hub via Bluetooth, which has a typical range of 30 to 50 feet through walls.
Conflicts with existing remote: Most retrofits work alongside your original equipment. If your wall button stops working, check that you didn’t accidentally disconnect any existing wires during installation.
Check the latest pricing and bundle deals if you need to add a hub to improve connectivity.
Is a Retrofit Right for Your Setup
A retrofit wifi garage door opener makes sense if your current opener works reliably but lacks smart features. You’ll spend $50 to $150 for the controller and hub versus $300 to $600 for a complete opener replacement with installation.
This approach also preserves any custom configurations on your existing opener, like travel limits, force settings, and paired remotes. According to Wirecutter’s testing, retrofit controllers offer nearly identical functionality to built-in smart openers at a fraction of the cost.
Skip the retrofit if your opener is more than 15 years old, makes grinding noises, or struggles to lift the door. In those cases, replacing the entire unit gives you both mechanical reliability and integrated smart features.
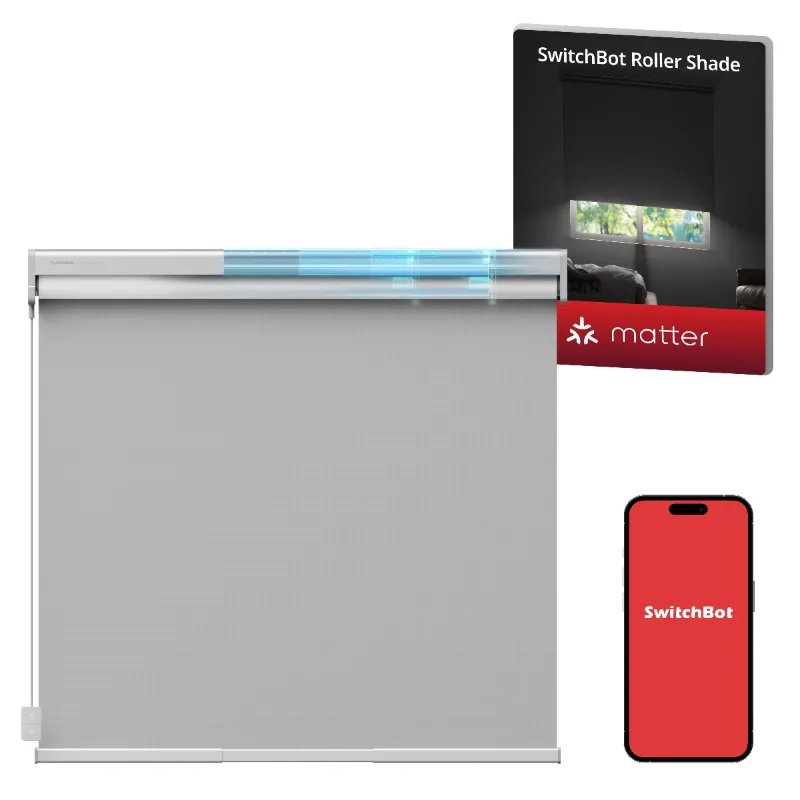
For users who already have other SwitchBot devices like smart shades or motorized curtains, adding a garage controller creates a unified smart home ecosystem controlled from a single app. The hub enables all devices to work together through automation scenes and routines.
Questions
Can I install a wifi garage door opener myself without an electrician?
Yes, retrofit controllers require no electrical work. You mount the device, plug it into a standard outlet, and pair it with your phone through an app. Most installations take 20 to 30 minutes.
Will a retrofit controller work with my LiftMaster or Genie opener?
Most retrofit units work with chain, belt, and screw-drive openers from major brands manufactured after 2000. Check your specific model's compatibility before purchasing, as some older wall consoles may need adapters.
Do I need a separate hub for remote access outside my home?
Yes, the garage controller connects via Bluetooth to a hub inside your home, which then provides wifi and internet connectivity. Without a hub, you can only control the door when your phone is within Bluetooth range of the garage.
What happens if my wifi goes down?
Your existing wall button and remote controls continue to work normally since the retrofit device doesn't replace your opener's core functionality. You'll lose app and voice control until wifi is restored.
Can I control multiple garage doors with one app?
Yes, you can add multiple controllers to the same app and hub system. Each door appears as a separate device with its own name, status, and control options.
How does the app know if my garage door is actually open or closed?
A position sensor mounts on the door itself and communicates with the controller. During setup, you calibrate the sensor by recording the door's fully open and fully closed positions, which the app uses to display accurate status.
Products in this guide
 Shopping at SwitchBot? See the discount code
10% OFF Sitewide
Shopping at SwitchBot? See the discount code
10% OFF Sitewide
More in this series
Why Is My SwitchBot CO2 Monitor Showing High Readings and What to Do About It31 Jul 20264 minSwitchBot Water Sensor Battery Life: How Long Before You Need to Replace It?31 Jul 20265 minDo SwitchBot Motorized Curtains Work With Blackout Drapes and Heavy Fabrics?31 Jul 20265 minSwitchBot Hub Mini vs Hub 3: Which Smart Hub Do You Actually Need?31 Jul 20265 min