 A Qunature Global guide
How to Install a Bike Rear Rack with Bag: Step-by-Step Guide
A bike rear rack with bag transforms your ride by adding secure cargo capacity in under 30 minutes with basic tools.
A bike rear rack with bag adds instant cargo capacity to almost any bicycle, letting you haul groceries, gear, or a change of clothes without wearing a sweaty backpack. Installation takes 20 to 30 minutes with basic tools, and most modern racks use standardized mounting points that fit a wide range of frames.
What You Need Before Installing a Bike Rear Rack With Bag
Gather your tools and check compatibility before you start. Most racks require a 4mm or 5mm Allen wrench, while some older models use a Phillips screwdriver. Verify that your frame has either eyelets (threaded holes near the rear axle and seat stays) or disc-brake mounts that accept rack adapters. Bikes without eyelets may need P-clamps or a seatpost rack instead.
Check the rack’s maximum load rating, typically stamped on the frame or listed in the manual. Standard ratings range from 20 to 55 pounds, with heavier-duty touring racks at the high end. Match this to the combined weight of your bag and cargo to avoid frame stress or handling problems.
Confirm that your wheel size and frame geometry allow enough clearance. The rack should sit at least 10mm above the tire at full compression, and the stays should clear your heel when pedaling. If you plan to use panniers or a trunk bag, measure the width to ensure it won’t interfere with your pedal stroke.
Step-by-Step Installation Process
Start by loosening the quick-release skewer or thru-axle and sliding the rack’s lower mounting arms into position. Align the eyelet holes on the rack stays with the threaded inserts near your rear dropout (where the wheel attaches). Thread the bolts by hand first to avoid cross-threading, then snug them finger-tight. Leave them loose enough to adjust alignment in the next step.
Position the upper mounting arms against the seat-stay eyelets, typically located 10 to 15cm below the seat tube. If your frame has vertical slots instead of fixed holes, start with the rack level and adjust from there. Insert the bolts and tighten just enough to hold position. Now stand behind the bike and check that the rack platform is level side-to-side and parallel to the ground. A tilted rack will shift your load and affect handling.
Once alignment looks square, tighten all four bolts in a cross pattern (lower left, upper right, lower right, upper left) to distribute stress evenly. Use moderate torque, over-tightening can crack aluminum eyelets or strip threads. Give the rack a firm shake to confirm it’s rigid. Any wobble means a bolt needs another quarter-turn or a washer is missing.
Attach the bag or pannier system according to the manufacturer’s clips, hooks, or straps. Most trunk bags use Velcro straps and side clips that snap onto the rack’s side rails. Check the latest pricing and grab our discount code to save 15% on your order at Qunature Global. Test the attachment by lifting the bike by the bag; it should hold firmly without sliding.
Common Fit Issues and How to Fix Them
Rack won’t reach the eyelets: Frame geometry varies, especially on mountain bikes and some road frames. Adjustable racks have telescoping stays that extend 5 to 10cm. If yours is fixed-length and too short, you’ll need longer stay arms or a different rack model designed for your wheel size.
Fender or disc-brake interference: Racks designed for rim brakes may position stays where disc calipers sit. Look for disc-specific racks with offset or curved lower stays. If you run fenders, ensure the rack sits above them with at least 5mm clearance to prevent rubbing during bumps.
Seat-stay eyelets missing: Some carbon and aluminum frames skip upper eyelets to save weight. Seatpost racks clamp directly to the post and work well for lighter loads (under 20 pounds). For heavier cargo, install P-clamps around the seat stays and use those as attachment points, or choose a rack with built-in clamp adapters.
Heel strike on panniers: Wide bags or incorrect rack placement can cause your heel to hit the bag on each pedal stroke. Shift the bag slightly rearward on the rack, or choose a narrower pannier design. Racks with a longer top platform (35cm or more) push the load farther back and solve most heel-strike problems.
Choosing the Right Bag for Your Rack
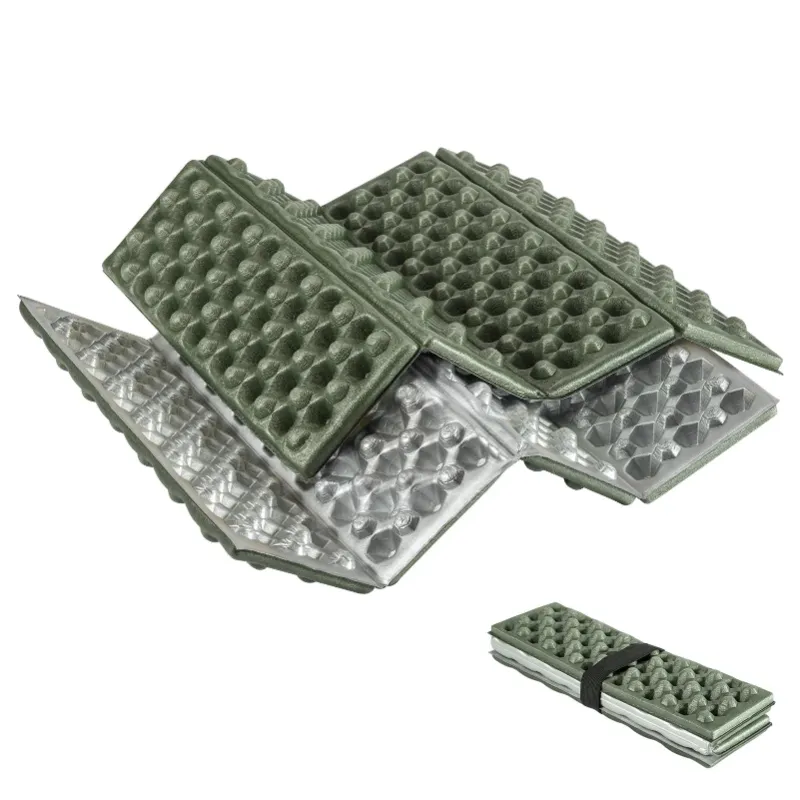
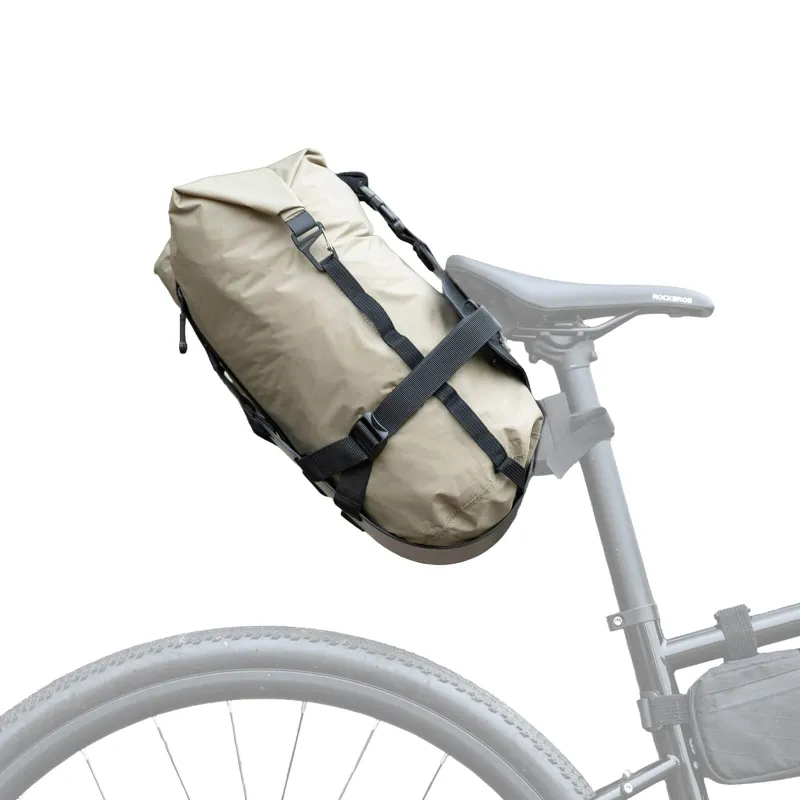
Trunk bags sit on top of the rack platform and work well for quick errands or day rides. They typically hold 8 to 15 liters and attach with Velcro and side hooks. Look for models with expanding compartments if you need occasional extra space for a jacket or a folding seat cushion on longer rides.
Panniers hang on either side of the rack and offer 20 to 40 liters per pair, ideal for grocery runs, commuting with a laptop, or weekend touring. Choose a mounting system that clicks on and off quickly, fumbling with straps in the rain gets old fast. Waterproof or water-resistant fabric keeps contents dry, while reflective panels improve visibility in traffic.
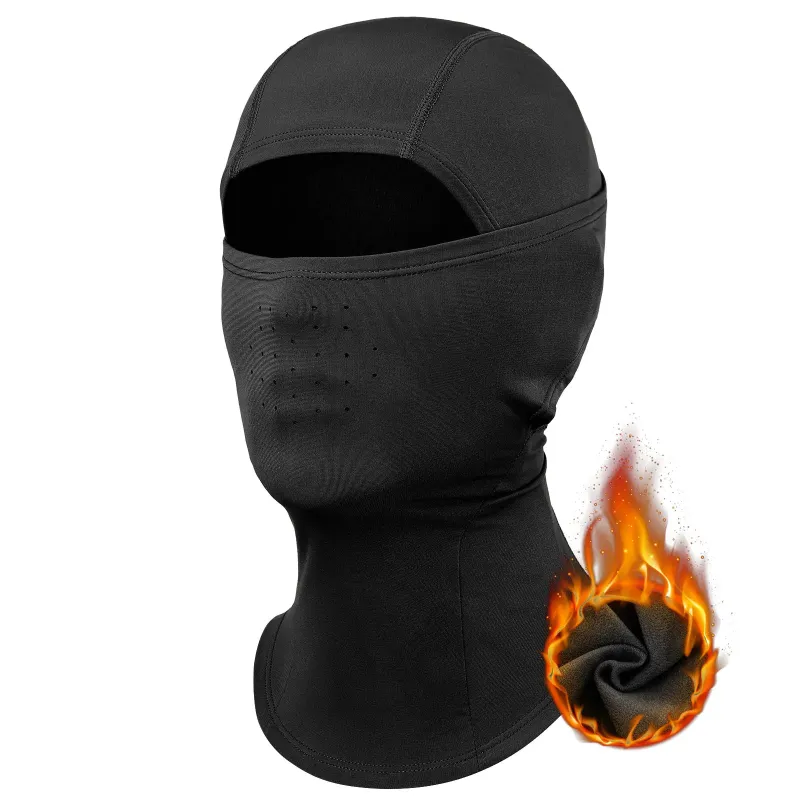
Hybrid systems combine a small trunk bag with detachable side pouches. These give you flexibility without the bulk of full panniers. We find them useful when you need to carry a thermal mask and gloves in winter but want a streamlined setup the rest of the year.
| Bag Type | Capacity | Best For | Mounting Style |
|---|---|---|---|
| Trunk bag | 8-15 L | Errands, day rides | Velcro + clips |
| Panniers | 20-40 L (pair) | Commuting, touring | Hook or clip rail |
| Hybrid | 15-25 L | Mixed use | Clip + straps |
Loading and Weight Distribution Tips
Place heavier items low and centered over the axle to keep your center of gravity stable. A full water bottle, tools, or canned goods go in the bottom of your panniers or against the rack platform. Lighter gear like clothing or a foldable cushion can sit higher without affecting handling.
Balance weight side-to-side when using panniers. Uneven loading makes the bike pull to one side, especially when climbing or cornering. If you’re only carrying a small load, use a single pannier on the non-drive side (left in most countries) to keep the bag away from your chain and derailleur.
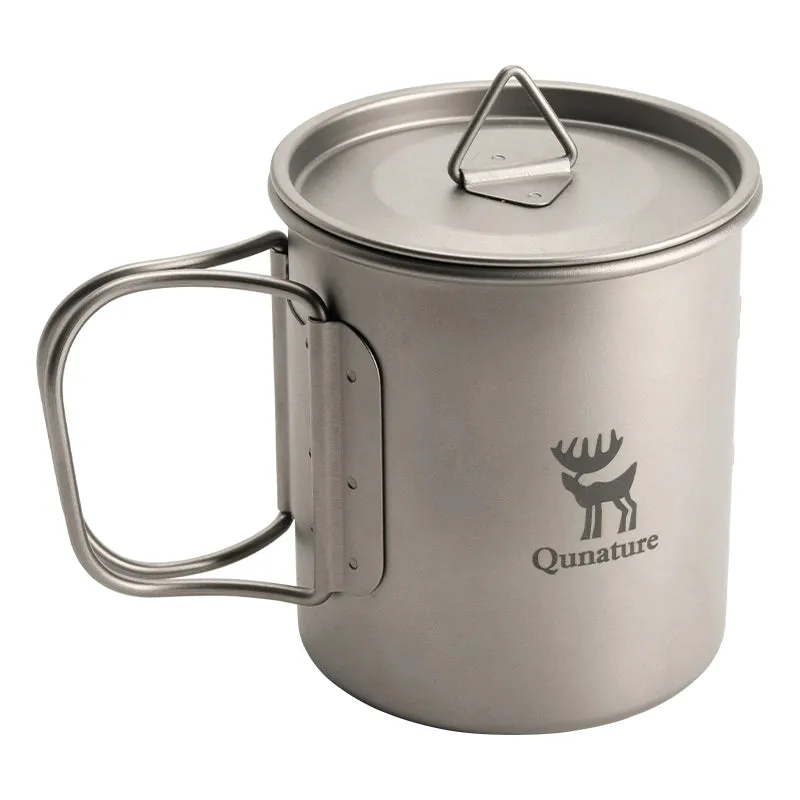
Secure loose items inside the bag. A laptop or hard object should be padded and positioned flat against the rack side, not bouncing around. Most trunk bags include internal dividers or elastic straps. If yours doesn’t, a small dry bag keeps smaller items like keys, a phone, or a 375ml cup from rattling.
Check your load before every ride. Straps loosen with vibration, and an improperly secured bag can swing into your wheel spokes. Visit our code page to save on your rack and accessories, then take a 5-minute test ride around the block after loading to confirm everything stays put.
Maintenance and Long-Term Care
Inspect all bolts monthly, especially if you ride on rough roads or trails. Vibration works hardware loose over time. A quick check with an Allen wrench takes 30 seconds and prevents the rack from shifting mid-ride. Keep a small tube of blue threadlocker (removable grade) in your toolkit for bolts that repeatedly come loose.
Clean the rack and attachment points every few weeks to prevent corrosion. Road salt, mud, and grime accelerate rust on steel racks and can seize bolts. A damp rag and mild soap remove most buildup, while a toothbrush reaches tight spots around eyelets. Dry thoroughly, especially if you live in a wet climate.
Lubricate moving parts on adjustable racks or quick-release pannier hooks once or twice a season. A drop of chain lube on pivot points keeps clips operating smoothly and prevents metal-on-metal wear. Wipe off excess to avoid attracting dirt.
Replace worn attachment straps or cracked plastic clips immediately. A failed strap can drop your bag into the wheel, locking it up and potentially causing a crash. Most manufacturers sell replacement parts individually, or universal straps and clips are available at bike shops and online for a few dollars.
Your bike transforms into a practical cargo hauler once you’ve properly installed and loaded your rack. With secure mounting, balanced weight, and regular checks, you’ll enjoy years of reliable service whether you’re commuting daily or exploring new routes on weekends.
Questions
Can I install a rear rack on a bike without eyelets?
Yes, use P-clamps that wrap around the seat stays and chainstays to create mounting points, or choose a seatpost-mounted rack for lighter loads. Both options work on frames without threaded eyelets.
How much weight can a bike rear rack with bag typically hold?
Most racks support 20 to 55 pounds, with commuter racks averaging 25 to 35 pounds and touring racks handling 50 pounds or more. Always check your specific rack's rating stamped on the frame or in the manual.
Will a rear rack interfere with my disc brakes?
Disc-specific racks have offset lower stays designed to clear calipers and rotors. Standard racks made for rim brakes may position stays where disc components sit, so verify compatibility before purchasing.
Do I need special tools to install a rack?
Most installations require only a 4mm or 5mm Allen wrench. Some older racks use Phillips screws. The process takes 20 to 30 minutes with basic tools you likely already own.
Can I use panniers and a trunk bag at the same time?
Yes, if your rack platform is long enough (typically 35cm or more) and the trunk bag sits forward of the pannier hooks. Test clearance before loading to ensure clips don't interfere.
How do I stop my rack from rattling after installation?
Tighten all bolts in a cross pattern using moderate torque, and check that washers are correctly positioned. If rattling persists, add a small rubber spacer between the rack and frame at contact points.
Products in this guide
 Shopping at Qunature Global? See the discount code
15% OFF All Orders
Shopping at Qunature Global? See the discount code
15% OFF All Orders
More in this series
Are Foldable Seat Cushions Durable Enough for Daily Use?20 Aug 20265 min How Long Do Anti-Fog Winter Goggles Stay Fog-Free?20 Aug 20264 min
 Best Foldable Grill for Camping: What to Look for Before You Buy20 Aug 20265 minDo Thermal Face Masks Really Keep You Warm in Extreme Cold?20 Aug 20264 minRimless vs Framed Ski Goggles: Which Design Performs Better?20 Aug 20264 min