 A Amolen guide
How to Get the Best Results with Amolen Translucent PLA and a 0.2mm Nozzle
Dial in translucent PLA with a .2mm nozzle using these tested settings and techniques for clean, light-passing parts.
To get the best results with translucent PLA with a.2mm nozzle, you need to slow down, heat it just a few degrees hotter, and prioritize infill walls over the fancy stuff. That combination is what separates a frosted, cloudy print from one where light genuinely passes through and you can see interior structure. It is one of the most rewarding materials to dial in, and once you have it down it becomes your go-to for lampshades, lithophanes, and display pieces.
So before you buy anything, know that the finish you will get is decided in the slicer, not on the reel.
Why a 0.2mm Nozzle Changes Everything for Transparent Prints
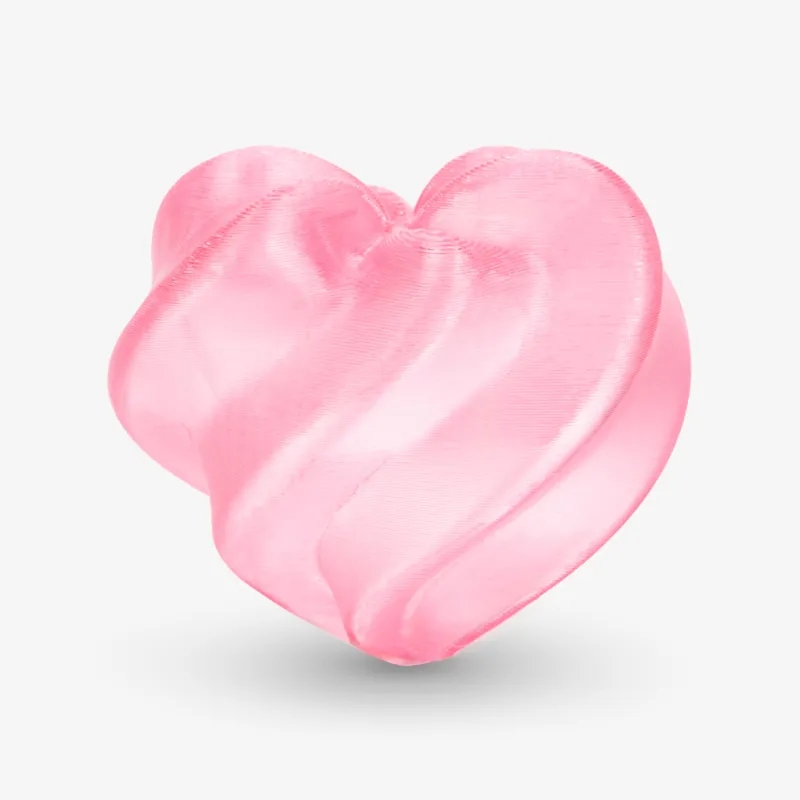
A finer nozzle deposits thinner, more uniform walls, which means fewer voids and bubbles inside the plastic for light to scatter off. With a standard 0.4mm nozzle, translucent prints end up looking milky or streaky because each thicker line traps tiny imperfections. The translucent pla with a.2mm nozzle pairing is the classic setup for getting that clean, almost glass-like look, and it also lets you print finer surface detail for lithophanes.
The tradeoff is speed. A smaller nozzle moves less plastic per second, so a fairly ordinary part can take two to three times as long. Budget the time before you start, and for big or purely structural pieces consider a regular 0.4mm nozzle and save the fine one for the parts that actually need the light.
Slicer Settings We Trust for Clear Prints
These are the starting points we use before fine-tuning any particular clear pla spool:
- Nozzle temperature around 210-220C, a touch higher than standard PLA
- Bed at 55-60C for good first-layer grip
- Line width slightly larger than the nozzle diameter, roughly 0.22mm
- Wall loops kept even and at least two, so light passes through consistent thickness
- Infill at 20-25 percent with gyroid or honeycomb, since both look good backlit
- Cooling fan at 60-75 percent, not full blast
- Print speed around 35-45mm/s for perimeters, 25-30mm/s for the first layer
Run a small temperature tower with your specific pla filament first. The difference between spools is real, and a single test print saves you from wasting an entire draft on the wrong temperature.
Get More Light Through the Walls
The biggest mistake we see is relying on the plastic alone. Translucent prints are backlit pieces, so the geometry does the heavy lifting. Hollow shells pass the most light, which is why thin-walled lampshades look great straight off any spool of 1.75mm filament.
Three rules cover most of the battle:
- Use as few wall loops as the part allows, since every extra wall dims the light
- Raise infill percentage where walls are thin, because sparse infill creates a bright mottled lattice instead of a clean glow
- For clear-through features, set the top and bottom layers low so light enters and exits without passing through stacked solid layers
If a part looks too cloudy, it is usually because the walls are too thick, not because the filament is bad. Slice with fewer perimeters and watch the difference.
Print Temperature and the Slow-Down for Dimensional Accuracy
A fine nozzle is unforgiving about heat balance. If you print pla filament 3d too cool at 0.2mm, the thin strands lay down poorly and you get clogs; too hot, and you get stringing that ruins the clean look. Our consistent sweet spot stays between 210 and 220C, always after a temperature tower.
You also need to respect the retraction and travel speeds. A 0.2mm nozzle builds pressure differently, so go gentle:
- Retraction around 3-5mm at 25-35mm/s
- Combing mode on to keep hot nozzle trails away from visible faces
- Z-hop 0.2-0.4mm to avoid scraping low walls
The result is parts with crisp edges and walls that do not smear, which is exactly what a light-catching print needs.
When to Reach for a Translucent Look vs. a Matte One
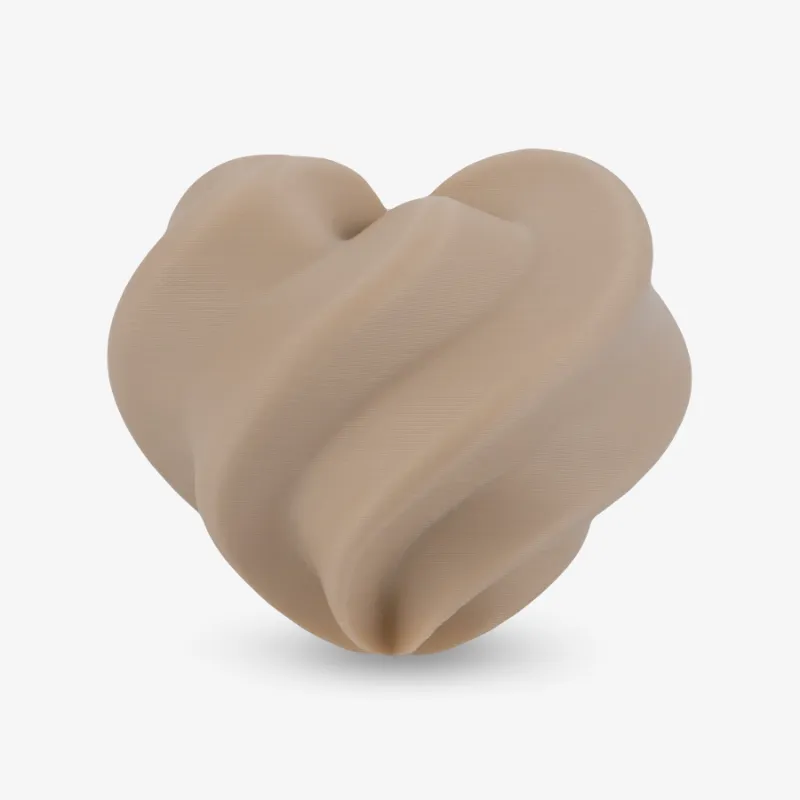
Not every project wants the glow. If you are printing something purely decorative where you want an even, non-reflective finish, a matte filament beats translucent every time, and light purple matte pla produces one of our favorite soft finishes for vases and desk organizers. The filament colors range at Amolen covers both ends well, so you can grab one spool for lit pieces and another for matte everyday parts.
Similarly, if your project is functional and load-bearing, plain pla filament 3d or petg 3d printer filament is the better structural bet. Translucent PLA prioritizes light transmission over toughness, and PETG takes the hit resistance job when dampness and stress matter more than looks.
Care, Storage, and Getting the Finish to Last
Translucent PLA is still PLA, which means humidity is the enemy. A damp spool prints cloudy and stringy no matter what settings you use, so keep your reel dry and run it through a dry box if you can. A few hours in a filament dryer before a big translucent print makes a visible difference in clarity.
Skip the glossy look? Use a gentle polish on flat surfaces or a light clearcoat on an assembled part. Just test any coating on a scrap piece first, because some spray finishes fog the plastic and undo all your careful nozzle work.
Before you buy, it is worth checking the latest price and grabbing the code on the store page, since the sitewide offer changes and we do not quote numbers here. While you are at it, check the store coupon page if you want to stock a couple of 1.75mm filament colors for the same shipping cost, and then use our discount code at checkout to trim the total a little.
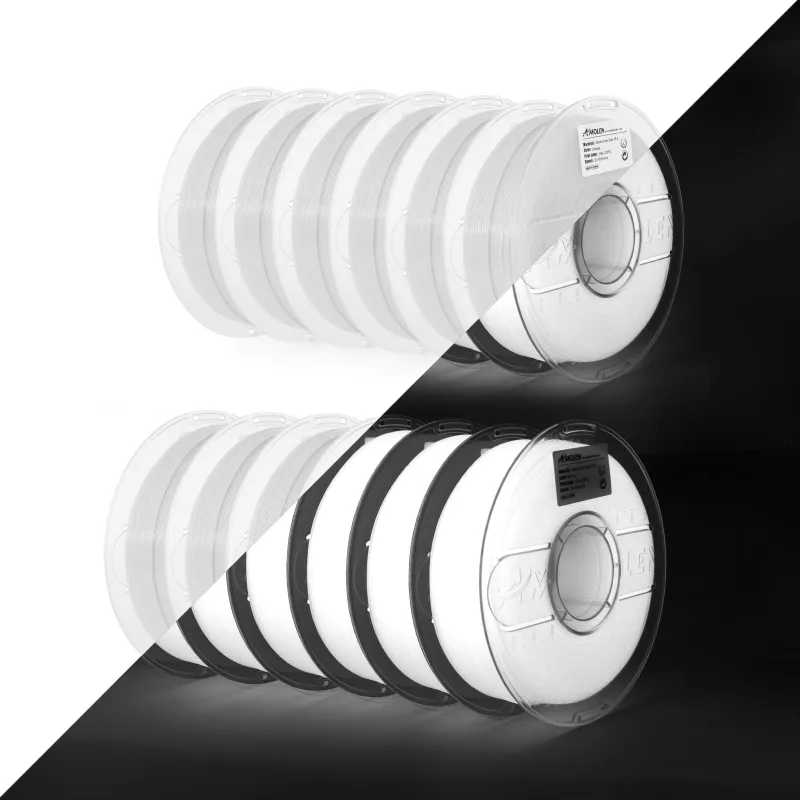
Picking the right spool matters. We reach for Amolen’s translucent pla with a.2mm nozzle for lamps and lithophanes because the consistency holds across batches, and the matching clear pla covers the pieces where you want maximum light. Match those with the settings above and you will be printing clean, bright parts on your second attempt, not your tenth.
Questions
Why does my translucent PLA print look cloudy instead of clear?
Cloudiness most often comes from thick walls, a damp spool, or infill that scatters light. Reduce the number of wall loops, dry the filament before printing, and use a lower infill percentage so light passes through cleanly.
What temperature should I use for translucent PLA with a .2mm nozzle?
Start in the 210-220C range, which is a few degrees hotter than standard PLA to help the thin strands lay down smoothly. Always run a temperature tower first, since different spools vary in their ideal heat.
Can I print translucent PLA fast with a 0.2mm nozzle?
You can, but fast speeds cause voids and streaking that ruin the light-passing look. Keep perimeters around 35-45mm/s. Heat buildup and pressure buildups are the main risks when you push speed on a fine nozzle.
What infill pattern looks best in a translucent print?
Gyroid and honeycomb both look great when backlit, and at 20-25 percent they create an attractive lattice instead of blocking light. Inside-out walls and a thin shell make the pattern more visible.
Is translucent PLA as strong as regular PLA filament?
Not quite, since the material is tuned for light transmission rather than toughness. For structural parts, use standard PLA or PETG filament, and keep translucent PLA for lampshades, lithophanes, and display pieces.
Does a .2mm nozzle clog more often with translucent PLA?
Initial hesitation aside, it can clog if the temperature is too low or the filament has absorbed moisture. Keep the nozzle hot enough, make sure the spool is dry, and use a clean, debris-free feed path to minimize problems.
Products in this guide
 Shopping at Amolen? See the discount code
5% OFF Sitewide
Shopping at Amolen? See the discount code
5% OFF Sitewide