 A Fifijoy guide
How to Avoid Glue Smudges and Paint Mistakes on DIY Miniature Kits
Preventing glue smudges and paint mistakes on diy miniature kits requires the right tools, careful prep work, and a few expert techniques we've tested across dozens of builds.
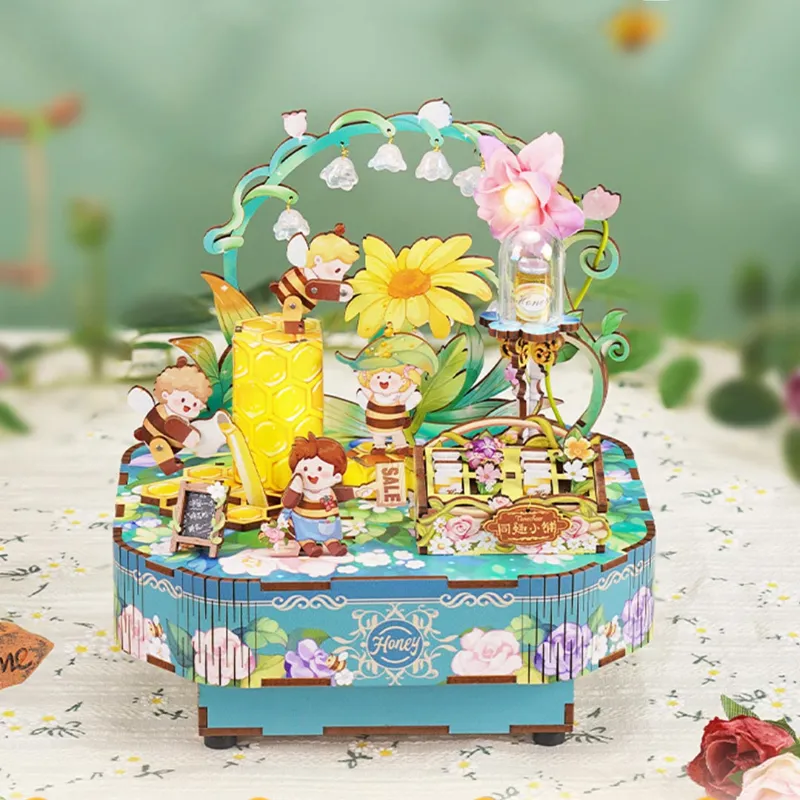
The best way to prevent glue smudges and paint mistakes on diy miniature kits is to work slowly, prep each surface before assembly, and keep correction supplies within reach. Most errors on a build, from a Fifijoy beebox to an alice in wonderland book nook, happen during rushed assembly or when glue goes on straight from the bottle.
Essential prep work for clean miniature assembly
Before opening a set of diy miniature kits, it helps to gather the tools that prevent mistakes rather than fix them: precision tweezers, toothpicks, a damp microfiber cloth and cotton swabs within reach for every build session.
A well-organized workspace helps:
- Lay down a silicone craft mat or wax paper to catch drips
- Sort all pieces by type before starting assembly
- Read the full instruction manual first to spot tricky joints ahead of time
- Test paint colors on scrap wood or cardboard before committing to a piece
Pre-sanding is a step beginners often skip. Running fine sandpaper, around 220-grit, over wooden components from dollhouse kits removes splinters and creates a smoother paint surface. Wipe away dust with a barely damp cloth and let pieces dry fully. Paint adheres better to a clean, dry surface, and you will generally see fewer brushstroke ridges in the finish as a result.
Glue application techniques that reduce smudges
One of the simplest improvements to a build is skipping the glue bottle’s nozzle. Instead, dispense a small puddle of wood glue onto scrap cardboard, then transfer tiny amounts with a toothpick or pin tip. This gives more control over placement and avoids the squeeze-bottle gush that ruins many miniature house kits for beginners.
A few ways to apply adhesive more carefully:
- Use less glue than seems necessary, since more can always be added
- Apply glue to only one surface of a joint, never both
- Press pieces together for 10 to 15 seconds before letting go
- Keep a damp cotton swab nearby to blot excess right away
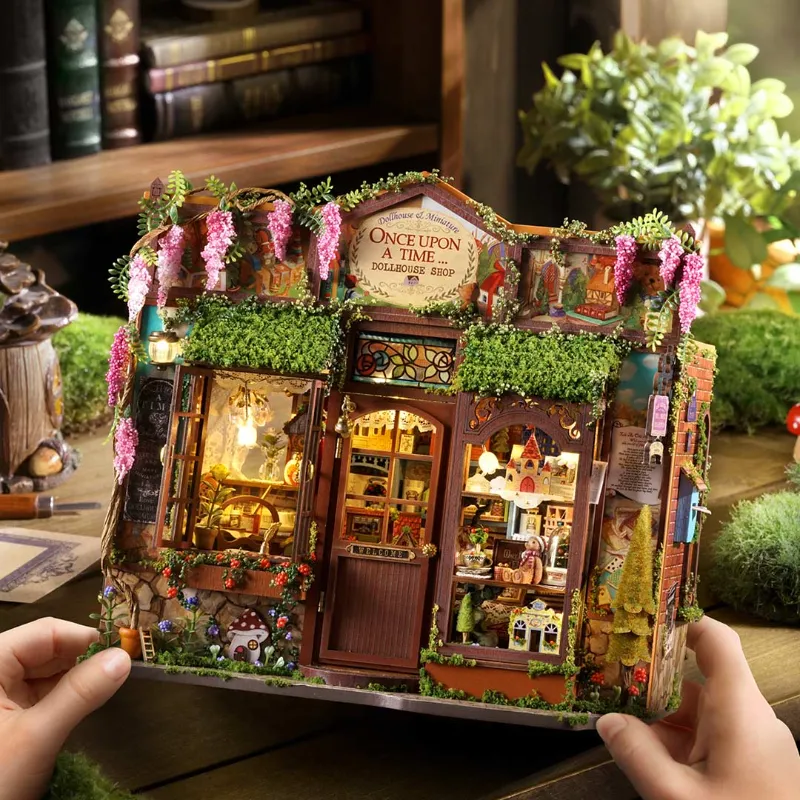
For delicate assemblies, like the lattice details on the faye dollhouse or the tiny books in a 3d bookstore, a tacky glue or gel-formula super glue is worth switching to. These thicker adhesives stay put and give a little extra time to adjust alignment before they set.
If glue does seep out, it is best to resist wiping it while wet, since dragging wet glue across bare wood creates a seal that blocks paint and stain later. Letting a small bead dry completely, then scraping it off with a hobby knife held at a shallow angle, works better.
Paint strategies for miniature builds
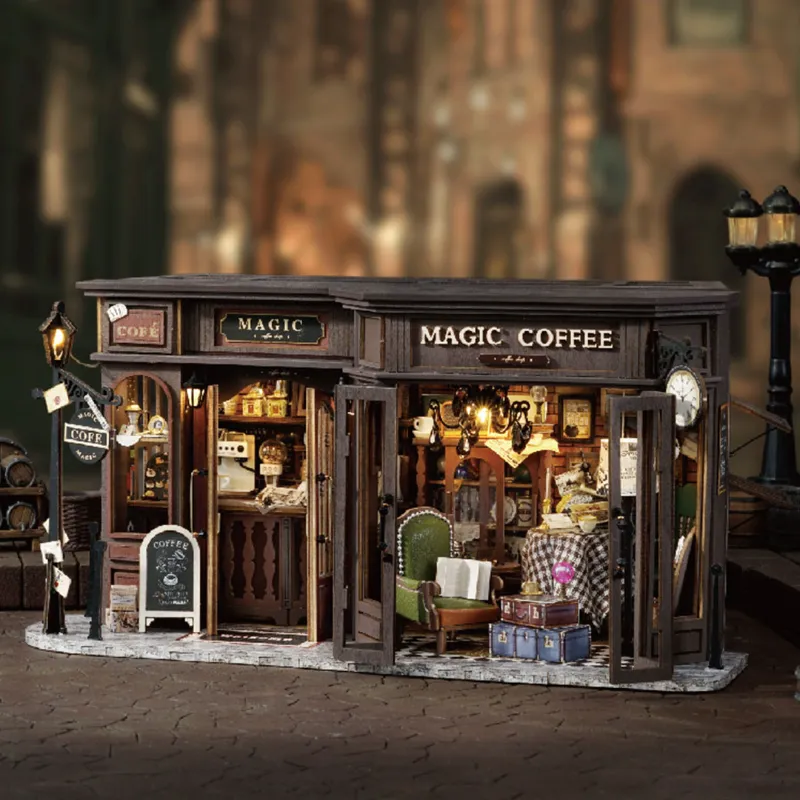
Painting components before final assembly, where possible, is generally easier than trying to reach tight interior corners once the roof or walls are on, such as the tiny interior walls of a miniature coffee shop or paper & vine book bar.
| Technique | Best for | Typical tool |
|---|---|---|
| Dry brushing | Texture and weathering | Stiff synthetic bristle |
| Thin washes | Staining and shading | Soft natural hair, size 0-2 |
| Stippling | Stone and foliage | Old brush with trimmed bristles |
Thinning acrylic paint with about 10 to 20 percent water gives smoother coverage and fewer visible brushstrokes. Applying two or three thin coats, rather than one thick layer, and letting each coat dry for at least 30 minutes in a dust-free spot before adding the next, generally gives a cleaner finish.
Masking tape works well for crisp edges, but only over fully cured paint, generally 24 or more hours old. Press the tape down firmly with a fingernail, paint away from the edge, and pull the tape at an angle while the paint is still slightly tacky. Pulling tape off paint that has not fully cured can lift it away with the tape, so patience matters here.
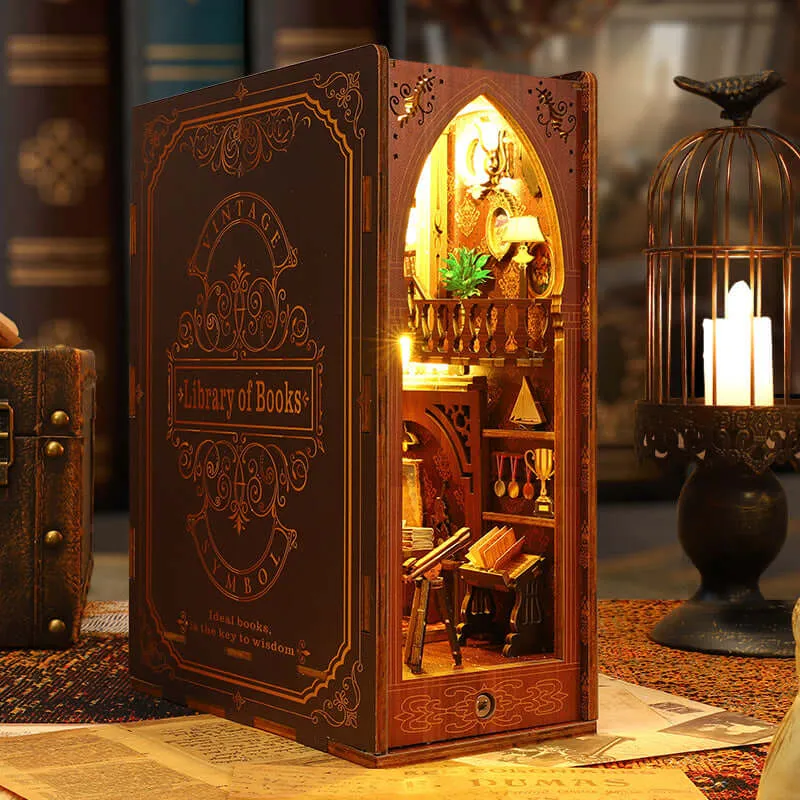
For intricate details like window frames or the small shelves in a puzzle bookshelf, a fine-tip paint pen or a very small liner brush works well. Bracing the painting hand against the other hand or the table edge helps steady small movements.
Fixing mistakes without starting over
Even careful builders make errors from time to time. Keeping a small mistake-recovery kit nearby, isopropyl alcohol, acetone-free nail polish remover, a hobby knife, fine sandpaper and a white eraser, covers most situations.
A few common fixes:
- Fresh, still-wet acrylic paint usually scrapes off with a damp cloth within a few minutes
- Dried acrylic responds to gentle rubbing with isopropyl alcohol on a cotton swab
- Super glue smudges can dissolve with acetone, checked first on a hidden area
- Wood glue errors sand away cleanly once fully dry
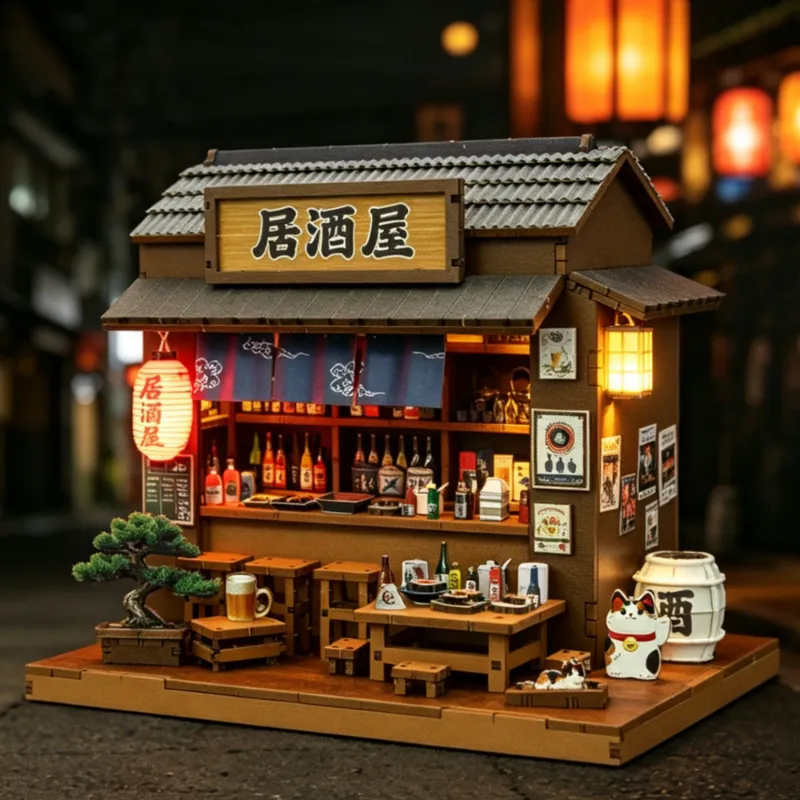
For a paint mistake on an already assembled piece, spot-priming the area with white gesso before repainting covers the error and gives the new paint layer something to grip, which can salvage a miniature restaurant build after a stray brush stroke.
If a piece ends up glued in the wrong spot, it is best not to force it apart while the adhesive is still setting. Waiting for a full cure, then using a hobby knife to carefully slice through the joint, limits splintering, even if some sanding and paint touch-up is needed afterward.
A few more tips for cleaner builds
LED wiring, where a kit includes it, is easier to handle before walls are glued together rather than after.
A lighted magnifier is worth considering for anyone who plans to build miniatures regularly. The combination of magnification and shadow-free light helps prevent the eye strain that can lead to shaky hands and misplaced glue dots. Mounting one on a flexible arm makes it easy to position exactly where needed.
A few habits that help prevent most errors:
- Build in shorter sessions, roughly 45 to 90 minutes, then take a break
- Work in strong, neutral-temperature lighting, in the 5000K to 6500K range
- Keep pets and children clear of the assembly area
- Take progress photos to keep track of which pieces go where
Check the current Fifijoy discount code for a chance to stock up on kits with pre-cut, well-sanded components. Better-manufactured kits generally mean less prep work and fewer fit issues that can tempt you to over-glue joints.
Who benefits most from prevention over correction
These techniques suit anyone who wants a professional-looking result without constant do-overs. First-time builders working through diy miniature kits for adults tend to progress faster by building careful habits from the start rather than learning through costly mistakes.
Returning crafters coming back to miniatures after a break may appreciate newer tools and adhesives, since gel super glue and precision-tip applicators have expanded what is practical in small-scale assembly.
For a first kit, something like the book nook world designs, with larger components and a more forgiving assembly sequence, is a reasonable place to build up glue and paint technique before moving on to a complex dollhouse kit with hundreds of small parts.
Check current pricing and the discount code before starting the next project. Money saved there can go toward better brushes, glue and the small tools that make prevention easier.
Miniature building rewards patience and preparation. Treating each glue dot and brush stroke as a small decision worth getting right tends to show in the finished piece, from the first cut to the last detail.
Questions
How do I remove dried glue from diy miniature kits without damaging paint?
Let wood glue dry completely, then scrape it off with a hobby knife held at a shallow angle. For super glue smudges, apply a small amount of acetone on a cotton swab, testing first on a hidden area to check it will not affect the paint.
What type of glue prevents smudges on miniature wood pieces?
Tacky glue or a gel-formula super glue stays in place better than a liquid version. Applying it with a toothpick rather than the bottle nozzle gives more precise control and less excess.
Should I paint miniature kit pieces before or after assembly?
Painting interior walls, hard-to-reach corners and small details before gluing pieces together is generally easier. It makes sense to assemble first only for exterior surfaces that need continuous coverage across a joint.
How many coats of paint do miniature kits need?
Two to three thin coats of paint, thinned with about 10 to 20 percent water, with roughly 30 minutes of drying time between coats, generally works well. Thin layers avoid brushstroke ridges and give more even color than one thick coat.
Can I fix a piece I glued in the wrong spot on my dollhouse kit?
Wait for the glue to fully cure, then carefully slice through the joint with a hobby knife. Sand the surfaces smooth and touch up any paint damage before re-gluing the piece in the correct position.
What tools prevent the most mistakes when building miniature kits?
Precision tweezers, toothpicks for glue application, fine-tip brushes and a damp microfiber cloth for quick cleanup prevent more errors than any correction tool. A lighted magnifier also helps reduce the eye strain that leads to shaky hands.
Products in this guide

 Shopping at Fifijoy? See the discount code
15% OFF Sitewide
Shopping at Fifijoy? See the discount code
15% OFF Sitewide
More in this series
Preventing Glue Smudges and Paint Mistakes on DIY Miniature Kits16 Aug 20266 minBest Lighting Options for Dollhouse Kits and Book Nook Displays16 Aug 20265 minHow Long Does It Take to Complete a Fifijoy Miniature Coffee Shop?16 Aug 20265 minDo Book Nooks Fit Standard Shelves? Sizing Guide for Alice in Wonderland and Other Models16 Aug 20264 minDollhouse Kit vs Miniature Kit: Which Is Right for Beginners?16 Aug 20265 minHow to Assemble a Fifijoy Book Nook Without Missing Pieces16 Aug 20266 min