 A Fifijoy guide
Preventing Glue Smudges and Paint Mistakes on DIY Miniature Kits
Glue smudges and paint mistakes on diy miniature kits happen when you skip prep steps or rush assembly, but the right tools and techniques keep your project looking professional.
How to Prevent Glue Smudges and Paint Mistakes on DIY Miniature Kits
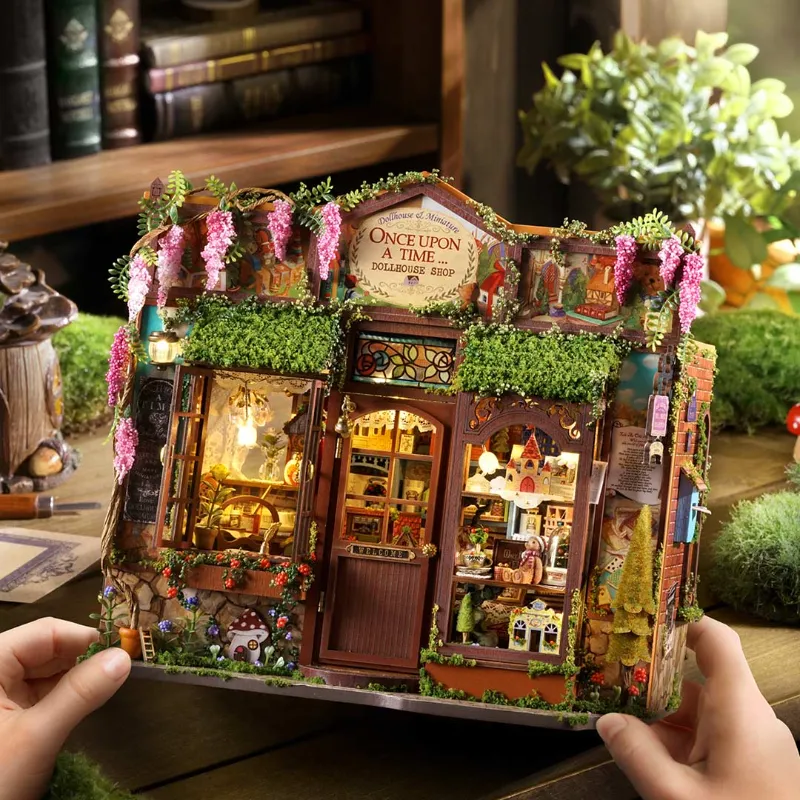
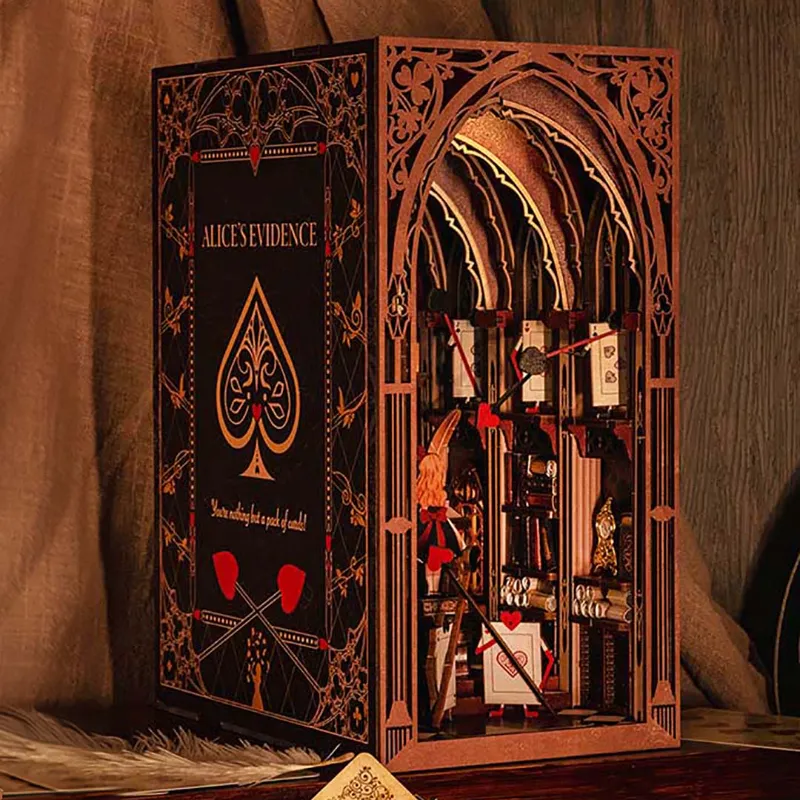
Diy miniature kits deliver the most satisfying results when you avoid glue smudges and stray paint marks that ruin the tiny details. Most errors happen during assembly because we underestimate how visible a fingerprint or excess adhesive becomes at miniature scale. Whether you are building a faye dollhouse, assembling a miniature coffee shop, or crafting an alice in wonderland book nook, clean glue lines and precise paint edges separate amateur builds from display-worthy pieces.
Below we share the exact workflow that prevents the two most common mistakes.
Choose the Right Glue and Application Tools
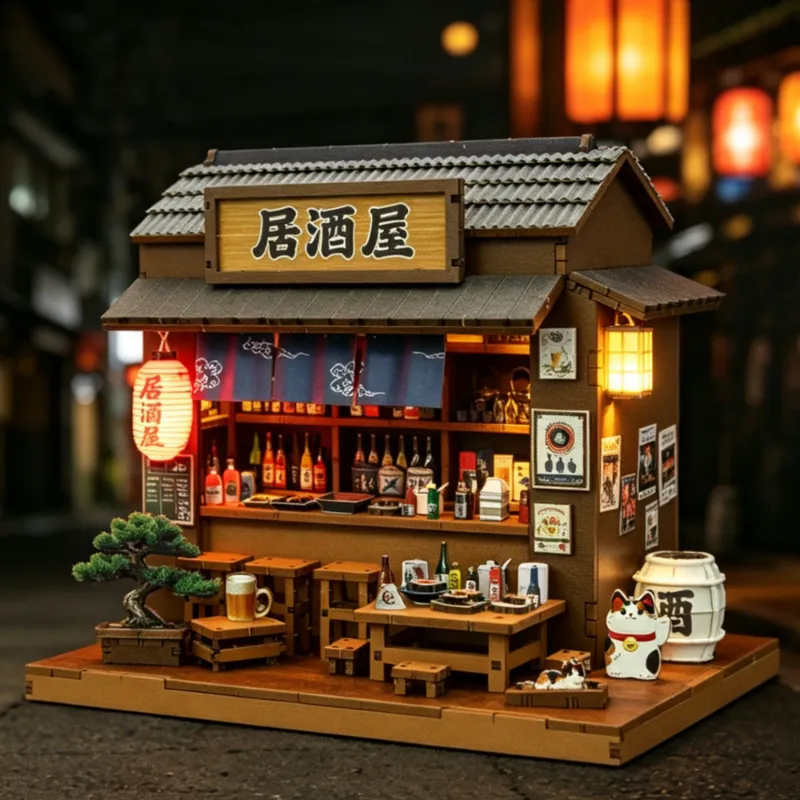
The glue that ships with many diy miniature kits often flows too fast or dries cloudy. We recommend swapping it for tacky craft glue or a precision-tip bottle of PVA white glue. Tacky glue grabs faster so pieces do not slide, and PVA dries crystal clear even if a tiny bead squeezes out.
Application tools that prevent smudges:
- Toothpicks or wooden skewers let you dot glue exactly where you need it without flooding edges.
- Fine-tip applicator bottles give you control for linear seams on walls and trim.
- Tweezers keep your fingers off wet glue zones and position delicate parts without smearing adhesive.
- Wax paper or a silicone mat under your workspace catches drips and lets you wipe tools clean between steps.
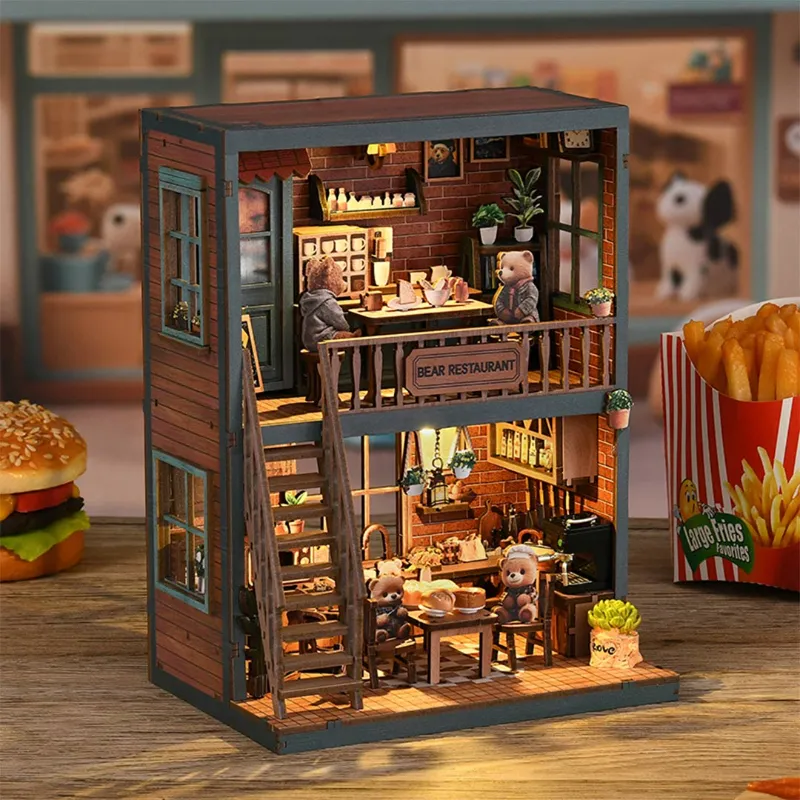
For larger projects like dollhouse kits or the miniature restaurant, pour a small puddle of glue onto wax paper and dip your toothpick as needed. This prevents over-squeezing and keeps the bottle tip clean.
Prep and Prime Before You Paint
Paint mistakes often start before you open the paint jar. Miniature wood and acrylic parts may carry laser-cut residue, finger oils, or dust that repel paint and create blotchy coverage.
Pre-paint checklist:
- Wipe every piece with a barely damp cloth or baby wipe to remove residue, then let it dry completely.
- Sand lightly if you see burn marks from laser cutting. A 320-grit sanding sponge smooths edges without removing detail.
- Prime with gesso or spray primer if you plan to use light colors over dark wood. Gesso fills tiny grain and gives paint something to grip.
When you paint directly on raw wood without prep, the first coat soaks in unevenly and often requires three or four layers to look solid. Priming cuts that down to one or two coats and prevents the streaky look common in best miniature house kits for adults.
Master Brush Control and Avoid Overfilling
Most paint errors happen because we load too much paint on the brush or skip the palette. Thick paint bleeds under masking tape, obscures engraved details, and takes forever to dry.
Brush technique for clean edges:
- Thin your acrylic paint with a drop or two of water until it flows smoothly but is not runny.
- Wipe excess on a palette or paper towel so the brush holds paint only in the bristles, not pooled at the ferrule.
- Use a fine-tip brush (size 0 to 2) for trim, window frames, and tiny furniture. A larger brush tempts you to paint faster and slop over edges.
- Steady your hand by bracing your wrist on the table or resting your pinky against the piece.
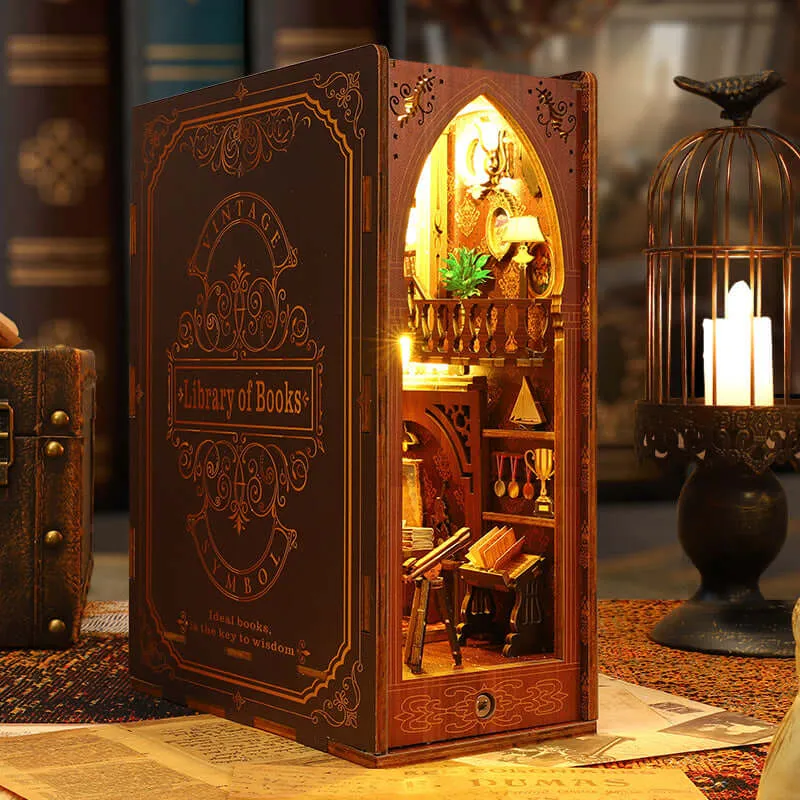
For projects like the puzzle bookshelf or 3d bookstore where you paint dozens of miniature books or signs, paint in batches and let each coat dry fully before adding details. Wet-on-wet layering is the fastest route to smudges.
If you want to see the current pricing on kits built for detail work, check the latest offers and grab the code before you start your next build.
Fixing Mistakes Without Starting Over
Even with careful prep, glue will occasionally seep or paint will drift. Catching errors early and knowing the right fix saves hours of frustration.
| Mistake | Immediate Fix | After It Dries |
|---|---|---|
| Glue smudge on clear plastic | Wipe gently with a damp cotton swab before it sets | Scrape carefully with a craft knife blade, then polish with plastic polish |
| Paint on wrong surface | Blot with a damp brush or towel within 30 seconds | Sand lightly and repaint, or use a tiny brush with the base color to cover |
| Excess glue squeezing from seam | Remove with a toothpick or damp swab immediately | Trim dried glue bead with a sharp blade held flat against the surface |
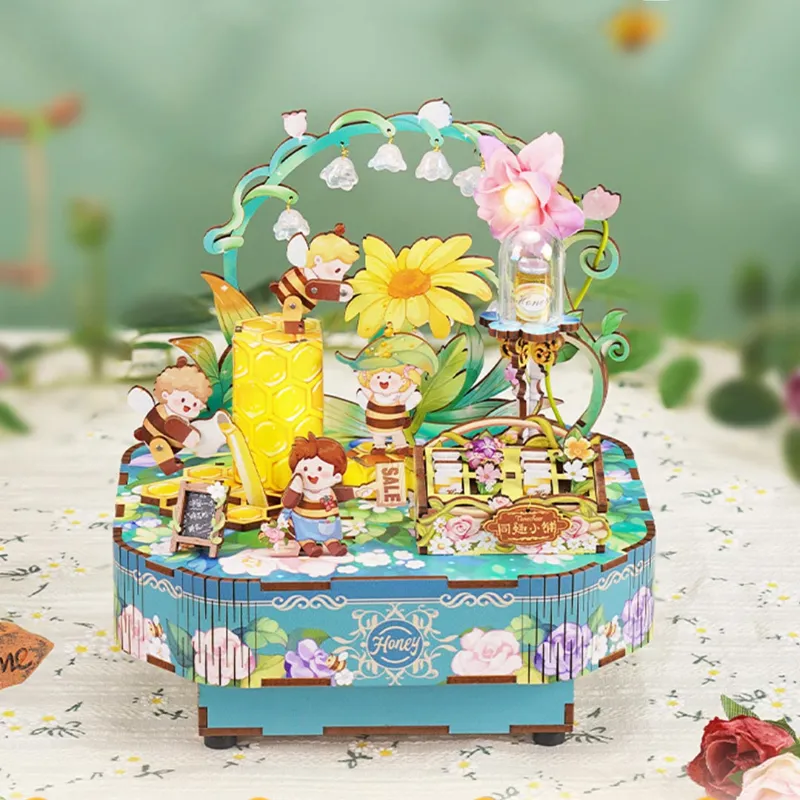
For the Fifijoy beebox and similar kits with translucent windows, glue smudges show dramatically under light. We keep a cup of water and cotton swabs within arm’s reach during every assembly session to wipe mistakes within seconds.
Work in Stages and Let Everything Cure
Rushing assembly is the hidden cause of most smudges. When you glue a wall and immediately add trim, your fingers contact wet adhesive. When you paint a piece and flip it before the paint dries, you leave fingerprints or stick it to your work surface.
Staging workflow that prevents contact mistakes:
- Assemble structural elements first (walls, floors, roof) and let them cure overnight before adding furniture or accessories.
- Paint components flat on wax paper or foam board, and leave them untouched for at least an hour.
- Use a drying rack or cardboard box flipped upside down to elevate painted pieces so air circulates and nothing touches wet surfaces.
- Handle cured parts by unpainted edges or use tweezers for tiny items like the miniature dishes in a miniature coffee shop.
Diy miniature kits for adults often include 100 or more small parts. We batch similar tasks (all painting one day, all gluing the next) so we are not tempted to assemble wet components and create smudges.
Tools and Supplies That Make the Difference
Beyond glue and paint, a few inexpensive tools transform your accuracy and cut down on mistakes.
- Painter’s tape or washi tape masks edges when you spray-paint or base-coat large sections. Test on scrap first because some tapes pull up wood grain.
- A magnifying lamp or headband magnifier shows you exactly where glue is spreading and whether your brush is staying inside the lines.
- Disposable gloves or finger cots keep oils off unpainted wood and prevent fingerprints on wet paint.
- Rubbing alcohol and cotton swabs remove dried acrylic paint from non-porous surfaces like metal hardware or acrylic windows.
- A craft knife with fresh blades trims glue beads and cleans up paint edges without tearing delicate wood.
We keep all of these in a small tackle box so setup takes seconds. When you are halfway through a christmas book nook or book nook world build and realize you need a tool, having it within reach prevents the temptation to improvise and create new mistakes.
If you are stocking up on supplies for your next project, grab our discount code to save on kits and get started with the right materials from day one.
Practice on Scrap Pieces First
Many miniature kits include a few extra wood parts or duplicate panels. Use these as test surfaces to dial in your paint consistency, practice glue application, or try a new weathering technique before you commit to the final piece. A five-minute test run on scrap saves the heartbreak of repainting an entire wall or replacing a ruined window frame.
For miniature house kits for beginners, we especially recommend painting extra pieces to get comfortable with brush control and drying times. Once you see how quickly thin paint dries and how little glue you actually need, the full build goes much faster and cleaner.
Building paper & vine book bar and similar intricate kits becomes genuinely relaxing when you stop worrying about mistakes and trust your workflow. Prep your pieces, choose the right tools, work in stages, and give everything time to cure. Those four habits prevent nearly every glue smudge and paint error we have seen in hundreds of builds.
Questions
How do I remove dried glue from a miniature kit without damaging the wood?
Use a sharp craft knife held flat against the surface to gently scrape away the dried glue bead. Work slowly to avoid gouging the wood, then lightly sand with 320-grit sandpaper if needed. For glue on acrylic windows, try plastic polish after scraping.
What type of glue works best for diy miniature kits?
Tacky craft glue or precision-tip PVA white glue works best because it dries clear, grabs quickly to prevent sliding, and cleans up easily with water when wet. Avoid super glue on visible seams since it can fog clear plastic and dries with a shiny residue.
Can I fix paint mistakes on miniature furniture after it dries?
Yes. Lightly sand the mistake area with fine-grit sandpaper or a sanding sponge, wipe away dust, and repaint with thin coats. For small errors like a stray brush stroke, use a fine-tip brush and the original base color to cover the mistake without sanding.
Should I paint miniature kit pieces before or after assembly?
Paint flat pieces before assembly whenever possible so you can reach all surfaces without gluing your fingers to wet paint. Assemble the structure first, let it cure, then add pre-painted trim and furniture. This staging prevents smudges and fingerprints.
How long should I wait for glue to dry before painting a miniature house kit?
Wait at least 24 hours for white glue or tacky glue to fully cure before painting. Glue may feel dry to the touch after an hour, but moisture trapped in the seam can cause paint to bead or peel. Overnight curing eliminates this risk.
Why does my paint look streaky on book nook kits?
Streaky paint usually means you skipped priming or the wood absorbed the first coat unevenly. Wipe the wood clean, apply a thin layer of gesso or spray primer, let it dry, then paint with two thin coats instead of one thick coat. This gives solid, even coverage.
Products in this guide

 Shopping at Fifijoy? See the discount code
15% OFF Sitewide
Shopping at Fifijoy? See the discount code
15% OFF Sitewide
More in this series
How to Avoid Glue Smudges and Paint Mistakes on DIY Miniature Kits16 Aug 20265 minBest Lighting Options for Dollhouse Kits and Book Nook Displays16 Aug 20265 minHow Long Does It Take to Complete a Fifijoy Miniature Coffee Shop?16 Aug 20265 minDo Book Nooks Fit Standard Shelves? Sizing Guide for Alice in Wonderland and Other Models16 Aug 20264 minDollhouse Kit vs Miniature Kit: Which Is Right for Beginners?16 Aug 20265 minHow to Assemble a Fifijoy Book Nook Without Missing Pieces16 Aug 20266 min