 A Weikav guide
How to Lubricate and Mod Your Nut65 Mechanical Keyboard
The iskar65 keyboard and Nut65 share a similar 65% layout that responds exceptionally well to lubrication and tactile mods.
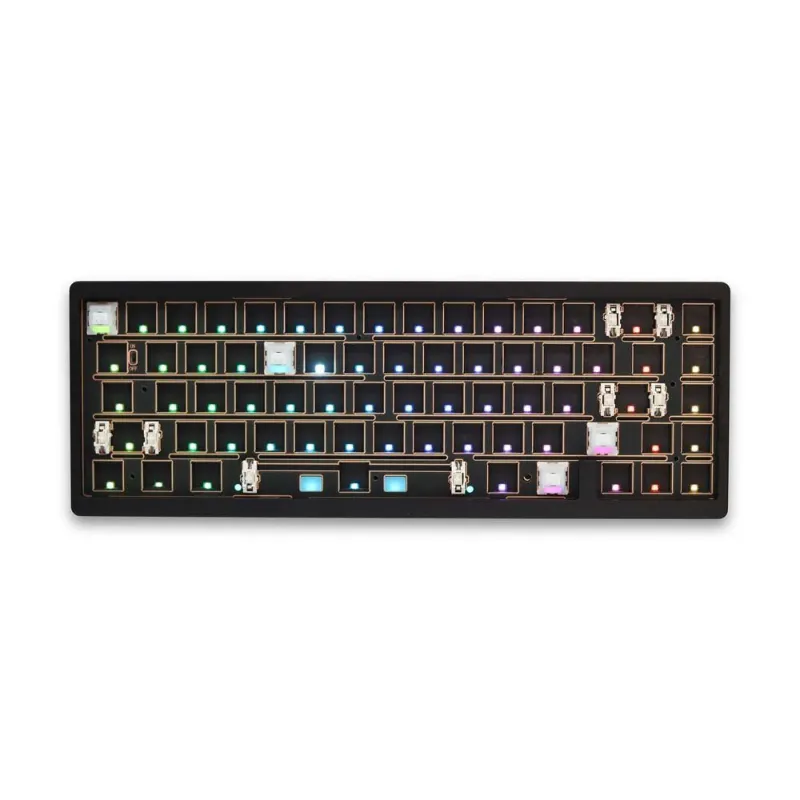
The iskar65 keyboard and Nut65 share a similar 65% layout that responds well to lubrication and tactile mods. Both boards can benefit from switch lubing, stabilizer tuning, and foam dampening, which aim to smooth out keystrokes and quiet the acoustics. Whether you are working with a weikav nut65 or a compact build inspired by minimalist designs like those featured on Keebtalk’s 651 interest check, the steps below will help you refine your board.
Why Lubricate Your Iskar65 Keyboard or Nut65
Lubrication reduces friction between moving parts, cutting down scratch and rattle and smoothing out each keystroke. Factory switches often feel inconsistent because springs, stems, and housings arrive dry or with minimal lubricant.
What lubing a board is meant to improve:
- Smoother travel, reducing scratchiness in linear and tactile switches
- Quieter bottom-out, dampening the impact sound when keys hit the plate
- Longer lifespan, protecting contact points from wear over repeated presses
- More consistent feel, evening out wobble and spring ping across every key
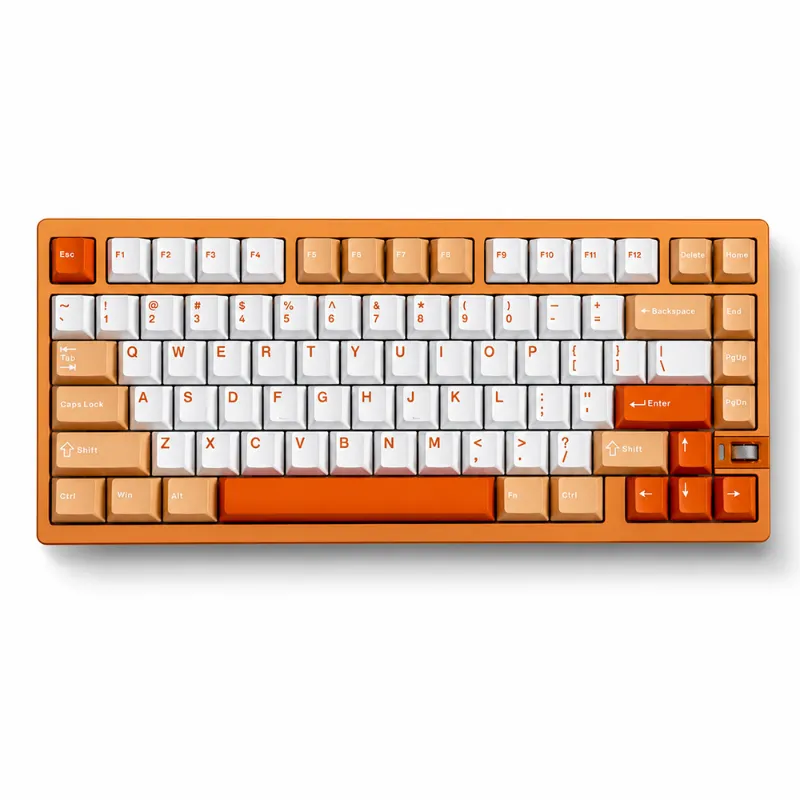
If you are planning a full build or re-lubing an existing nut65, set aside a couple of hours for disassembly, lubrication, and reassembly.
Tools and Materials You’ll Need
Gather these supplies before you start to avoid interruptions mid-mod:
- Lubricant, such as Krytox 205g0 for linears and Tribosys 3203 for tactiles
- Brush, a size 00 or 000 synthetic detail brush
- Switch opener, aluminum or 3D-printed
- Keycap puller, wire or plastic style
- Switch puller, for hot-swap PCBs
- Stabilizer lube, dielectric grease for housings, 205g0 for wire
- Tweezers, fine-tip for handling small parts
- Lube station (optional), which speeds up batch lubing
Check the latest price on Weikav for bundled mod kits that often group brushes, lube, and stabilizer sets together.
How to Disassemble and Lube Switches
Hot-swap boards make switch removal simple, while soldered PCBs need desoldering before you can access the switches.
Step-by-step switch lubrication:
- Remove keycaps and switches, using pullers to avoid damaging the board or caps
- Open each switch, pressing the top housing clips with your switch opener and separating the housing
- Lube the bottom housing, applying a thin coat of 205g0 to the rails where the stem slides
- Lube the stem, coating all four sides and the centre pole, avoiding the legs on tactile switches to preserve the bump
- Lube the spring, either bag-lubing by placing springs in a bag with a small amount of lube and kneading, or hand-lubing each coil for precision
- Reassemble the switch, snapping the top housing back and testing for smooth travel
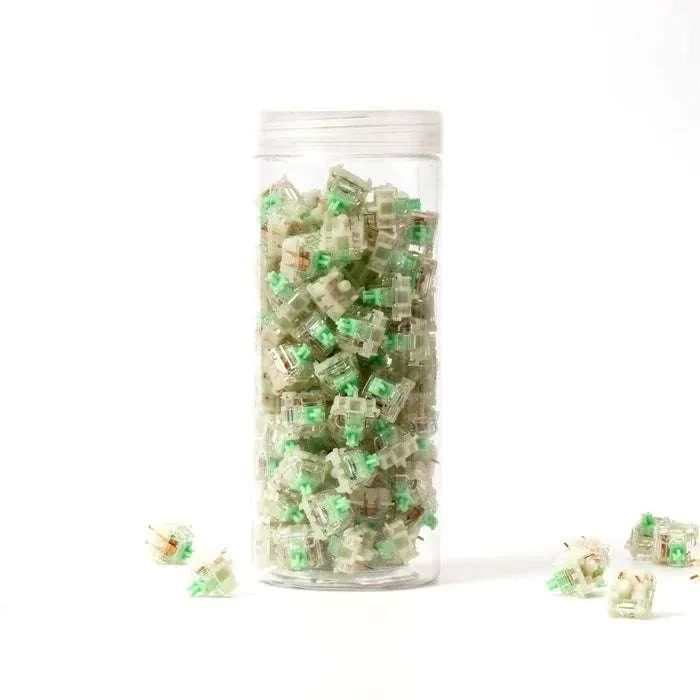
If you are building a board from scratch with baby kangaroo switches, lubing before installation saves time and gives more consistent results across the layout.
Tuning Stabilizers for Rattle-Free Keys
Stabilizers control larger keys like spacebar, shift, enter, and backspace. Poor stabilizer tuning is a common cause of rattle, tick, and a mushy bottom-out.
Stabilizer mod process:
- Disassemble stabilizers, removing housings and wires from the PCB or plate
- Lube the housing, coating the interior walls with dielectric grease where the stem contacts plastic
- Lube the wire ends, applying 205g0 where the wire enters the housing to reduce tick
- Balance the wire, bending slightly if one side sounds louder or wobbles more than the other
- Clip if needed, trimming the extra plastic feet on plate-mount stabilizers for clearance
- Band-Aid mod (optional), placing thin fabric pads under the stabilizer housings to dampen impact sound
After reassembly, test each stabilized key by pressing at different angles. A well-tuned stabilizer should feel smooth and sound consistent from left to right.
Foam and Case Dampening for Acoustics
Foam mods absorb hollow reverb inside the case and between the PCB and plate, tightening the sound signature without affecting key feel.
Common foam placements:
- Case foam, cut to fit the bottom cavity beneath the PCB
- Plate foam, sitting between the plate and PCB to isolate switch chatter
- PCB foam, installed between the PCB and case for additional dampening
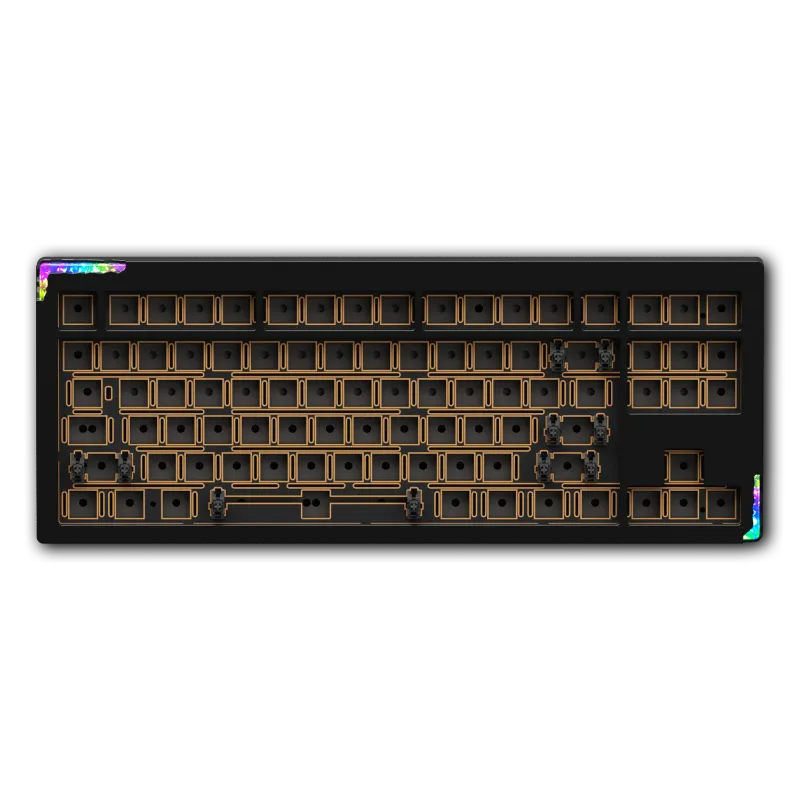
Thicker foam tends to create a more muted sound, while thinner layers preserve higher-pitched acoustics. If you are comparing builds, the star80 and star awaken 16 80 use similar gasket-mount structures that pair well with thin foam sheets.
You can buy pre-cut foam kits or cut your own from craft foam sheets. It helps to lay loose foam inside the case and type on it before committing to a permanent fit.
Break-In and Testing
New switches and freshly lubed boards can feel stiff at first, as lubricant distributes across contact surfaces with use.
Break-in approaches:
- Passive typing, using the board normally so the feel improves gradually
- Active break-in, pressing every key repeatedly in short bursts to speed up lube distribution
- Sound comparison, listening for changes in acoustics before and after lubing
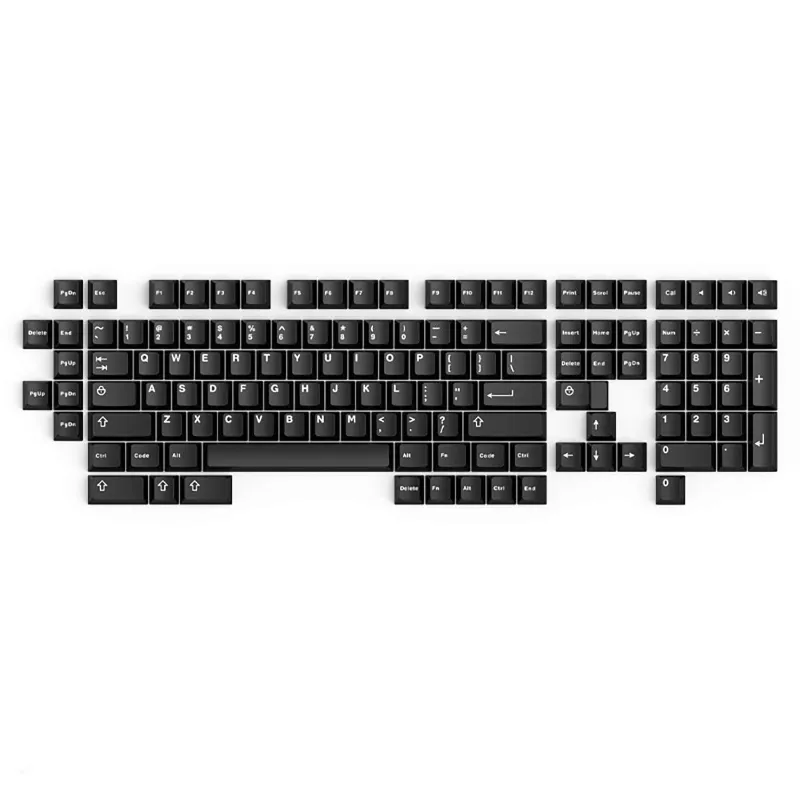
After break-in, revisit any keys that still feel scratchy or sound inconsistent. A second, targeted round of lubing usually resolves outliers. Pair your modded board with wob keycaps on white keyboard for a clean, high-contrast aesthetic.
Maintenance and Re-Lubing Schedule
Mechanical keyboards need minimal upkeep, but periodic maintenance keeps performance consistent.
- Dust removal, removing keycaps and blowing out debris with compressed air every few months
- Stabilizer check, listening for new rattle or tick and re-lubing if the sound changes
- Switch re-lube, once scratchiness returns, which happens sooner for heavy daily use
- Firmware updates, checking for new features or fixes if your board supports QMK or VIA
Check the current code for your next order of lube, switches, or replacement stabilizers.
Comparing Nut65 to Other 65% Boards
The Nut65 sits in a competitive segment alongside boards like the iskar65 keyboard and community favorites from Bitmap Studio’s Iskar project. Here is how they compare for modding potential:
| Feature | Nut65 | Iskar65 | Generic 65% |
|---|---|---|---|
| Mount style | Gasket or top | Gasket | Tray or integrated |
| Hot-swap PCB | Yes | Varies by variant | Mixed |
| Stabilizer access | Tool-free on some | Requires disassembly | Plate-dependent |
Both the Nut65 and Iskar65 respond well to foam dampening and stabilizer tuning, and the Iskar65’s CNC aluminum case design, showcased in Twentythird C’s project gallery, is one reason it is often described as having more acoustic depth out of the box. If ease of modding matters most, look for hot-swap variants with screw-in stabilizers.
The keygeek line also offers budget-friendly 65% options that share similar mod workflows, so these techniques transfer across boards in a collection.
Who Should Mod Their Keyboard
Lubing and modding suit typists and gamers who spend hours daily on their keyboards and notice small inconsistencies in feel or sound. If you already enjoy tinkering with hardware, the process doubles as a satisfying project.
You will benefit most if you:
- Type or game for long stretches daily
- Prefer quieter acoustics in shared workspaces
- Notice scratchiness or rattle in stock switches
- Want a premium feel without buying a higher-tier board
- Enjoy practical, iterative customization and tuning
Casual users who type lightly may notice smaller improvements, but even modest lubing tends to clear up the most obvious rattles and scratches.
Questions
How long does it take to lubricate a Nut65 keyboard?
Expect a couple of hours for a full session covering all switches and stabilizers. Hot-swap PCBs speed up the process since you skip desoldering, while hand-lubing each spring adds extra time compared to bag-lubing.
Can I use the same lube for switches and stabilizers?
You can use Krytox 205g0 for both, but dielectric grease works better for stabilizer housings because it is thicker and stays in place under pressure. Reserve 205g0 for switch components and stabilizer wires.
Will lubing void my keyboard warranty?
Most manufacturers consider disassembly and modification user-initiated changes that void warranty coverage. Check your specific board's terms before opening the case, or wait until the warranty period expires.
What's the difference between the iskar65 keyboard and Nut65 for modding?
Both are 65% gasket-mount boards that accept standard mods, but the Iskar65 typically has a deeper acoustic profile due to its CNC aluminum case, while the Nut65 offers easier stabilizer access on tool-free variants.
How often should I re-lube my switches?
Heavy users should re-lube sooner, once scratchiness returns, often within a year or two. Light typists may go much longer before noticing performance drop off.
Do I need to lube every single switch on my board?
You can skip function keys or numpad keys you rarely use, but lubing the entire alpha cluster and modifiers gives the most consistent feel and sound. Partial lubing often makes the difference between treated and untreated switches obvious.
Products in this guide
 Shopping at Weikav? See the discount code
5% OFF All Orders
Shopping at Weikav? See the discount code
5% OFF All Orders
More in this series
Troubleshooting Common Issues With the Keygeek Mechanical Keyboard6 Aug 20265 minWeikav Star Awaken 16 80 Sound: What Shapes How It Sounds6 Aug 20263 minDo WoB Keycaps Yellow Over Time? Longevity and Care Guide6 Aug 20265 minStar80 vs Iskar65: Which Weikav Keyboard Should You Buy?6 Aug 20263 minWeikav Baby Kangaroo Switches Review: Are They Worth It for Gaming and Typing?6 Aug 20264 min