 A Signstek guide
How to Install Signstek Barn Door Hardware: A Step-by-Step Guide
Installing barn door hardware is straightforward when you follow the right steps and have the proper tools on hand.
Installing barn door hardware is straightforward when you follow the right steps and have the proper tools on hand. Whether you’re upgrading a single entryway or tackling a heavy-duty exterior project, the process remains consistent. This guide walks you through everything from preparation to final adjustments, so your sliding barn doors operate smoothly and securely.
Preparing for barn door hardware installation
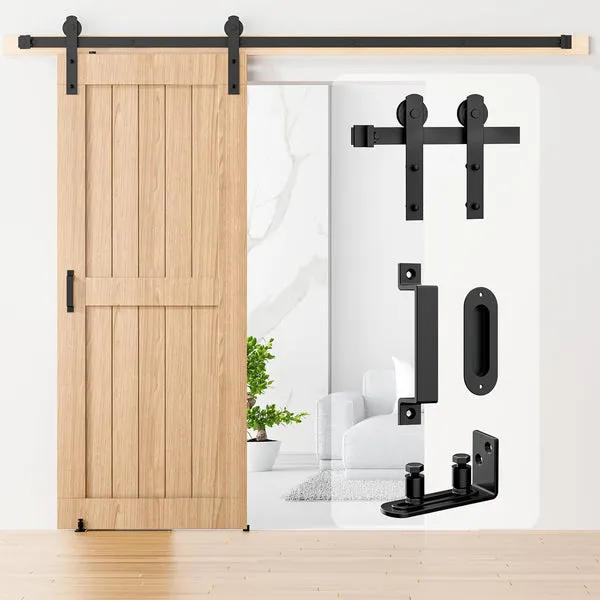
Before you start, gather the essential tools and materials. You’ll need a drill, level, tape measure, pencil, stud finder, and the appropriate fasteners for your wall type. If you’re installing barn door hardware or a barn door kit, check that all components are included and undamaged.
Measure twice and mark your installation height carefully. Most barn doors hang 84 to 90 inches from the floor, but your specific height depends on the door size and desired clearance. Mark the center point where the track will mount, then use your level to ensure the line is perfectly straight across your wall.
Locate the studs in your wall using a stud finder. Mounting into studs provides the strongest support, especially for double barn door hardware or heavy duty exterior barn door hardware kits. If studs don’t align with your marks, use heavy-duty anchors rated for the weight of your door and hardware.
Mounting the track for sliding barn door hardware
Position the track bracket at your marked line and hold it level. Drill pilot holes through the bracket into the wall, then secure with the provided bolts or screws. For sliding barn door hardware applications, ensure brackets are spaced evenly and at the exact same height.
If you’re working with sliding barn door hardware heavy duty systems, use all provided mounting points. Don’t skip fasteners to save time; each one carries load. Tighten bolts firmly but avoid over-tightening, which can strip threads or crack brackets.
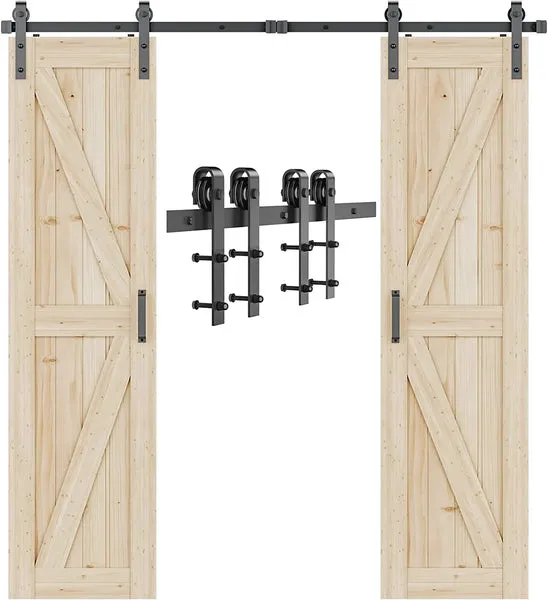
For single barn door hardware kit installations, one bracket at each end is typically sufficient. For double barn door hardware, install a center support bracket to prevent sagging when both doors are hung.
Installing the rollers and hangers
Attach the roller assemblies to the top of your barn door according to the manufacturer’s instructions. Most barn door kit systems use bolts or screws that pass through pre-drilled holes. Make sure the rollers point upward and are fully seated.
Lift the door and guide the rollers into the track. This step goes smoothly with a second person, but you can manage solo by using a block to support the door weight. Let the door hang naturally and check that both sides rest evenly. If one side sits lower, adjust the roller height slightly or use shims.
Test the door’s movement by rolling it back and forth several times. It should glide smoothly without binding or rubbing. If resistance occurs, check for bent tracks or misaligned rollers. Minor adjustments to the roller height or track position usually solve this.
Aligning and leveling the barn door
Level the barn door from top to bottom. Place your level vertically against the leading edge and adjust the roller position if needed. The door should hang straight regardless of where it sits on the track.
Check the gap between the door and the frame. This should be even on all sides, typically 1/4 to 1/2 inch. If the gap widens or narrows, loosen the mounting bolts slightly, reposition the track, and retighten. Don’t force the door; it should move freely and stop where you intend.
Adding stops and guides
Install floor guides or stops to keep the door tracking properly and prevent it from swinging out. Barn door hardware kits usually include these components. The floor guide prevents the bottom of the door from shifting side to side, especially important for barn door hardware exterior installations where wind or vibration might occur.
Attach the guide to the floor directly below the door’s edge. It should be close enough to prevent drift but loose enough that the door rolls freely. Test the door movement again to confirm it stays centered on the track.
Final checks and adjustments
Roll the door to both ends of the track and verify it stops cleanly without binding. Adjust the track stops or roller limit screws if the door overshoots or stops short of where you want it.
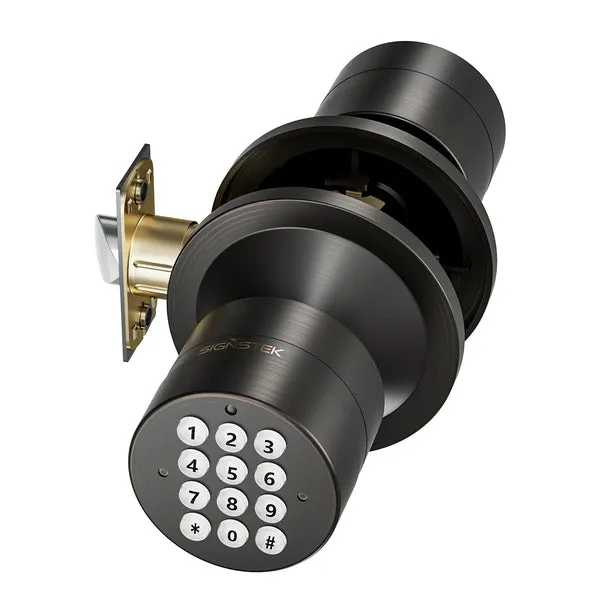
If you’re installing a barn door kit with locking hardware, make sure the door latches securely. Test it several times to confirm the lock engages smoothly. For added security, consider pairing your installation with a door lock with keypad or door keypad for convenient keyless access.
Tighten all fasteners one final time, check the level again, and wipe away any dust. Your barn door hardware is now installed and ready to use.
Maintenance tips for your new barn door hardware
Dust the track and rollers monthly and lubricate them lightly with a silicone-based cleaner to keep movement smooth. Avoid oil-based lubricants, which trap dirt. Check fasteners every few months, especially in exterior installations, and tighten as needed. Barn door hardware holds up well with basic care, but regular attention extends its life significantly.
If you need parts or have questions about your specific kit, grab the code at Signstek for current pricing and availability. Whether you started with a barn door kit or mixed components, proper maintenance keeps your installation working smoothly for years.
| Installation Step | Key Point | Tools Needed |
|---|---|---|
| Preparation | Measure height, find studs | Level, tape measure, stud finder |
| Track mounting | Use all fasteners, ensure level | Drill, bolts, level |
| Roller installation | Attach to door top, hang evenly | Wrench or socket set |
| Alignment | Check gaps, test movement | Level, shims if needed |
Questions
What tools do I need to install barn door hardware?
You'll need a drill, level, tape measure, pencil, stud finder, and fasteners appropriate for your wall type. Most tools are standard; Signstek kits include hardware-specific fasteners.
Can I install double barn door hardware on drywall without studs?
Yes, use heavy-duty anchors rated for the combined weight of both doors and the hardware. Studs are ideal, but quality anchors provide adequate support if studs don't align with your marks.
How high should I mount barn door hardware above the door?
The track typically mounts 1 to 2 inches above the door frame or opening. Refer to your specific kit's instructions, as some systems have clearance requirements for the rollers.
Why is my sliding barn door binding or rubbing?
Check that the track is level and the rollers are properly aligned. Minor adjustments to roller height or track position usually resolve binding. Make sure the door hangs straight vertically.
Do I need a center support bracket for single barn door hardware?
Single doors typically need brackets only at each end. Center supports are recommended for double barn door hardware and very heavy doors to prevent sagging over time.
Can I add a keypad lock to my barn door setup?
Yes, a door lock with keypad works well with sliding barn doors for convenient keyless entry. Install it on the door itself or pair it with a compatible frame-mounted option for your home.
Products in this guide
 Shopping at Signstek? See the discount code
5% OFF All Orders
Shopping at Signstek? See the discount code
5% OFF All Orders
More in this series
Troubleshooting Your Signstek Smart Lock: Common Keypad Problems and Fixes26 Aug 20264 min Signstek Heat Powered Fan for Wood Burning Stoves: What to Know Before You Buy26 Aug 20264 minSignstek Keypad Door Lock vs Traditional Keys: Which is Right for Your Home?26 Aug 20264 minDoes a Signstek Wood Stove Fan Really Work Without Electricity?26 Aug 20263 min