 A YOSEPOWER SHOP guide
How to Install a YOSEPOWER Electric Bike Conversion Kit on Your Existing Bicycle
Installing an electric bike conversion kit transforms your standard bicycle into a powered e-bike in just a few hours with basic tools.
An electric bike conversion kit transforms your standard bicycle into a powered e-bike in just a few hours with basic tools and straightforward wiring. YOSEPOWER offers hub motor kits that bolt onto most bikes, complete with controllers, displays, and throttle or pedal-assist sensors.
What You Need Before Installing Your Conversion Kit
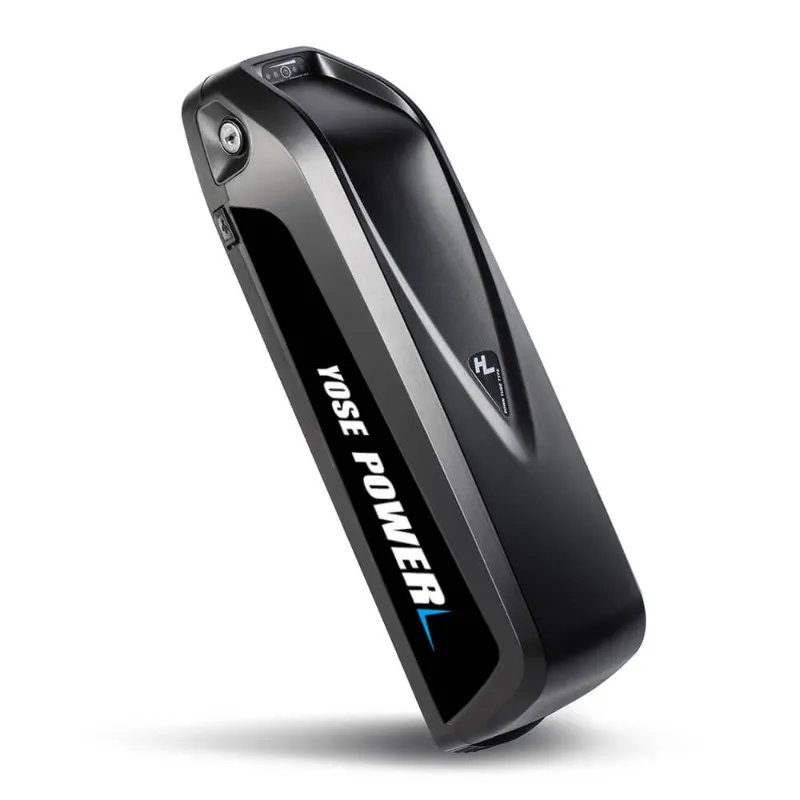
Before you start, confirm your bike frame has adequate dropout spacing (typically 135 mm rear or 100 mm front for standard kits). Most YOSEPOWER electric bike conversion kit packages include the motor wheel, controller, display, brake levers with cutoff switches, pedal-assist sensor, throttle, and all necessary cables.
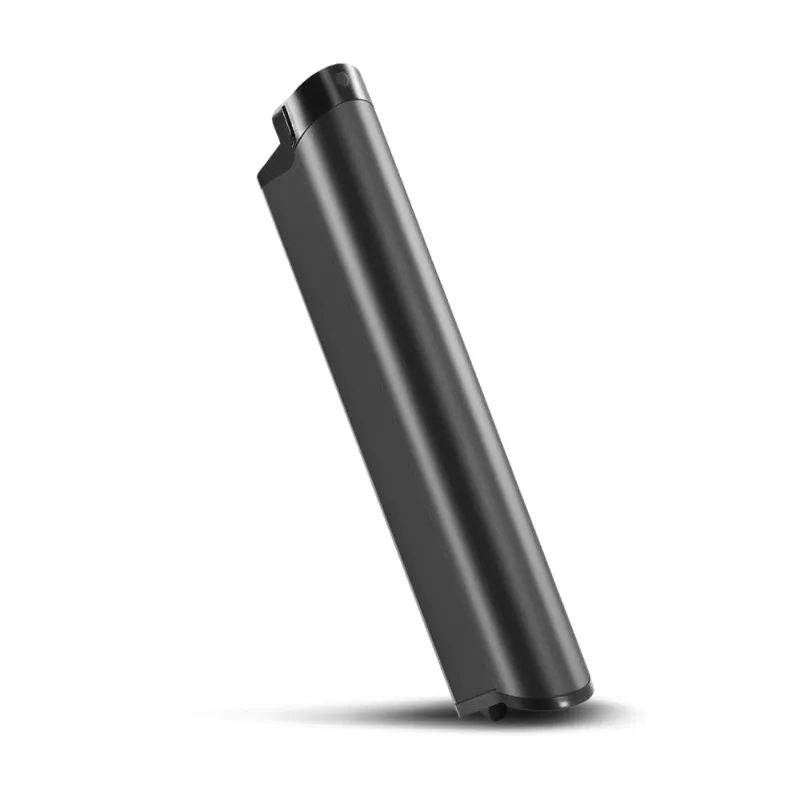
You will also need a compatible battery. YOSEPOWER systems typically run on 36V or 48V configurations. The 48v electric bicycle battery delivers more torque and higher top speeds, while 36V options like the 36v 10.5ah offer lighter weight and gentler power curves for casual riding. Match your battery voltage to your motor rating.
Gather these tools:
- 15 mm and 17 mm wrenches for axle nuts
- Phillips and flathead screwdrivers
- Allen key set (typically 4 mm, 5 mm, 6 mm)
- Cable ties or zip ties for wire management
- Electrical tape
- Torque wrench (optional but recommended for 30-40 Nm spec)
Check current pricing and grab our discount code before you order to save on the full kit and battery bundle.
Step-by-Step Installation Process
Remove your existing wheel. For rear-wheel kits, shift to the smallest cog to release chain tension, then open the brake caliper and loosen the axle nuts. Slide the wheel out of the dropouts. Front-wheel installs are simpler since you only disconnect the brake.
Install the motor wheel. Position the motor wheel so the cable exits toward the chain side (for rear installs) or the left fork leg (for front installs). The axle washers often have small tabs that fit into frame slots to prevent spin-out under torque. Tighten axle nuts to manufacturer spec (usually 35-40 Nm) and confirm the wheel spins freely without rubbing the brake pads or frame.
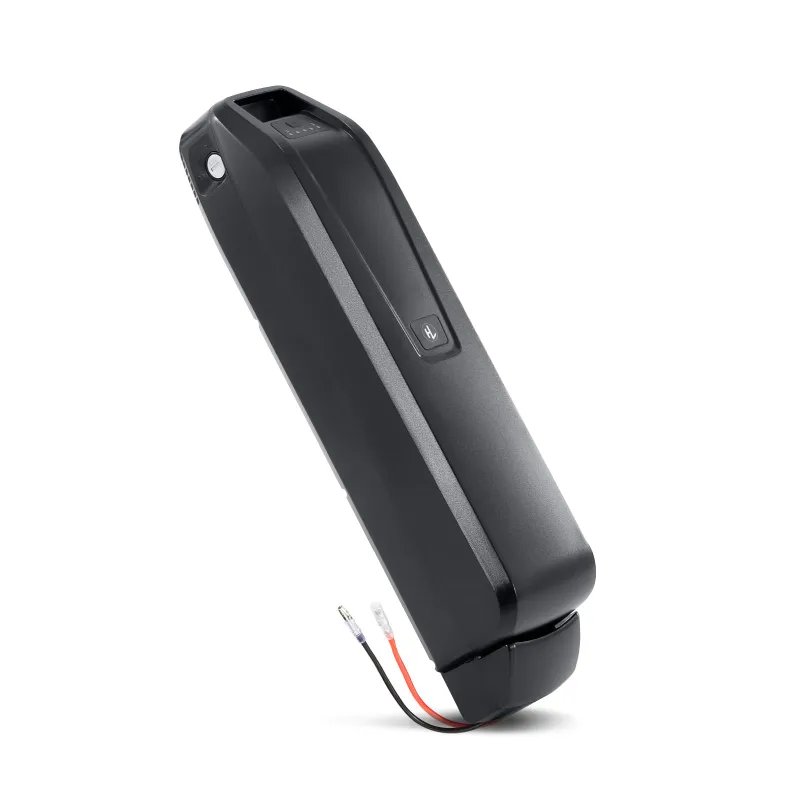
Mount the controller and battery. Most controllers fit inside a frame bag or mount under the downtube with Velcro straps. Route the thick motor cable from the wheel to the controller, ensuring no sharp bends. Secure your 48 volt battery ebike or 36v 13ah 1p to the frame using the included mounting plate, typically on the downtube or rear rack. Leave enough cable slack for the battery to be removed for charging.
Connect the wiring harness. YOSEPOWER uses color-coded connectors: yellow for motor phase wires, black multi-pin for the display and sensors, red/black for battery power. Match each plug to its socket, most are keyed and will only fit one way. Do not force connections. Attach the pedal-assist sensor (PAS) to the bottom bracket with the sensor disk on the non-drive side crank arm, maintaining a 2-3 mm gap between disk and sensor head.
Install the display and controls. Clamp the handlebar display mount near the stem, angling the screen for easy visibility. Attach brake levers with integrated cutoff switches (these kill power when you brake). Mount the thumb throttle on the right grip and route all cables along the frame or fork using zip ties every 15-20 cm. Avoid crossing cables over pivot points or areas where they might snag.
Test before your first ride. Power on the display, confirm battery charge level, and lift the rear wheel. Twist the throttle gently, if the wheel spins in the correct direction, your polarity is correct. Squeeze each brake lever and verify the motor cuts power instantly. Pedal slowly and listen for the PAS sensor to engage (you should feel motor assistance kick in after a quarter pedal rotation). If the motor runs backward, swap any two of the three motor phase wires at the controller.
Choosing the Right Battery for Your Kit
Battery capacity determines your range. A 36v 10.5ah pack delivers roughly 378 watt-hours, enough for 20-30 miles of pedal-assist on flat terrain. The 48v electric bicycle battery at 13 Ah provides 624 watt-hours and extends range to 35-50 miles under similar conditions. Higher voltage systems like 48V also handle hills more efficiently than 36V.
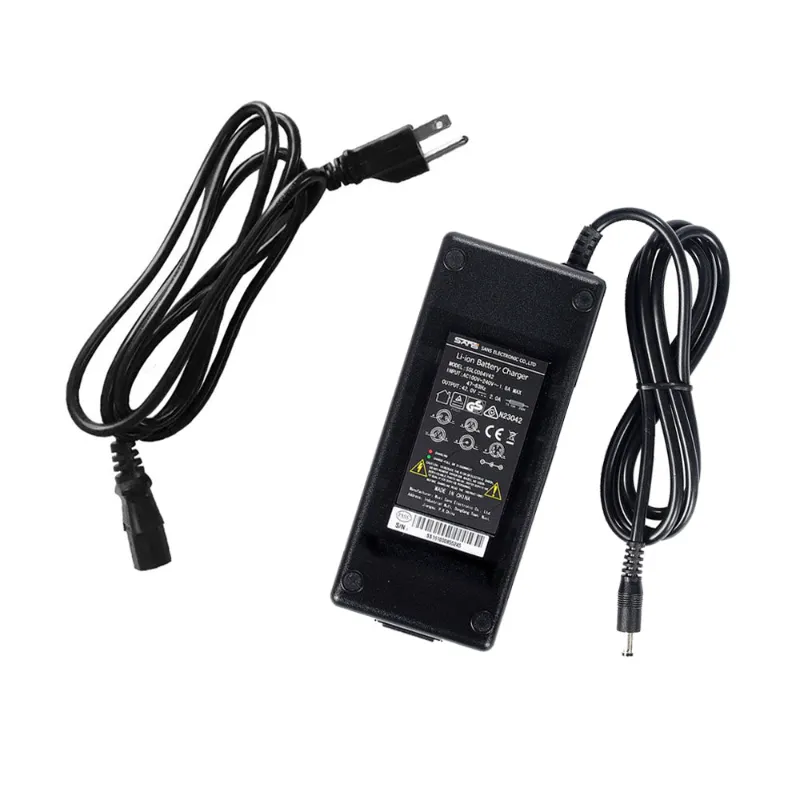
YOSEPOWER batteries use standard XT60 or Anderson Powerpole connectors. If you upgrade from a 36V to 48V system, you must replace the controller and display, mixing voltages will damage components. Always pair your battery with the correct 36v battery charger for electric bike to avoid overcharging or cell imbalance.
Brand-specific replacements like the aventon pace 500 battery, heybike mars 2.0 battery, and vivi ebike battery fit their respective frames but typically will not work with YOSEPOWER controllers due to different battery management system (BMS) communication protocols. Stick with matched kits for reliability.
For riders comparing options across brands, Cycling Electric’s buyer guide breaks down compatibility by frame type and use case.
Common Installation Challenges and Fixes
Dropouts too narrow. Some older road bikes have 130 mm rear spacing. You can cold-set steel frames to 135 mm or file the dropout slots slightly (aluminum and carbon require professional work). Alternatively, install the motor in the front wheel to avoid frame modifications.
Cable length issues. If the motor cable is too short to reach the controller, relocate the controller closer to the wheel. Never splice or extend motor phase wires, this creates resistance and heat. Display and sensor cables can be extended using matching connectors and 22-gauge wire.
PAS sensor not triggering. Check the gap between the sensor and the magnetic disk, too wide (over 5 mm) and it will not detect rotation. Ensure the disk is centered and does not wobble. In the display settings, verify PAS sensitivity is not set to zero.
Motor cuts out intermittently. Loose battery connections are the most common cause. Remove and reseat the battery, then check that the XT60 plug is fully inserted. Inspect all multi-pin connectors for bent pins or corrosion. If cutouts happen only under load, your battery BMS may be triggering over-current protection, this usually indicates a failing cell pack.
Wheel does not sit straight. Motor wheels are often dished (offset spoke pattern) to clear the motor casing. If the rim is not centered in the frame, loosen one axle nut, tap the axle gently to shift position, and retighten. Recheck brake pad clearance after adjustments.
Grab your YOSEPOWER kit with our exclusive code to get $10 off sitewide, including electric bike conversion kit with battery bundles.
Maintenance Tips After Installation
Check spoke tension after the first 50 miles, motor torque can stress the wheel build. Use a spoke wrench to true any wobbles and retighten loose spokes before they break. Inspect all electrical connections monthly, especially if you ride in wet conditions. Apply dielectric grease to connector pins to prevent corrosion.
Battery care directly impacts longevity. Store your 48v electric bicycle battery indoors at 40-80% charge when not in use for more than a week. Avoid letting the pack drop below 20% regularly, as deep discharge cycles shorten lifespan. Most YOSEPOWER batteries last 500-800 full charge cycles before capacity drops to 80%.
Brake pads wear faster on e-bikes due to higher speeds and weight. Upgrade to metallic or semi-metallic pads if you are using rim brakes, and consider hydraulic disc brakes for better modulation and stopping power on 750W or higher systems.
Who Should Install a Conversion Kit vs Buy a Complete E-Bike
Conversion kits make the most sense if you already own a quality bike frame you want to keep. We recommend this route for riders with newer mountain bikes, touring bikes, or commuter frames that fit well and have strong wheels. Cycling Weekly’s expert guide highlights six tested kits and clarifies which bike types benefit most.
Skip the conversion if your bike has a carbon frame (motor torque can crack the dropouts), worn components (chain, cassette, brakes), or poor fit. A complete e-bike from the factory includes integrated wiring, warranty coverage, and balanced geometry designed for motor weight. Budget bikes under $300 are not worth converting, the kit will cost more than the frame.
YOSEPOWER kits shine for riders seeking affordable power (typically 500-1000W) without sacrificing a beloved frame. The best electric bike conversion kit for your situation depends on your bike’s condition, your technical comfort, and whether you value customization over plug-and-play simplicity.
Questions
How long does it take to install a YOSEPOWER electric bike conversion kit?
Most riders complete installation in 2 to 4 hours with basic tools. First-time installs may take longer if you need to troubleshoot cable routing or adjust brake clearances.
Can I use a 48V battery with a 36V conversion kit motor?
No. Mixing voltages will damage the controller and display. Always match battery voltage to the motor and controller rating specified by the manufacturer.
Will a conversion kit work on a bike with disc brakes?
Yes, as long as the motor wheel hub does not interfere with the disc rotor or caliper. Most YOSEPOWER rear hub motors are designed to clear 160 mm and 180 mm rotors on the drive side.
Do I need to replace my existing brakes after installing the kit?
YOSEPOWER kits include brake levers with motor cutoff switches. You can keep your existing calipers or disc brakes and simply swap the levers, or use inline cutoff sensors if you prefer your current levers.
How do I know if my bike frame is compatible with a rear hub motor?
Measure the rear dropout spacing, 135 mm is standard for most mountain and hybrid bikes. Road bikes with 130 mm spacing may require minor frame adjustments or a front hub motor install instead.
What is the range of a 48V 13Ah battery on a conversion kit?
Expect 35 to 50 miles with moderate pedal assist on flat terrain. Range decreases with higher assist levels, frequent stops, hills, and heavier rider weight.
Products in this guide
 Shopping at YOSEPOWER SHOP? See the discount code
$10 OFF Sitewide
Shopping at YOSEPOWER SHOP? See the discount code
$10 OFF Sitewide
More in this series
What Charger Do I Need for a 36V Electric Bike Battery?13 Aug 20264 minWhat to Know Before Buying a YOSEPOWER 48V E-Bike Battery13 Aug 20264 minCan You Replace an Aventon Pace 500 Battery With a Third-Party Option?13 Aug 20265 minHow Long Do Aftermarket E-Bike Batteries Last? YOSEPOWER Battery Lifespan and Care13 Aug 20264 min36V vs 48V E-Bike Batteries: Which Voltage Is Right for Your Electric Bike?13 Aug 20266 min