 A T-HOBBY guide
F411 Flight Controller Setup Guide: Wiring and Configuration Tips
The f411 flight controller delivers reliable performance for micro and small FPV drones when wired and configured correctly.
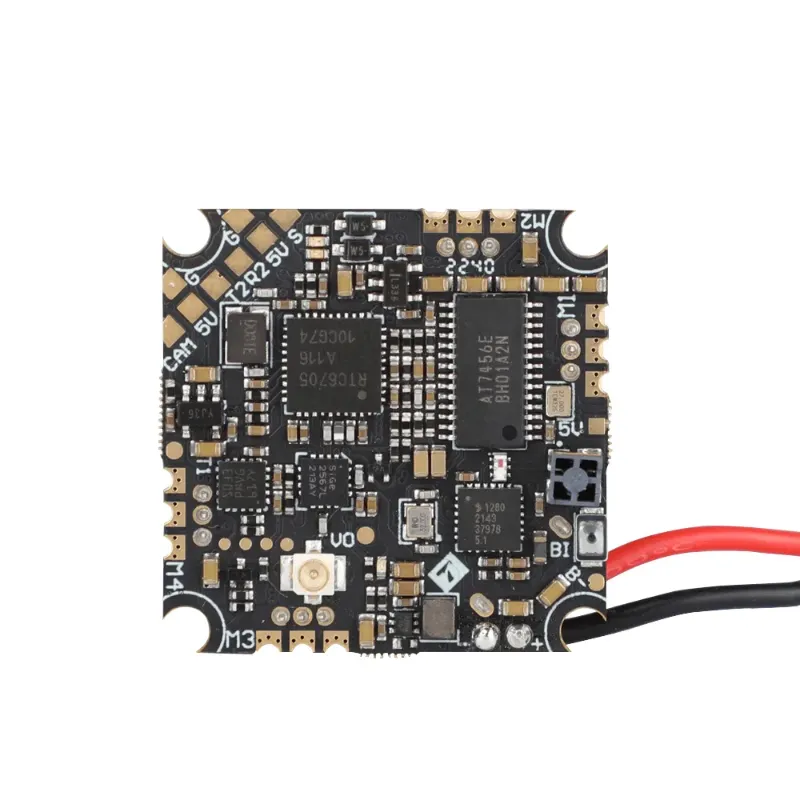
The f411 flight controller delivers reliable performance for micro and small FPV drones when wired and configured correctly. Built around the STM32F411 microcontroller, this compact board handles flight stabilization and motor control while leaving room for additional peripherals like FPV cameras and video transmitters. We’ll walk you through the complete wiring process, firmware configuration, and common pitfalls to avoid so you can get airborne quickly.
Understanding F411 Board Variants
Multiple manufacturers produce f411-based flight controllers, and knowing which variant you have determines your pin assignments and available features. The Matek f411-mini offers an all-in-one solution with integrated voltage regulators and current sensing, while the f411 aio includes additional features like built-in OSD. The (EOL) Flight Controller F411-mini SE shows typical specifications: four motor outputs, UART ports for receivers and peripherals, and I2C for external sensors.
Popular variants include:
- Matek f411-wte: Includes power distribution and 5V/9V regulators
- F411 DX: Compact design for tight builds under 100mm
- Matek f411-wing: Tailored for fixed-wing applications with dedicated servo outputs
- Standard f411 boards: Basic four-in-one ESC compatibility without integrated PDB
Check your board’s silkscreen markings to identify pad labels before you start soldering. Most f411 boards share the same core pinout, but regulator ratings and connector types vary.
Wiring Motors and ESCs to Your F411
Motor connection order directly affects flight behavior, so follow this sequence carefully. The f411 uses standard motor pad layout with M1 through M4 corresponding to specific quadcopter positions. For a standard X-frame quadcopter, M1 sits at the rear right, M2 at the front right, M3 at the rear left, and M4 at the front left when viewed from behind.
For direct ESC wiring:
- Solder each ESC signal wire to the corresponding motor pad (M1-M4)
- Connect all ESC ground wires to a common ground pad on the f411
- Route ESC power wires to your battery connector or PDB, never through the flight controller
When pairing with brushless motors:
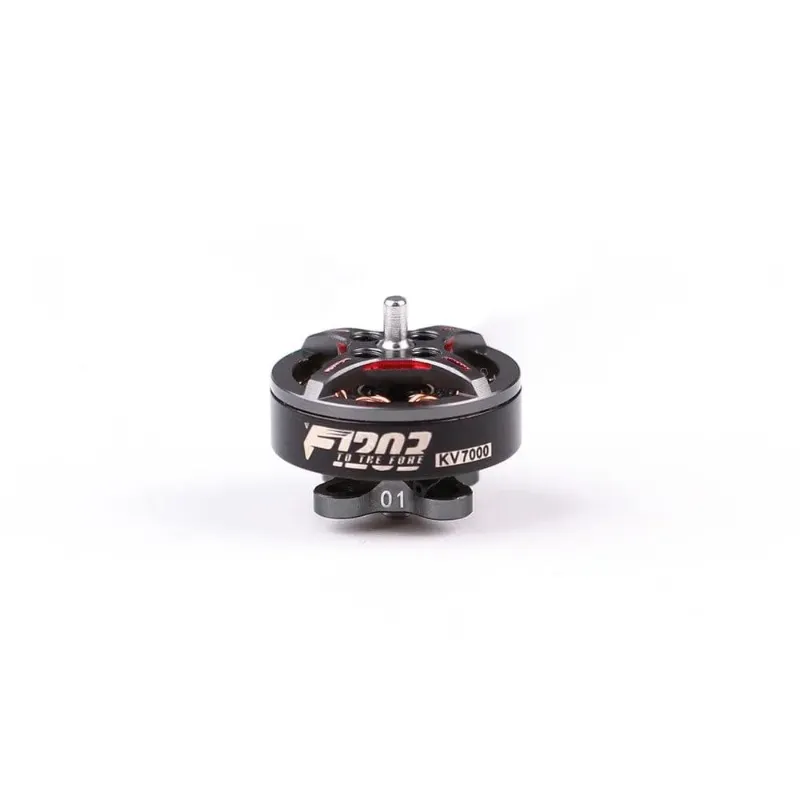
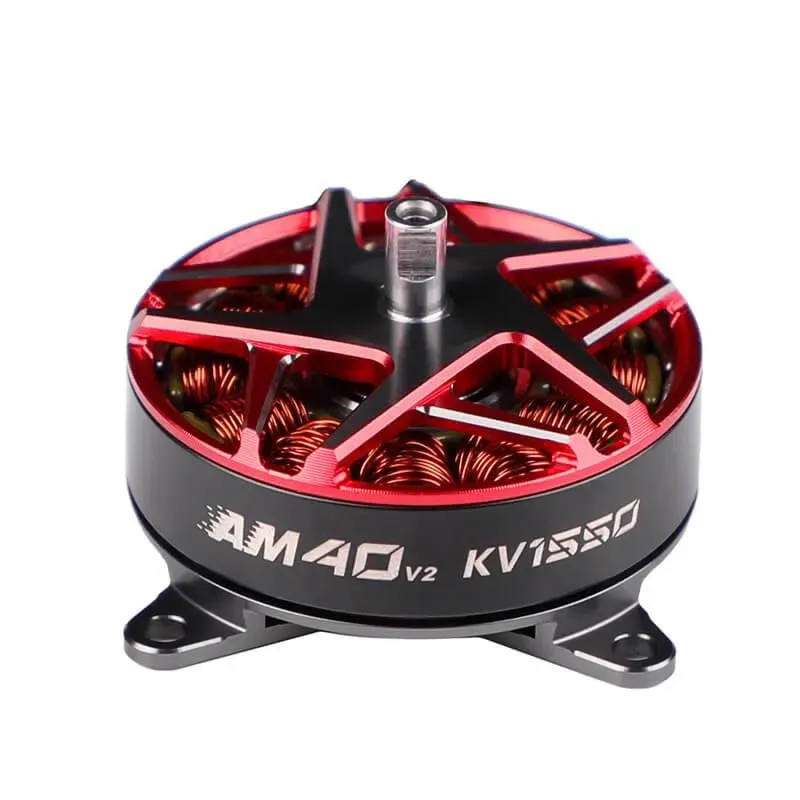
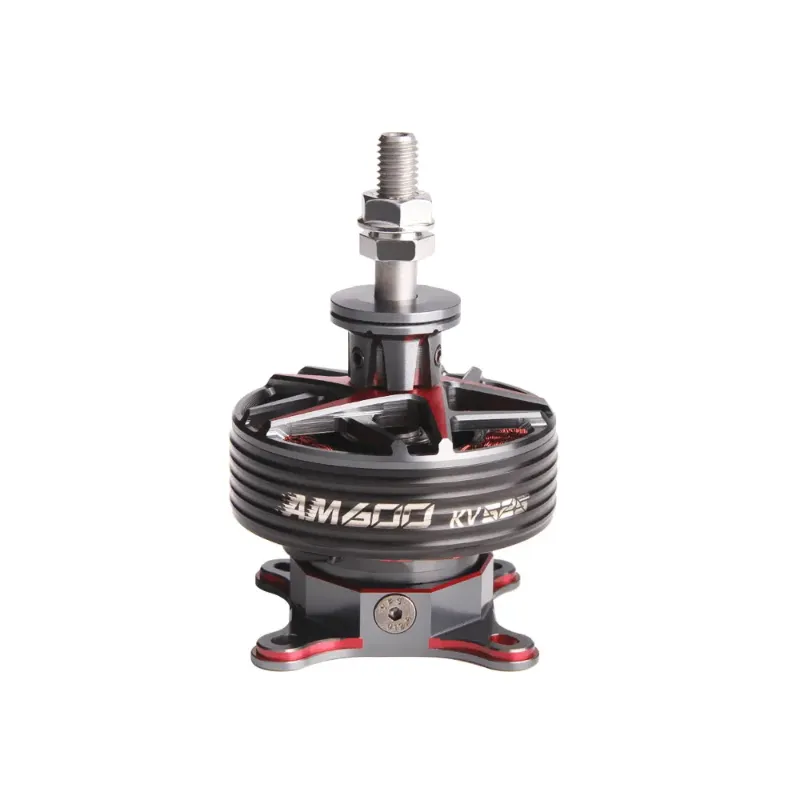
Popular motor choices for f411-based builds include the compact 1203 4850kv for ultra-light micros, the versatile am30 for 2-3 inch builds, and the powerful t40 for 3-5 inch frames. The t-600 and t 600 work well for larger 5-inch setups, while the am670 suits high-performance racing builds. Match your motor KV rating to your battery voltage and propeller size to avoid overheating.
For four-in-one ESCs, you’ll typically connect a single ribbon cable or wire bundle that carries all four motor signals plus ground. Double-check the ESC’s pinout diagram because manufacturers don’t always follow the same signal order.
Connecting FPV Components and Peripherals
The f411 provides UART ports for serial communication with receivers, FPV gear, and telemetry modules. Most boards expose three to four UART ports, with UART1 often reserved for USB communication.
Typical FPV camera and VTX wiring:
| Component | Connection Point | Notes |
|---|---|---|
| FPV Camera | 5V, GND, CAM pad | Analog cameras draw 60-150mA |
| Video Transmitter | TX pad (UART), 5V/9V | Check VTX voltage requirement |
| Receiver | RX pad (UART), 5V, GND | SBUS, CRSF, or ELRS protocol |
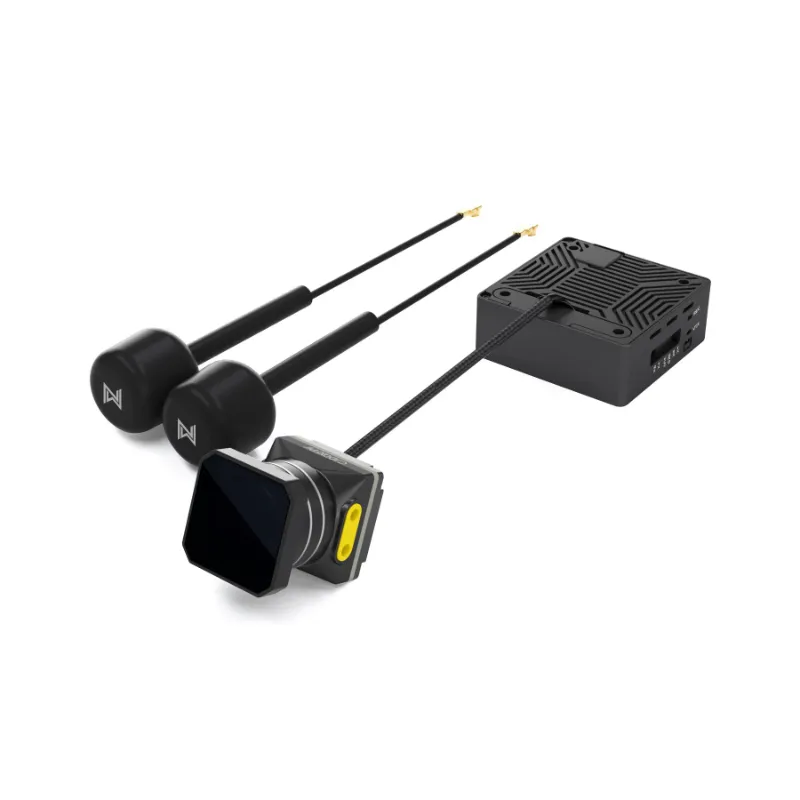
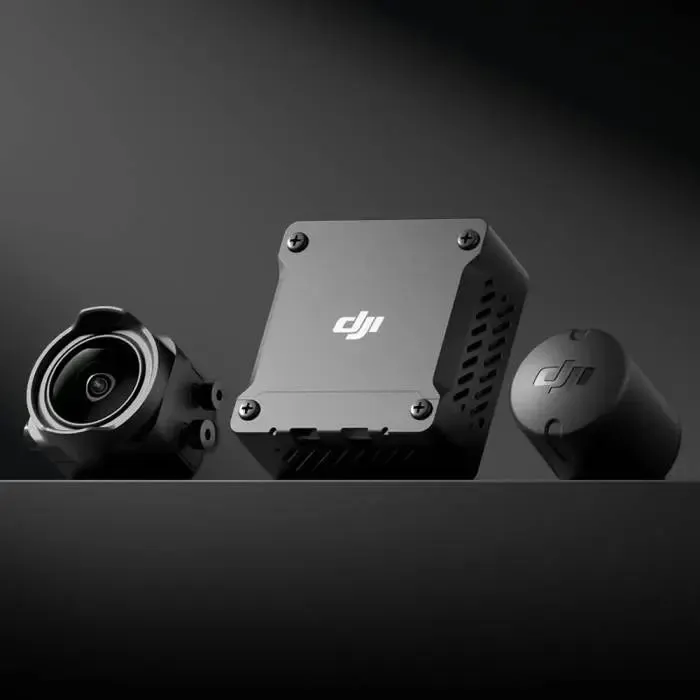
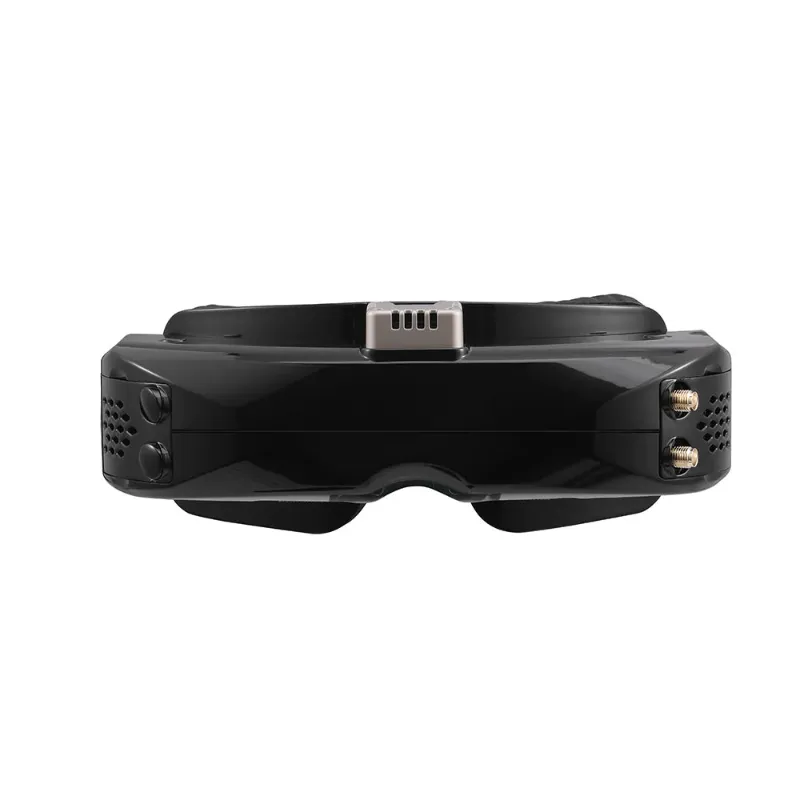
The walksnail moonlight camera connects via a dedicated UART for digital FPV control, sending configuration commands from your transmitter through the flight controller. For DJI-style digital systems, the o3 air unit micro drone requires both UART communication and separate power from a 5V or battery voltage source depending on your model. Pair these with quality skyzone fpv goggles for the complete visual experience.
Before powering up, verify voltage requirements for every peripheral. The f411’s onboard regulators typically output 5V at 1-2A maximum, which may not support high-power VTX units that need 9V or battery voltage.
Firmware Flashing and Initial Configuration
Betaflight remains the most popular firmware choice for f411 boards, offering excellent flight performance and extensive configurator support. Download Betaflight Configurator, connect your f411 via USB, and enter DFU mode by bridging the boot pads while plugging in the cable.
Configuration sequence:
- Flash firmware: Select the correct target for your specific board model in Configurator
- Set board alignment: Most builds use default 0° on all axes unless your board mounts at an angle
- Configure motor protocol: Dshot300 or Dshot600 work reliably on f411 processors
- Map receiver inputs: Enable serial RX on your chosen UART and select your protocol (SBUS, CRSF, etc.)
- Calibrate accelerometer: Place the quad on a level surface and run ACC calibration
- Set up modes: Assign arm switch, flight modes, and any auxiliary functions to transmitter channels
For the f411 code specifically, Betaflight’s unified targets automatically load the correct resource mapping. If you’re building a custom configuration or using non-standard wiring, you may need to manually remap resources using the CLI. Save your configuration and test motor direction before attaching propellers, incorrect rotation causes uncontrollable flight.
Grab the code to save on motors, flight controllers, and other components when building your f411-based drone.
Troubleshooting Common F411 Setup Issues
Motors not spinning or spinning erratically: Check that your ESC protocol matches your configuration. If you selected Dshot but your ESC only supports PWM or Oneshot, motors won’t respond correctly. Verify motor direction in Betaflight’s motor tab and reverse any that spin backward using the appropriate CLI command or BLHeli configurator.
No video signal from camera: Confirm your camera’s power requirements match the output from your f411’s regulator. Some cameras need filtered 5V, while others tolerate battery voltage directly. Check that your CAM pad isn’t shorted to ground and that your video transmitter receives both power and signal.
Receiver not binding or no stick input: Serial receivers need both correct UART assignment in Ports tab and proper protocol selection in Configuration tab. For SBUS, enable serial RX on your chosen UART with “Serial RX” selected and set SBUS as the provider. Invert the signal if required by your receiver model.
Flight controller not powering on: The f411 draws power either from USB during configuration or from a 5V pad when flying. If using a four-in-one ESC with a 5V output, connect it to the designated 5V input pad on your flight controller, not to a regulator input pad. Reversed polarity or voltage spikes can damage the board permanently.
For persistent issues, check the latest price on a replacement board and verify all your components work individually before reassembling.
Optimizing Performance for Different Build Sizes
The f411 processor handles most flight scenarios well, but you’ll get best results by matching your configuration to your frame size and intended use.
Micro builds (65-100mm): Pair your f411 with lightweight motors like the 1203 4850kv or am30, use Dshot300 protocol to reduce processing overhead, and disable unused features like GPS or blackbox logging. Enable dynamic filtering if your Betaflight version supports it, which reduces gyro noise without manual PID tuning.
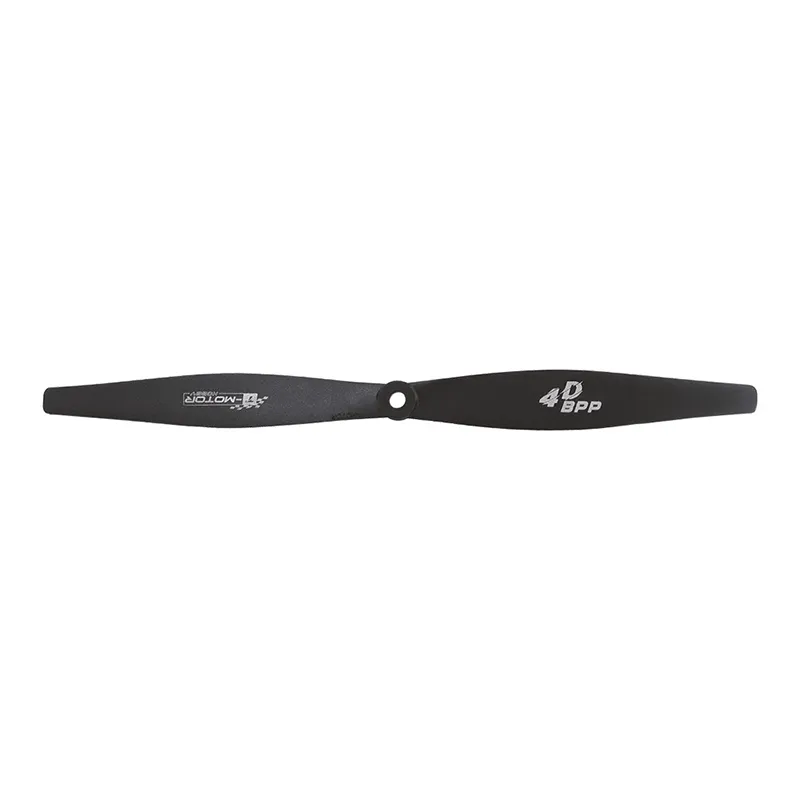
Standard freestyle builds (3-5 inch): The t-600, t40, or 42t motors provide good thrust-to-weight ratios for acrobatic flight. Enable Dshot600, configure RPM filtering if your ESCs support bidirectional Dshot, and adjust your rates to personal preference. The f411 handles these features adequately at moderate loop times (4kHz gyro, 2kHz PID).
Racing and high-performance setups: Use motors like the am670 or t-850 that deliver maximum power. Push Dshot to 600 or 1200 if your ESCs support it, enable all filtering optimizations, and consider a higher-spec F7 or H7 board if you experience CPU load warnings during flight.
Visit our T-HOBBY discount code page to save 10% on all motors, flight controllers, and FPV gear for your next build. The f411 provides an excellent foundation for pilots who want reliable flight performance without paying for features they won’t use, and proper setup ensures you spend more time flying and less time troubleshooting.
Questions
What motors work best with an f411 flight controller?
The f411 pairs well with motors ranging from 1203 size for micro builds up to 2207 for 5-inch quads. Popular choices include the 1203 4850kv for lightweight frames, am30 and t40 for 3-inch builds, and t-600 or am670 for larger freestyle and racing setups. Match your motor KV to your battery voltage and prop size.
Can I run RPM filtering on an f411 board?
Yes, if your ESCs support bidirectional Dshot. The f411 processor can handle RPM filtering at moderate loop times (4kHz gyro, 2kHz PID), though you may need to disable other CPU-intensive features like high-rate blackbox logging to prevent overload warnings.
Which UART should I use for my receiver on f411?
Most f411 boards reserve UART1 for USB, so use UART2 or UART3 for your receiver. Check your specific board's documentation because some variants label pads differently. Enable serial RX on your chosen UART in Betaflight's Ports tab and select your protocol (SBUS, CRSF, ELRS) in Configuration.
How do I fix motors that won't spin on my f411 build?
Verify your ESC protocol matches Betaflight settings, Dshot300 or Dshot600 work reliably. Check motor tab in Betaflight to test each motor individually, confirm ESC signal wires connect to correct motor pads, and ensure ESCs receive power and ground. If using a four-in-one ESC, verify the ribbon cable pinout matches your flight controller.
What is the difference between f411 aio and standard f411 boards?
F411 AIO (all-in-one) boards integrate voltage regulators, current sensing, and sometimes OSD chips directly on the flight controller, reducing wire clutter. Standard f411 boards provide just the flight controller function and require external PDB or ESC with integrated BEC for power distribution. AIO boards cost more but simplify builds.
Can I connect a DJI O3 Air Unit to an f411 flight controller?
Yes, the o3 air unit micro drone connects to an available UART on your f411 for MSP communication, allowing OSD and configuration. You'll need to provide separate power to the O3 unit from a 5V regulator or battery voltage depending on your model, as the f411's onboard regulator may not supply sufficient current.
Products in this guide

 Shopping at T-HOBBY? See the discount code
10% OFF All Orders
Shopping at T-HOBBY? See the discount code
10% OFF All Orders
More in this series
 What KV Rating Do You Actually Need for Your Drone Motor?12 Aug 20265 min
 Skyzone Sky04X Review: Are These FPV Goggles Still Competitive in 2026?12 Aug 20265 minWalksnail Moonlight vs O3 Air Unit Micro: Which FPV System Is Worth It?12 Aug 20265 minHow to Choose the Right Motor for Your FPV Drone Build12 Aug 20265 min