 A SUNNY SHOWER guide
Corner Shower Kit Installation: What Tools and Skills Are Required?
Installing a corner shower kit requires basic plumbing knowledge, the right tools, and attention to detail during prep and assembly.
What You Need to Install a Corner Shower Kit
Installing a corner shower kit requires a few basic tools, basic plumbing skills, and careful attention to waterproofing and leveling. Most homeowners with moderate DIY experience can complete the project over a weekend, though professional help is recommended if you need to relocate plumbing or reinforce floor joists.
The real work lies in proper preparation, accurate measurements, and sealing every joint to prevent leaks down the line.
Tools for Corner Shower Kit Installation
Before you start, gather the right equipment. Missing even one tool mid-project can derail your timeline and create frustration.
Basic Hand Tools:
- Drill with adjustable clutch and drill bits
- Level (48-inch recommended for checking walls and base)
- Tape measure and carpenter’s square
- Utility knife with fresh blades
- Adjustable wrench and channel locks
- Screwdrivers (flathead and Phillips)
- Caulking gun
Specialty Items:
- Silicone sealant rated for wet environments
- Shims for leveling the shower base
- Plumber’s tape for threaded connections
- Stud finder to locate wall framing
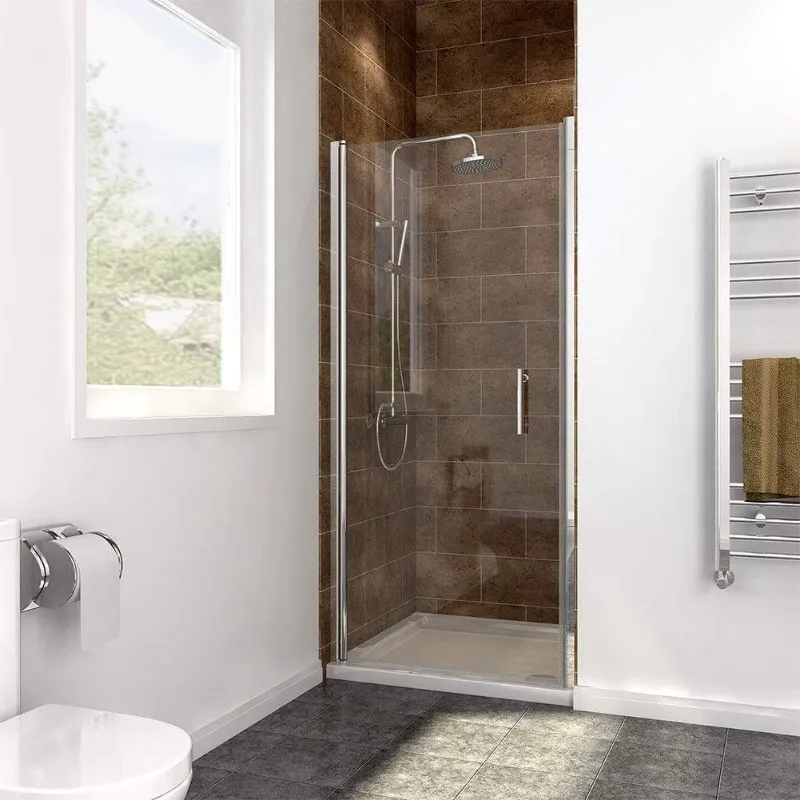
When working with shower doors or sliding glass shower doors, you may also need a hacksaw to trim aluminum channels to exact dimensions. A shower squeegee is handy for wiping down glass during dry-fit checks.
For current pricing on complete kits and individual components, see the current SUNNY SHOWER coupon code.
Skills and Knowledge Required
Most corner shower kit installations demand intermediate-level skills. You do not need to be a licensed plumber, but you should understand basic concepts.
Plumbing Fundamentals:
- Connecting drain assemblies and testing for leaks
- Applying plumber’s tape to threaded fittings
- Understanding P-trap configuration
- Recognizing when supply lines need adjustment
Carpentry Basics:
- Reading a level and making adjustments with shims
- Locating and drilling into wall studs safely
- Cutting and fitting trim pieces squarely
Waterproofing Awareness:
- Identifying where silicone seals are critical
- Applying even caulk beads without gaps
- Understanding which materials contact water directly
If you are installing a corner shower kit with base and walls, the waterproofing becomes even more important because any failure at the base-to-wall junction will eventually lead to mold or subfloor damage. Manufacturers like MAAX and Delta provide detailed instructions specific to their systems, so always follow those guidelines first.
Step-by-Step Installation Overview
While every kit differs slightly, the general workflow remains the same. We outline the major phases below to help you gauge time and complexity.
1. Prepare the Space
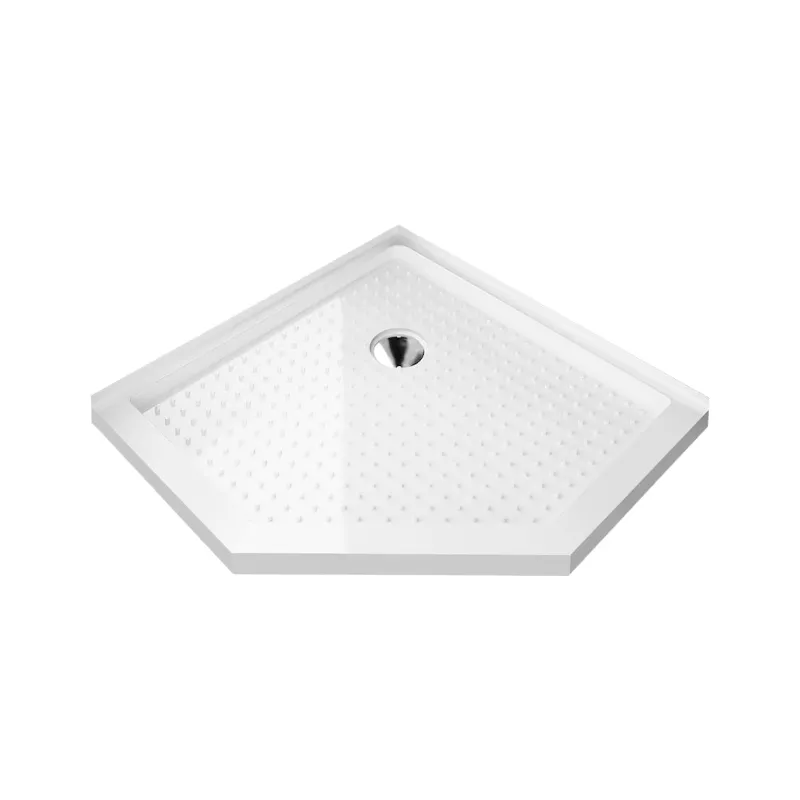
Remove the old tub or shower completely, including trim, fixtures, and the base. Inspect the subfloor for rot or soft spots and replace damaged sections before proceeding. Check that the drain location matches your new shower pan or corner base. If not, you will need to relocate the drain, which is a task best left to a professional plumber.
2. Install the Shower Base
Set the base in position and check for level in all directions. Use shims underneath to eliminate rocking and achieve a perfectly flat surface. An unlevel base causes water to pool and stresses door hinges on frameless shower door assemblies. Once level, mark the drain location, remove the base, and attach the drain assembly according to the manufacturer’s torque specs.
3. Secure Wall Panels or Surround
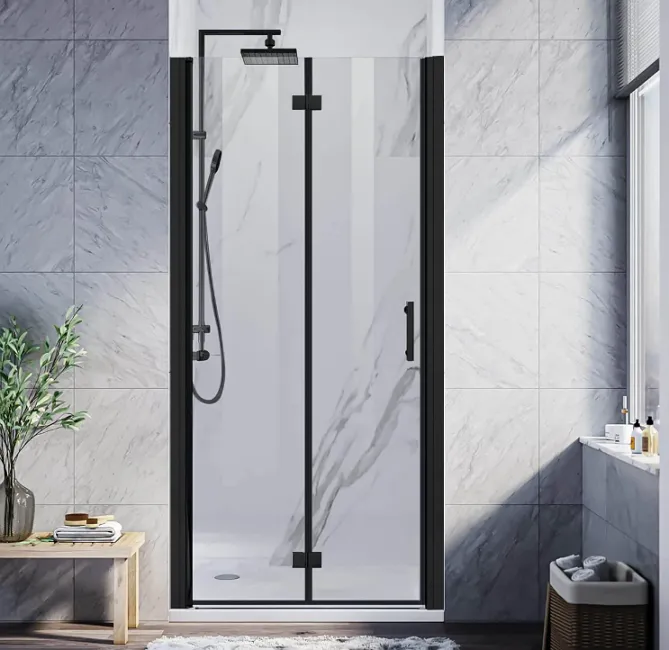
Apply adhesive to the back of each wall panel and press firmly into place, starting with the back wall. Many kits use interlocking channels, so alignment is critical. Fasten panels to studs using the provided fasteners, then seal all seams with silicone. If your kit includes separate bathroom doors or enclosure panels, test-fit them before final sealing.
4. Install the Shower Door
Attach hinges, tracks, or guide rails per the instructions. For sliding glass doors, the bottom track must be perfectly straight to prevent binding. A shower door bottom seal strip helps contain water and reduces cleaning frequency. Adjust tension on pivots or rollers so the door opens smoothly without excessive force.
5. Final Connections and Testing
Connect the showerhead, valves, and any body sprays. Turn on the water and inspect every joint for leaks, paying special attention to the drain and door seals. Let water run for several minutes while checking the subfloor below for moisture.
Grab our coupon code before you order to save on all the components you need.
Common Sizing Challenges and Solutions
Corner shower kits come in standard footprints, but real-world bathrooms rarely match blueprints perfectly. Here is how to handle the most frequent sizing issues.
| Problem | Solution |
|---|---|
| Walls not square | Use shims and flexible trim to bridge gaps up to 1/2 inch |
| Drain offset from center | Install an offset drain adapter or reposition plumbing |
| Low ceiling clearance | Choose a kit without a full ceiling panel or neo-angle design |
| Narrow doorway access | Order a kit with modular panels that fit through standard doors |
Small corner shower kits in 32×32 or 36×36 dimensions work well in powder rooms or basement bathrooms, while 42×42 square corner shower kits offer more elbow room in master suites. Measure your rough opening twice and compare it against the manufacturer’s specification sheet, not the marketing dimensions.
When to Hire a Professional
We recommend professional installation if any of these apply:
- You need to move drain or supply lines more than six inches
- The subfloor requires reinforcement or replacement
- Local code mandates a licensed plumber for wet-area work
- You are installing a corner shower kit in a second-story bathroom where leaks risk structural damage
- The kit includes steam features or multiple body jets
Even confident DIYers benefit from hiring a plumber for the rough-in phase, then completing the finishing work themselves. This hybrid approach reduces labor costs while ensuring code compliance.
We would also suggest professional help for door installation, especially with heavy bathtub shower doors or complex pivot mechanisms. A cracked glass panel can be costly to replace, so if you feel unsure about handling it yourself, call in someone experienced for that phase.
For a clearer sense of total project costs, check current pricing on complete kits and accessories.
Maintenance Tools You Will Need Later
Once your installation is complete, keep a few items on hand to extend the life of your investment:
- Soft cloths and non-abrasive cleaner for glass
- Replacement silicone for annual re-sealing of corners
- Spare shower door bottom seal strip sections
- White vinegar for hard-water deposit removal
Regular maintenance prevents the need for major repairs and keeps your shower looking new. Wipe down glass and metal daily with a shower squeegee to minimize soap scum buildup, and inspect seals every six months for cracks or separation.
Questions
Can I install a corner shower kit by myself?
Yes, if you have basic plumbing and carpentry skills. Most kits include detailed instructions, and the process takes one to two days. Hire a professional if you need to relocate drains or reinforce the subfloor.
What is the hardest part of installing a corner shower kit?
Leveling the base and waterproofing the seams are the most critical steps. An unlevel base causes door alignment issues, and gaps in silicone seals lead to leaks and mold over time.
Do I need to replace the subfloor before installing a new shower base?
Only if the existing subfloor is damaged, soft, or water-stained. Inspect it carefully when you remove the old shower. A solid, level subfloor matters for a leak-free installation.
How long does it take to install a 36x36 corner shower kit?
Expect eight to twelve hours of work spread over two days. This includes removing the old shower, preparing the space, installing the base and walls, and connecting the door and fixtures.
What tools do I need to cut shower door tracks to size?
A hacksaw with a fine-tooth blade works for aluminum tracks. Measure twice, mark clearly, and file the cut edge smooth to avoid sharp corners.
Should I use silicone or caulk for sealing a shower pan?
Use 100% silicone sealant rated for wet environments. It remains flexible, resists mold better than acrylic caulk, and adheres strongly to glass, metal, and acrylic surfaces.
Products in this guide
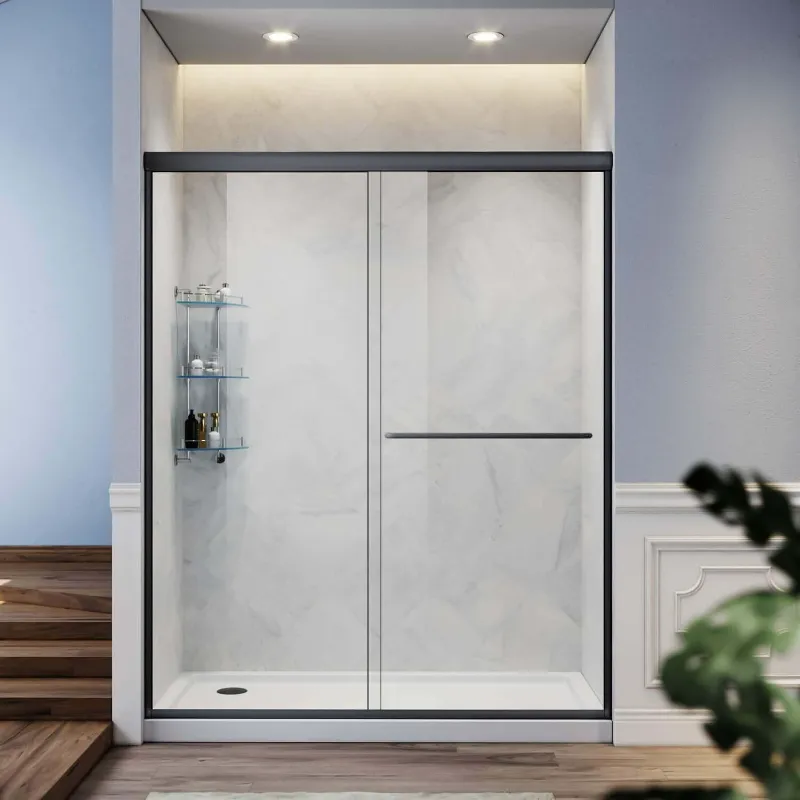
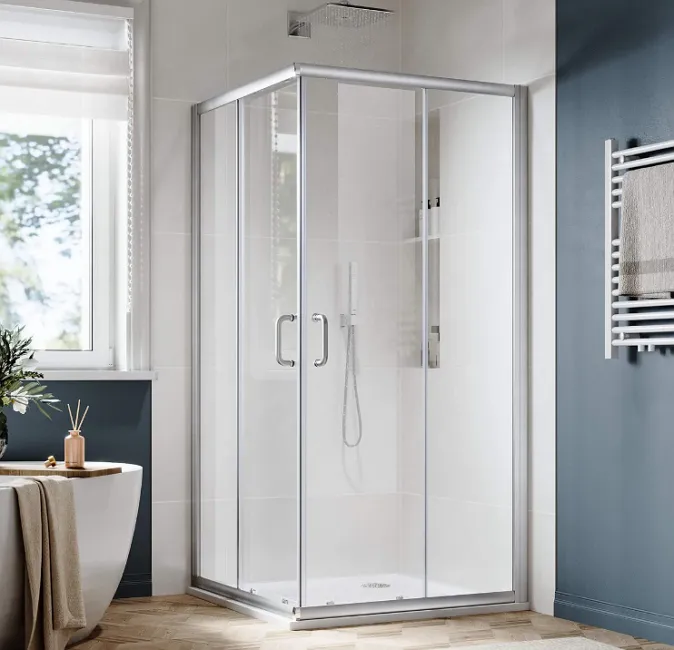
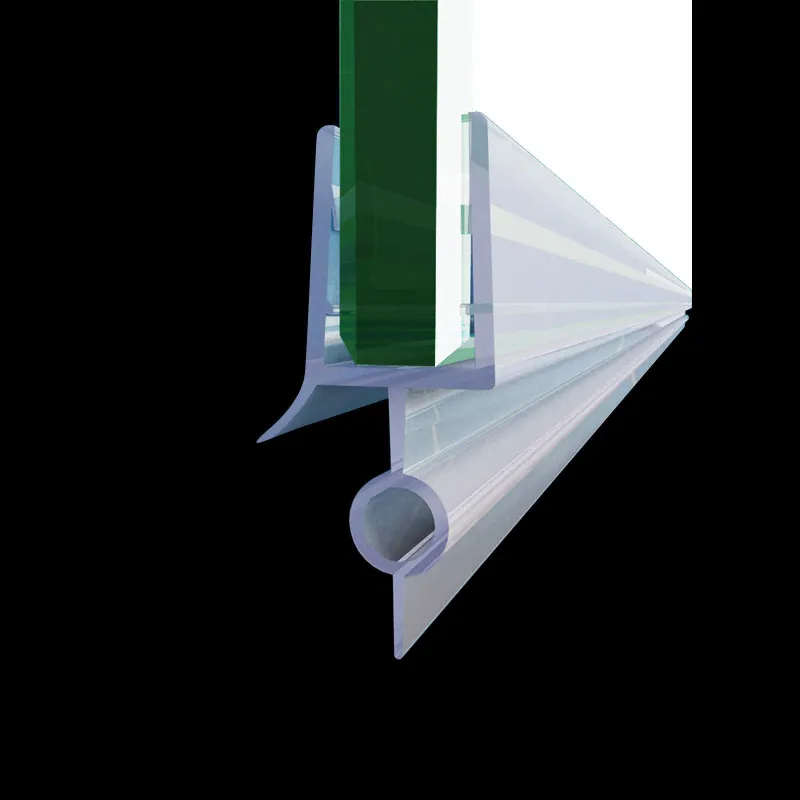 Shopping at SUNNY SHOWER? See the coupon code
10% OFF All Orders
Shopping at SUNNY SHOWER? See the coupon code
10% OFF All Orders
More in this series
Best Way to Clean and Maintain Frosted Glass Bathroom Doors21 Aug 20264 minHow Long Do Tempered Glass Shower Doors Last With Daily Use?21 Aug 20264 minDo You Need a Shower Door Bottom Seal Strip to Prevent Leaks?21 Aug 20265 min Bifold vs Sliding Glass Shower Doors: Which Saves More Space?21 Aug 20265 minHow to Install a Frameless Shower Door Without Professional Help21 Aug 20264 min