 A Aimeili Gel Polish guide
How to Apply Builder Gel for Long-Lasting Nail Extensions at Home
Builder gel nails deliver salon-quality extensions at home when you master the right prep, application, and curing techniques.
Builder gel nails create strong, flexible extensions that last two to three weeks without lifting or cracking. This guide walks you through every step, from prepping your natural nails to finishing with color, so you can achieve professional results at home without the salon price tag.
Whether you want subtle length or dramatic extensions, the process stays consistent once you understand the basics.
What Makes Builder Gel Different from Regular Gel and Acrylic
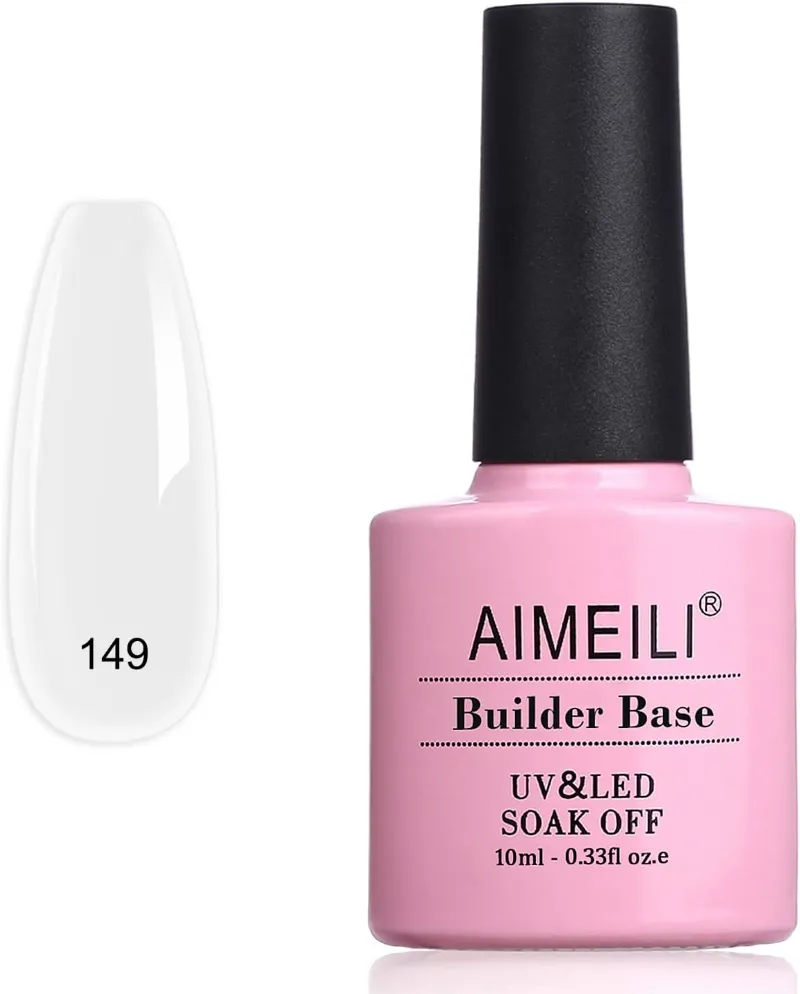
Builder gel sits between traditional gel polish and acrylic in thickness and strength. Unlike regular gel polish, which adds color and shine but minimal structure, builder gel nails contain higher levels of oligomers that cure into a rigid layer capable of supporting length.
Key differences at a glance:
| Feature | Builder Gel | Regular Gel | Acrylic |
|---|---|---|---|
| Odor | Minimal | Minimal | Strong chemical smell |
| Flexibility | Medium flex | High flex | Rigid |
| Removal | Soak-off | Soak-off | File-off or soak |
| Application | Self-leveling | Thin coats | Brush and powder |
Builder gel vs acrylic comes down to flexibility and application ease. Acrylic sets hard and fast through a chemical reaction, while builder gel cures under LED or UV light and retains slight flexibility that reduces cracking. For home use, builder gel wins on fume-free application and forgiving cure time.
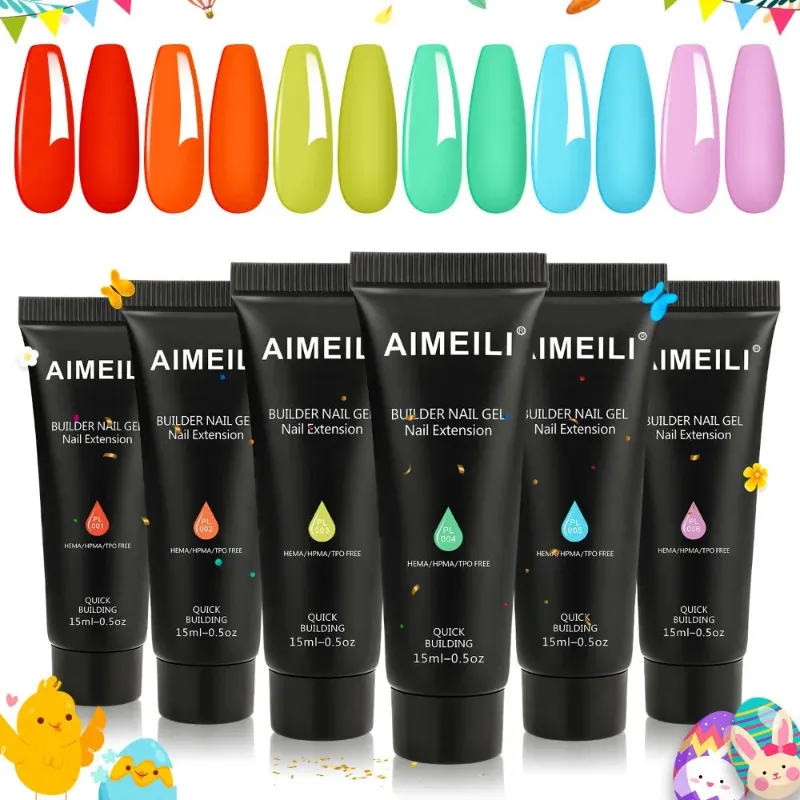
If you are considering polygel nails, note that polygel combines builder gel and acrylic properties but requires a slip solution and more sculpting skill. Builder gel self-levels with minimal shaping, making it ideal for first-timers.
How to Use Builder Gel on Natural Nails: Step-by-Step Prep
Proper prep determines how long your extensions last. Skip a step and you will see lifting within days.
Prep sequence:
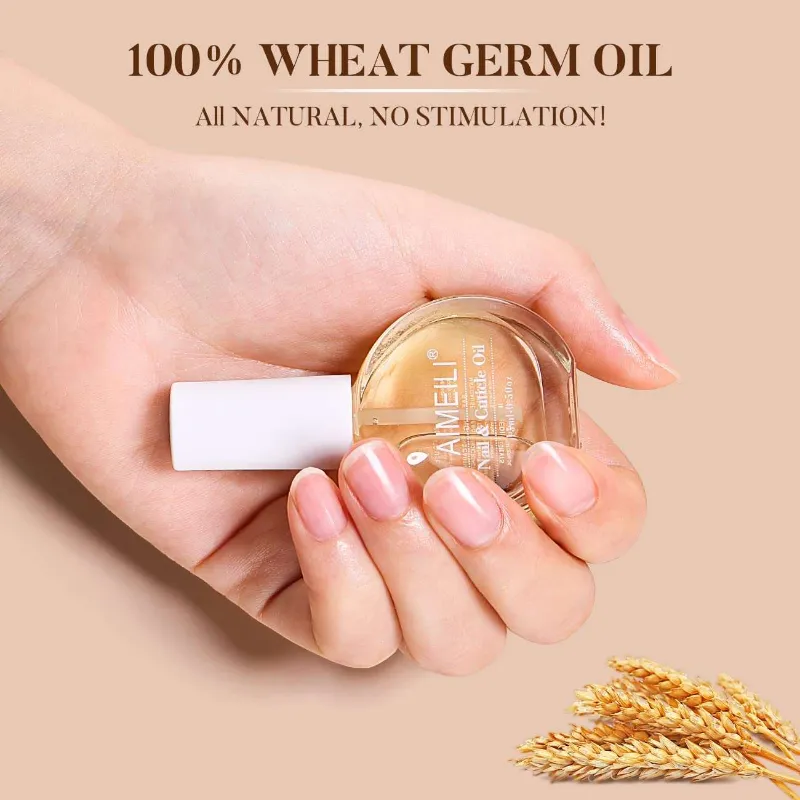
- Push back cuticles: Use a cuticle pusher after soaking nails in warm water for two minutes. Apply cuticle oil afterward to prevent dryness, but wipe it off completely before applying gel.
- File the natural nail: Buff the surface lightly with a 180-grit file to remove shine. This creates micro-texture for adhesion without damaging the nail plate.
- Shape the free edge: File tips to your desired shape (square, oval, almond). Start with a shorter extension if this is your first attempt.
- Cleanse thoroughly: Wipe each nail with 91% isopropyl alcohol or a nail cleanser to remove oils and dust. Let air-dry completely.
- Apply primer or dehydrator: A pH-balancing primer extends wear time by removing residual moisture. Let it dry until the nail looks chalky.
Never apply builder gel over polish or oil residue. The bond will fail within hours. If you plan to add nail polish colors on top, wait until after the builder gel is fully cured and shaped.
Applying Builder Gel for Extensions: Technique and Timing
Builder gel application requires patience and thin layers. Thick applications trap heat during curing, causing discomfort and uneven polymerization.
Application technique:
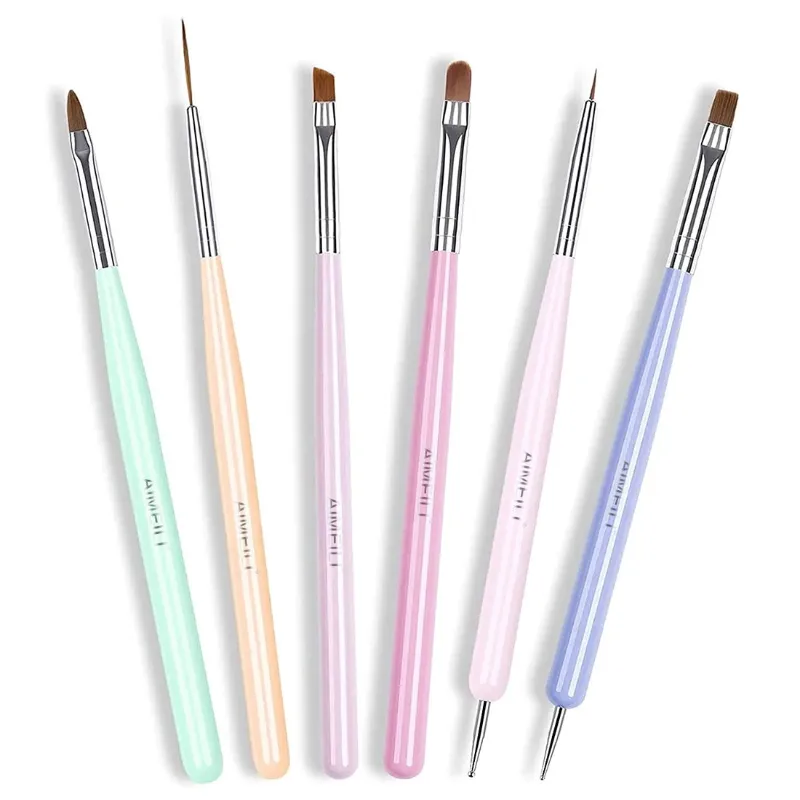
- Base layer: Apply a thin coat of builder gel over the entire nail and cure for 30 seconds under LED (60 seconds UV). This anchors the extension.
- Build the apex: Place a bead of builder gel at the center of the nail, about two-thirds back from the cuticle. Use a nail brush dipped in isopropyl alcohol to gently push and shape the gel toward the free edge, creating a gradual arch. The apex (highest point) should sit in the center for maximum strength.
- Extend the length: If using nail forms, build the gel out over the form in thin layers, curing between each. For tips, apply builder gel over the seam and sculpt to blend. Cure for 60 seconds.
- Refine and cure: Add another layer to smooth any unevenness. Cure for a full 60 seconds under LED.
Check this overview of builder gel manicures to understand how salons structure their services and what to expect in terms of durability.
Most formulas remain workable for 60 to 90 seconds before curing, giving you time to shape and smooth. If the gel runs toward your cuticle, wipe your brush and pull the excess back toward the center. Self-leveling formulas require less manipulation.
Shaping, Buffing, and Finishing Your Builder Gel Extensions
After the final cure, the nail will have a tacky inhibition layer and possibly slight bumps or unevenness. This is normal.
Finishing steps:
- Remove the tacky layer: Wipe each nail with isopropyl alcohol and a lint-free wipe.
- File the shape: Use a 180-grit file to refine the free edge and sidewalls. File in one direction to prevent splitting.
- Smooth the surface: Buff with a 240-grit buffer to eliminate any ridges or high spots. The surface should feel glass-smooth.
- Cleanse again: Wipe off all dust before applying color or top coat.
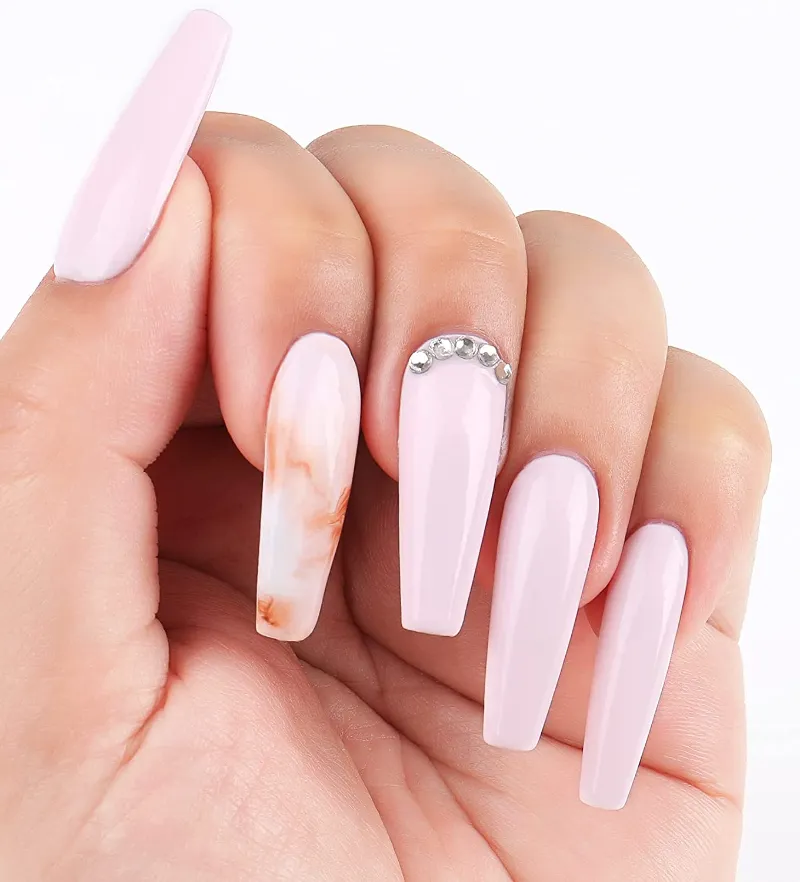
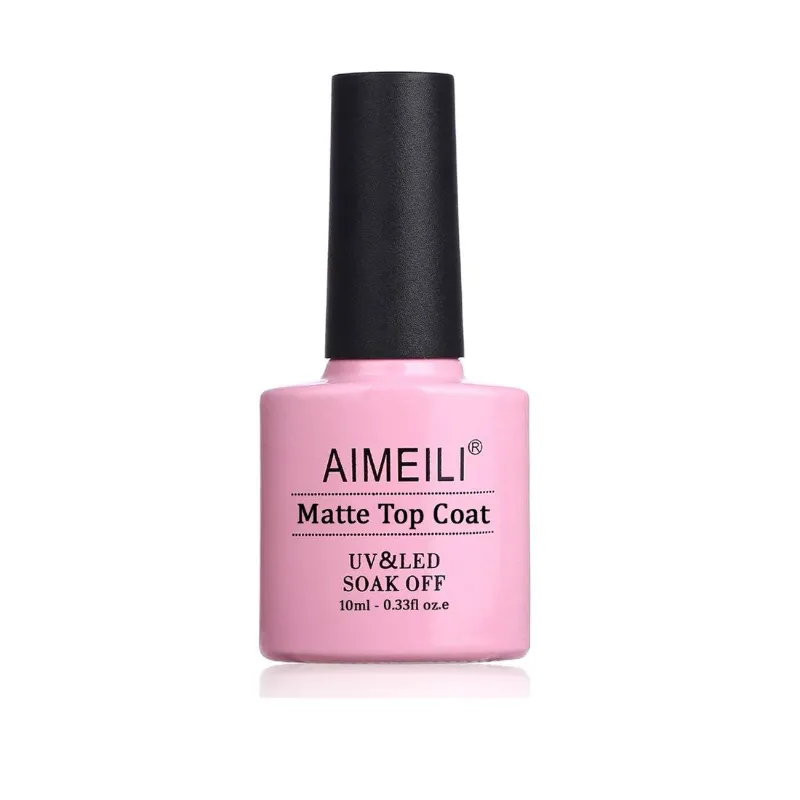
Now you can apply light pink nail polish for a natural look, burgundy nail polish for drama, or any of the spring nail colors trending this season. Cure each polish layer per the manufacturer’s instructions. Finish with a glossy or matte nail polish top coat for a custom finish.
For extended wear, seal the free edge with top coat and reapply nail oil daily to maintain flexibility and prevent brittleness.
How Long Do Builder Gel Nails Last and When to Refill
Builder gel nails typically last two to three weeks before requiring a fill. Growth becomes visible at the cuticle line, and the apex may shift forward, weakening the structure.
Signs you need a fill:
- Visible regrowth exceeding 2mm
- Lifting at the cuticle or sidewalls
- Thinning or flex at the stress point
To refill, lightly buff the old builder gel to remove shine, apply a new bead at the cuticle area, and blend toward the existing apex. Cure and reshape as usual. Proper fills can extend a single set of extensions for six to eight weeks before you need a full removal and restart.
For removal, soak nails in acetone for 15 to 20 minutes, then gently push off the softened gel with a cuticle pusher. Never peel or force builder gel off, as this strips layers from your natural nail. Follow with nail cuticle oil to rehydrate.
If you want to see real builder gel nails before and after transformations or find local salons for comparison, check builder gel services in San Francisco to gauge salon pricing against your DIY cost.
Top Tips for Flawless At-Home Builder Gel Application
- Thin layers beat thick: Two thin coats cure more evenly and cause less heat spike than one thick coat.
- Cap the free edge: Run the brush along the nail tip to seal the edge and prevent chipping.
- Keep tools clean: Wipe your brush with alcohol between nails to prevent cured gel buildup.
- Invest in a quality LED lamp: Undercuring causes soft, peeling extensions. Use a 48-watt or higher LED lamp for consistent results.
- Practice on one hand first: Master the technique on your non-dominant hand before attempting both.
If you are working with nail glue to attach tips before applying builder gel, ensure the glue is fully dry and the tip is flush against your natural nail. Any gap will create a weak point.
Ready to start? Grab the discount code to save on builder gel and all the essentials. The current offer gives you 10% off your entire order, which adds up fast when you are stocking a full nail kit.
For professional-grade products and comparisons, browse the builder gel and polygel selection to see how salon brands differ from at-home kits. Once you dial in your technique, home application costs a fraction of repeated salon visits while delivering comparable results.
Builder gel nails designs range from simple nude extensions to intricate art. Start with a neutral base to learn shaping and structure, then experiment with color and embellishments once the process feels automatic. The foundation technique stays the same regardless of the final design.
Check the latest pricing and bundle deals before placing your order to maximize savings on your first kit.
Questions
How long do builder gel nails last compared to regular gel manicures?
Builder gel nails last two to three weeks on average, compared to one to two weeks for regular gel polish. The thicker, structural formula resists chipping and supports length better than standard gel.
Can I apply builder gel over my natural nails without tips or forms?
Yes, builder gel works beautifully as an overlay on natural nails to add strength and slight thickness without extension. Just build a subtle apex in the center and skip the length.
Do I need a special lamp to cure builder gel?
Builder gel requires an LED or UV lamp to cure. We recommend a 48-watt or higher LED lamp for fast, even curing. Most formulas cure in 30 to 60 seconds under LED.
What is the difference between builder gel and polygel?
Builder gel is self-leveling and cures under a lamp, while polygel is thicker, requires a slip solution for shaping, and does not cure until placed under the lamp. Builder gel is easier for beginners.
Can I use regular nail polish over cured builder gel?
Yes, once builder gel is cured, buffed, and cleansed, you can apply regular nail polish or gel polish on top. Seal with a top coat and cure if using gel color.
How do I remove builder gel nails without damaging my natural nails?
Soak nails in acetone for 15 to 20 minutes until the gel softens, then gently push it off with a cuticle pusher. Never peel or force the gel off, and follow with cuticle oil to rehydrate.
Products in this guide
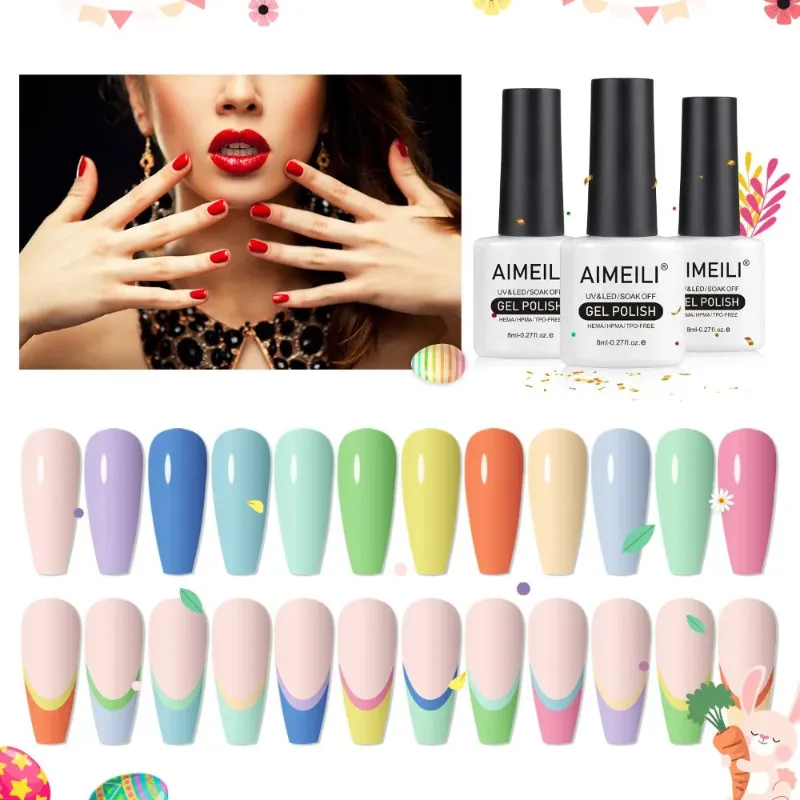
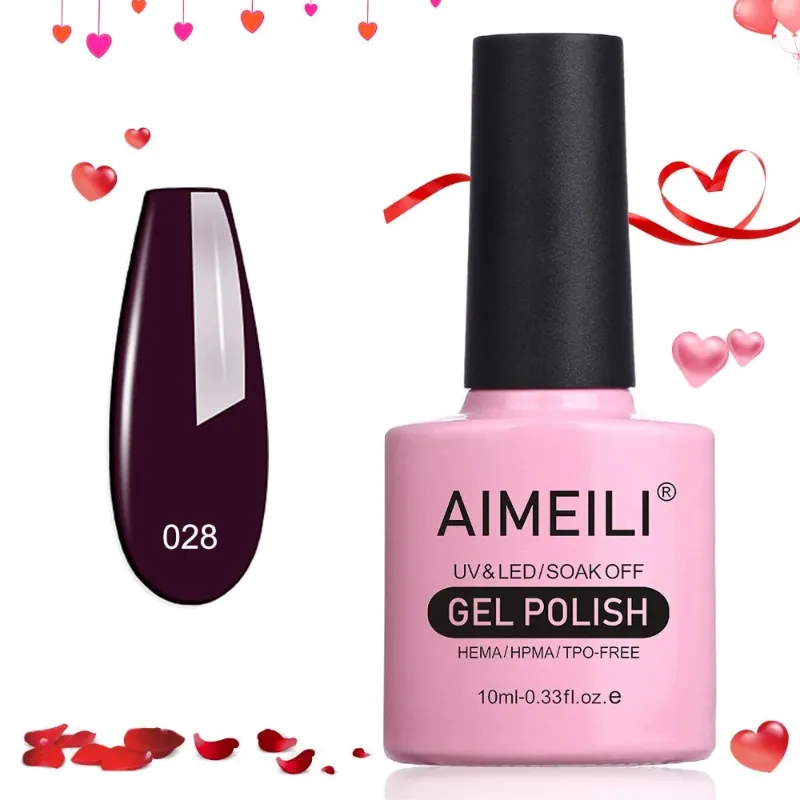 Shopping at Aimeili Gel Polish? See the discount code
10% OFF All Orders
Shopping at Aimeili Gel Polish? See the discount code
10% OFF All Orders
More in this series
 Does Aimeili Matte Nail Polish Chip Easily?15 Aug 20264 minWhat to Do When Your Gel Manicure Lifts After a Few Days15 Aug 20266 minDo Nail Forms Work Better Than Tips for Gel Extensions?15 Aug 20265 minHow Often Should You Apply Cuticle Oil for Healthy Nails?15 Aug 20264 minAimeili Polygel vs Builder Gel: Which Is Better for DIY Nails?15 Aug 20265 min