 A VLOXO guide
Tattoo Stencil Printer Setup and Maintenance: Keeping Your Thermal Printer Working
A tattoo stencil printer needs proper setup and regular maintenance to produce clean transfers consistently and last through years of studio use.
A tattoo stencil printer needs proper setup and regular maintenance to produce clean transfers consistently and last through years of studio use. Whether you’re running a busy shop or starting out, understanding how to keep your thermal printer in top condition prevents downtime and saves money on repairs. We’ll walk you through setup, daily care, troubleshooting, and when to replace key parts.
Getting Your Tattoo Stencil Printer Ready
Setting up a new tattoo stencil printer correctly from day one makes all the difference. Start by unpacking and placing your thermal printer on a clean, flat surface away from direct sunlight and moisture. Check that the power source matches your region’s voltage. Let the device sit for 30 minutes before powering on if you’ve transported it in cold weather, as this allows internal components to acclimate.
Connect the printer to your device using the provided cable or Bluetooth if your model supports it. Download the official app or software that came with your printer; this step is non-negotiable. Load thermal paper into the tray, following the orientation markers printed on the compartment. Run the self-test print by pressing the test button or using your app. A successful first print should be dark, evenly distributed, and free of lines or gaps.
Calibrate the print head alignment if your printer offers this option in settings. Many thermal tattoo printer models require this one-time calibration to prevent skewed or offset designs. Check the user manual for your specific device. Once calibrated and tested, your setup is complete.
Daily Use and Cleaning Routine
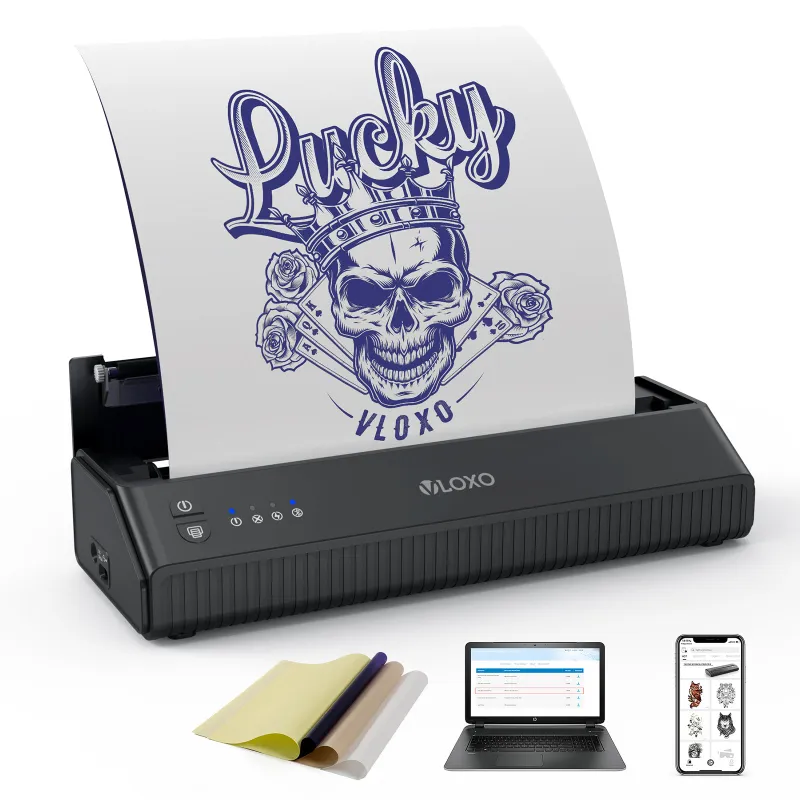
Your tattoo stencil printer sits in a busy environment with ink, stencil powder, and dust. Establish a simple daily routine to keep it functioning smoothly.
Before each session, wipe the exterior with a dry, lint-free cloth. Check the paper tray and reload if needed. Never leave paper in the printer overnight; thermal paper absorbs humidity and curls, causing feeding jams. After your last transfer of the day, leave the printer unplugged for 10 minutes to cool and rest the print head.
Once a week, gently clean the print head using a cotton swab barely dampened with distilled water. Let it air dry for 2 minutes before powering on again. Avoid alcohol-based cleaners; they degrade the print head coating. Keep the paper feed rollers dust-free by using compressed air to blow out debris from the tray opening once per month.
Troubleshooting Common Tattoo Stencil Printer Issues
Faint or incomplete prints are the most common complaint. Start by checking paper quality and orientation. Expired thermal paper loses reactivity; replace stock every six months if stored in warm areas. If the paper is fresh, clean the print head as described above. A buildup of ink residue blocks heat transfer to the paper.
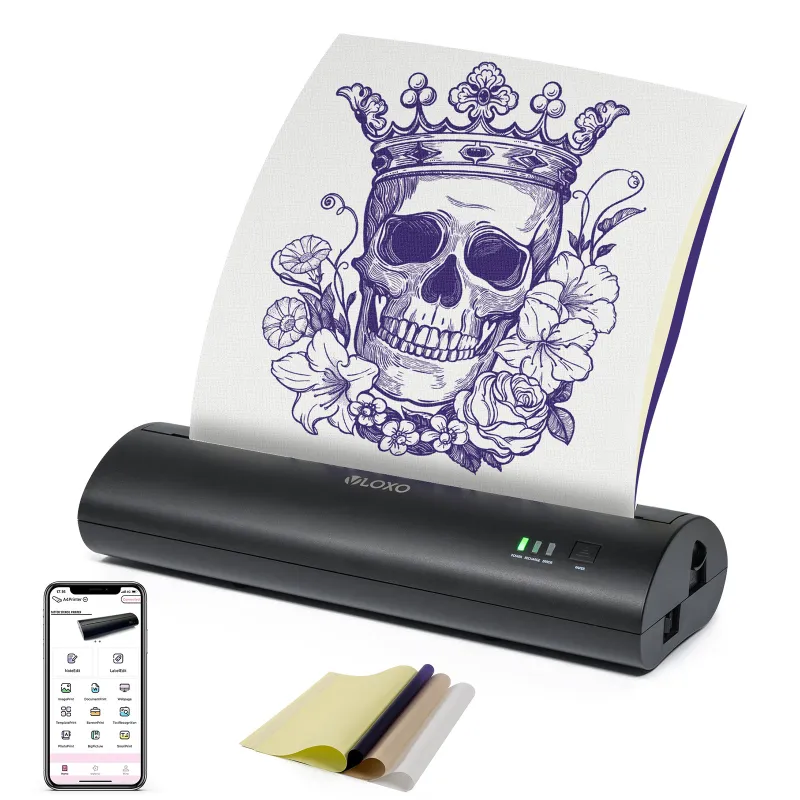
If your thermal printer tattoo produces blotchy or striped patterns, the print head temperature may need adjustment. Most devices have a settings menu for heat intensity. Increase it one level and test. If lines still appear after five test prints, the print head itself may be worn and need replacement; contact the manufacturer for a head assembly kit.
Paper jams happen when thermal paper curls or crumples inside the feed mechanism. Remove the tray and gently pull out any stuck paper by hand. Inspect the feed rollers for debris and use compressed air to clear them. Don’t force paper or use sharp tools, as you can scratch the rollers.
Connection drops with wireless models are usually fixed by re-pairing your device. Turn off Bluetooth on both the printer and your phone or computer, then turn them back on and re-establish the connection. If Bluetooth issues persist, try a wired USB connection instead.
When to Replace Parts and Consumables
Understanding what wears out helps you budget for maintenance. Thermal paper is your most frequent purchase. A standard roll costs little and lasts weeks in a typical shop. Order in bulk through our store page to lock in the best pricing.
The print head is the most expensive component and typically lasts 2-3 years of heavy use. If you notice that increasing heat intensity no longer fixes faint prints, or if you see permanent scratches on every transfer, replacement is due. Replacement print head assemblies are available from most manufacturers.
Feed rollers and paper guides rarely fail but can wear smooth over time, causing feeding problems. These are usually cheaper than a print head and can extend your printer’s life by years. Check your device manual for part numbers specific to your model.
Storage and Seasonal Care
If you need to store your thermal tattoo printer for extended periods, prepare it properly. Clean the print head and let it dry completely. Store the device in a cool, dry place away from direct light. Keep it in its original box or a padded case. Remove batteries if your model runs on them, as they can leak and damage electronics.
Before using a stored printer again, let it come to room temperature and run a self-test print. If it performs normally, you’re ready to go. If prints are faint, gently clean the print head and try again.
Complementary Tools for Your Studio

Your tattoo stencil printer works best alongside quality accessories. A head fan keeps you comfortable during long sessions and improves ventilation around the printer. Keep a visor with fan nearby so you can stay focused without heat fatigue.
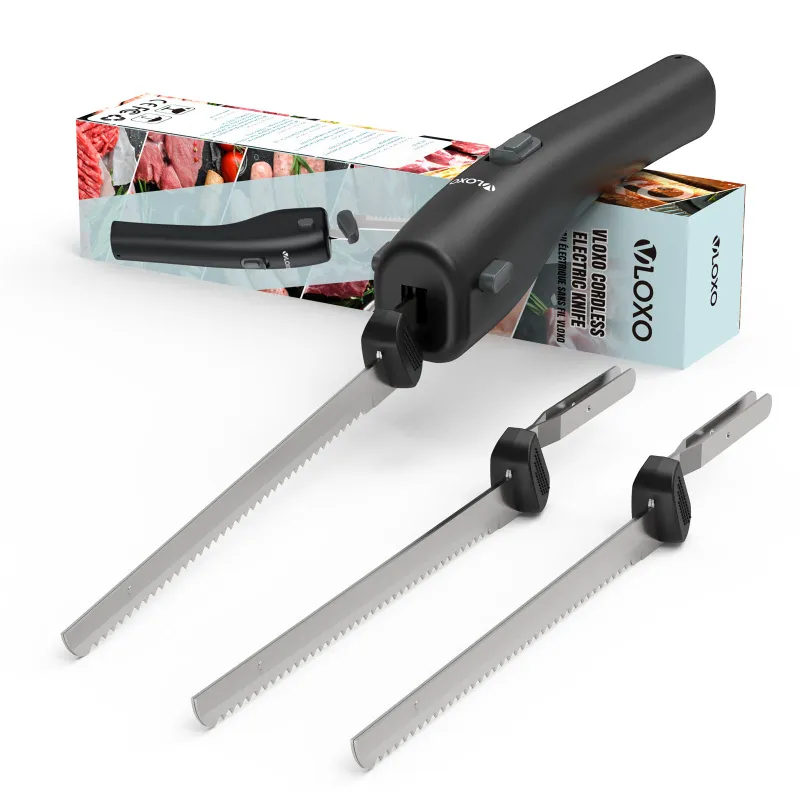
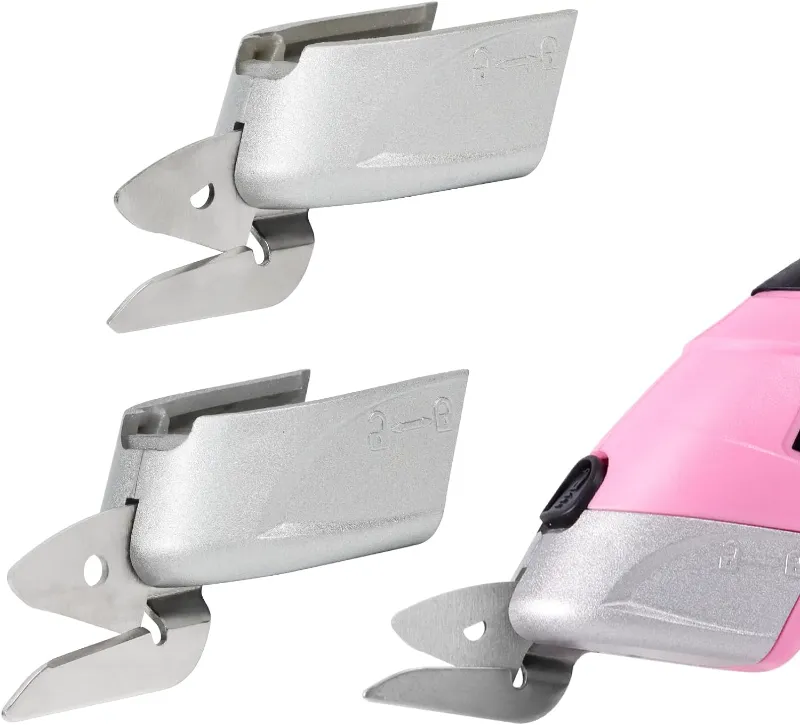
For stencil and prep work, a cordless power knife or cordless electric carving knife speeds up your workflow. These cordless tools complement your printer by letting you refine stencils and prep skin efficiently. Pair them with precision scissors blade replacements to maintain clean edges.
If you’re upgrading your entire station, check our discount code for 5% off VLOXO products sitewide, including all your printer supplies and studio tools.
Final Maintenance Checklist
Keep your tattoo stencil printer reliable by following these steps monthly:
- Run a self-test print and inspect quality
- Clean the print head with a damp cotton swab
- Use compressed air to clear paper tray and feed mechanism
- Check for software updates in your app
- Test Bluetooth or USB connection
- Replace thermal paper if stock shows signs of age or curling
- Wipe exterior surfaces and check for dust buildup
A well-maintained thermal printer delivers crisp, consistent transfers for years. Invest 10 minutes per week in basic care, and your equipment will outlast equipment that gets neglected.
Questions
How often should I clean the print head on my tattoo stencil printer?
Clean the print head weekly with a barely damp cotton swab and distilled water. If you notice faint or streaky prints before the week is up, clean it immediately. Never use alcohol or harsh solvents, as they damage the coating.
What type of thermal paper works best with a tattoo stencil printer?
Use high-quality thermal paper designed specifically for tattoo printers. Avoid generic thermal paper from office supply stores, as it often curls or fades quickly. Purchase from your printer's manufacturer or trusted suppliers to ensure compatibility.
Why are my transfers coming out faint?
Faint transfers usually result from expired or low-quality thermal paper, a dirty print head, or insufficient heat settings. Replace the paper first, then clean the print head. If the issue persists, increase the heat intensity one level in your printer settings and test again.
Can I use any thermal tattoo printer app with my device?
No. Always use the official app provided by your printer's manufacturer. Third-party apps may not work correctly or could damage the device. Download the official app from your manufacturer's website or the app store.
How long does a print head last on a thermal printer tattoo?
A print head typically lasts 2 to 3 years with regular use and proper maintenance. Heavy daily use may shorten this, while lighter use can extend it. If cleaning and heat adjustments no longer fix faint prints, your head likely needs replacement.
What should I do if my tattoo stencil printer keeps jamming?
Remove the paper tray and gently pull out any stuck paper by hand. Use compressed air to clear the feed rollers and tray opening. Inspect the paper for curling or damage; replace it with fresh stock. If jams continue after these steps, the feed rollers may need cleaning or replacement.
Products in this guide
 Shopping at VLOXO? See the discount code
5% OFF Sitewide
Shopping at VLOXO? See the discount code
5% OFF Sitewide
More in this series
Cordless Power Knife vs. Cordless Electric Carving Knife: Which Cuts Better?8 Sep 20265 min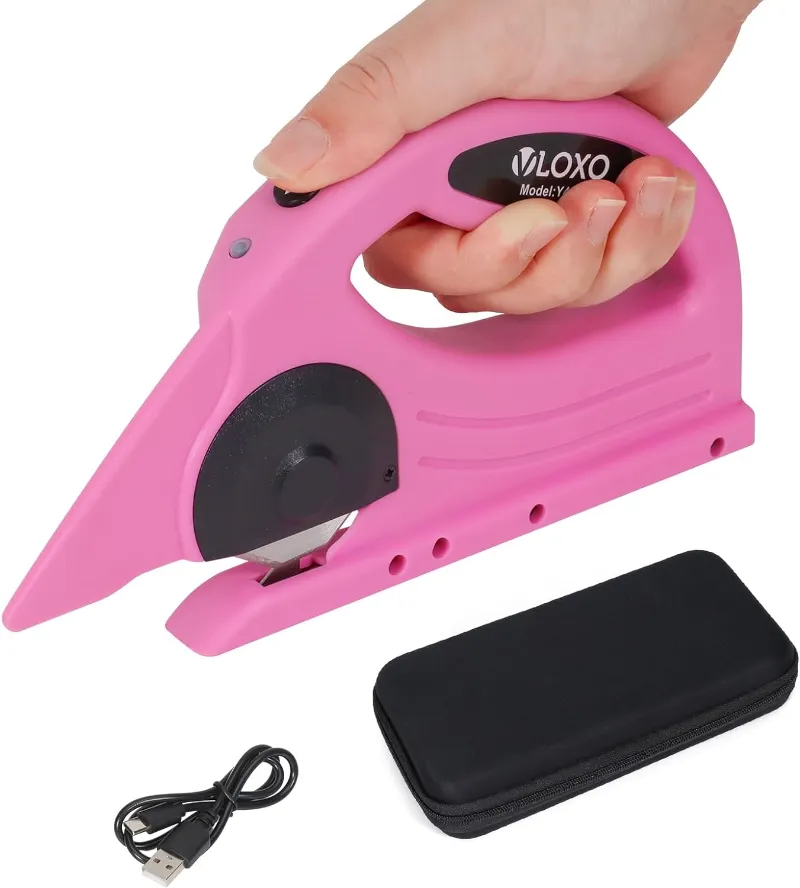 Do Cordless Electric Scissors Really Hold an Edge? What to Know Before You Buy8 Sep 20264 minBest Cordless Electric Knives for Carving and Food Prep8 Sep 20264 minHow to Choose Between a Thermal Tattoo Printer and Tattoo Stencil Printer8 Sep 20263 min