 A DATA FROG guide
How to Replace PS5 Controller Joysticks Without Sending Them In for Repair
Replacing a ps5 controller joystick takes 20 to 30 minutes with a screwdriver, spudger, and a replacement module—no repair shop needed.
Why Replace Your PS5 Controller Joystick Yourself
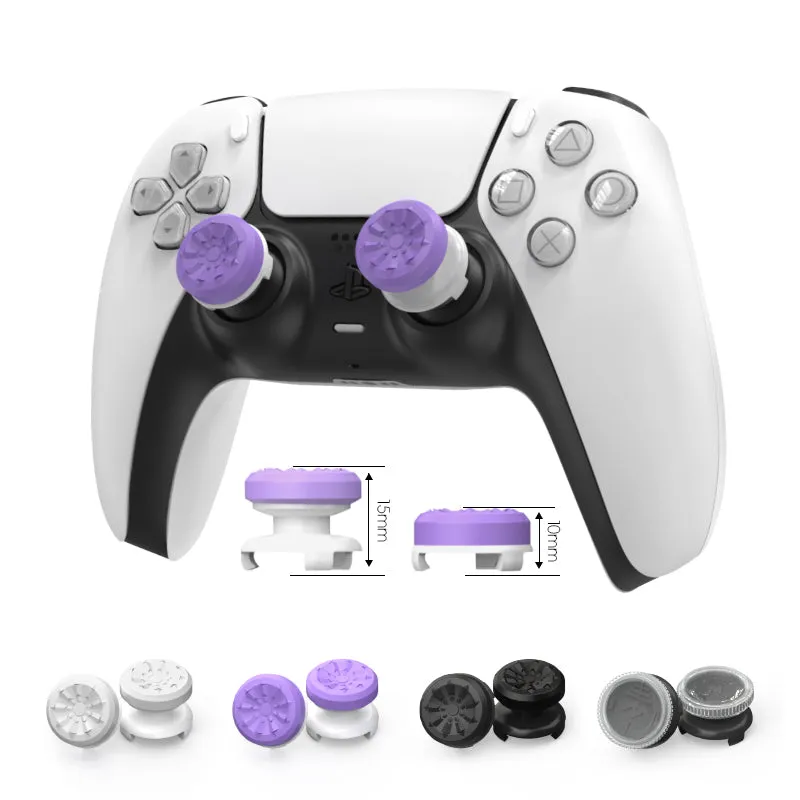
A worn or drifting ps5 controller joystick can ruin your aim and cost you matches, but you don’t need to mail your controller away or pay for professional repair. With a replacement ps5 controller joystick module, a small Phillips screwdriver, and about half an hour, you can swap out the faulty stick at home and get back to gaming the same day.
Joystick drift happens when the analog module wears out from friction and dust buildup. Sony’s official fix for the DualSense Edge involves user-swappable stick modules, but standard DualSense controllers require opening the shell. If you’re comfortable with basic electronics and want to save money, this guide walks you through the entire process.
Tools and Parts You Need for PS5 Controller Joystick Replacement
Before you start, gather everything so you can work without interruptions. You’ll need:
- A replacement ps5 controller stick module (Alpine or ALPS brand work with DualSense)
- Phillips #00 screwdriver (PH00)
- Plastic spudger or guitar pick (to pry open the shell without scratching)
- Tweezers (optional but helpful for ribbon cables)
- Small container for screws
The replacement joystick module is the same part used in many third-party controllers, and you can grab the code for 10% off when you order. Make sure the module matches your controller version, DualSense and DualSense Edge use slightly different connectors, though the repair process is similar.
Step-by-Step PS5 Controller Joystick Repair
Disassemble the DualSense Shell
Power off your controller and remove the four screws hidden under the grips. Two are located near the L2 and R2 triggers, and two sit beneath the bottom label. Peel the label gently so you can reapply it later.
Once the screws are out, use your spudger to separate the front and back shells. Start at the seam near the USB-C port and work your way around. The clips are firm but not fragile, steady pressure is better than forcing it. Lift the back shell carefully because the battery is still connected by a short cable.
Disconnect the Battery and Remove the Motherboard
Locate the battery connector on the motherboard and pull it straight up with tweezers or your fingers. The white plastic connector slides off the socket. Set the back shell aside.
Next, remove the five screws securing the motherboard: one under the touchpad ribbon, two near the triggers, and two by the joystick modules. Gently lift the board and disconnect the touchpad ribbon cable by flipping up the small black latch and sliding the cable out. The DualSense Joystick Replacement guide from iFixit shows detailed photos of each connector if you need a visual reference.
Swap the Faulty Joystick Module
Each joystick module is soldered to the board, but the connection is straightforward for anyone with basic soldering skills. If you don’t own a soldering iron, you can find pre-desoldered boards or hot-swap modules online, though those are less common.
Heat each of the joystick’s solder points on the underside of the motherboard and gently pull the module free once the solder liquefies. Insert your new controller stick module, align the pins, and solder them in place. Work quickly to avoid heat damage, three to five seconds per joint is enough.
If soldering isn’t an option, some repair kits include modules with snap-fit connectors, but these are typically designed for the DualSense Edge, which supports tool-free replacement via Sony’s official Stick Module for DualSense Edge® Wireless Controller.
Reassemble and Test
Reconnect the touchpad ribbon cable, lower the motherboard back into the front shell, and replace the five screws. Plug the battery connector back in, align the back shell, and press it until the clips snap. Replace the four grip screws and reapply the label if you removed it.
Power on the controller and test both sticks in the PS5 settings menu under Accessories > Controllers > Test Device Input. Each axis should hit 100% at full tilt with no drift at center. If you see residual drift, recalibrate by holding the PS button and share button for five seconds until the light bar flashes.
PS5 Controller Joystick Drift Fix Without Full Replacement
If you’re not ready to solder, a few temporary fixes can extend your controller’s life:
- Clean under the joystick cap: Pop off the rubber cap and use compressed air or isopropyl alcohol on a cotton swab to remove dust from the sensor ring.
- Recalibrate the deadzone: Some games let you adjust stick sensitivity, which can mask minor drift.
- Replace the rubber cap: A worn ps5 controller joystick cap replacement can cause uneven pressure that feels like drift but is actually a grip issue.
These methods buy you time but won’t fix a mechanically worn potentiometer. When drift returns during critical moments, a full module swap is the only permanent solution.
When to Upgrade Instead of Repair
If you’ve already replaced joysticks once or your controller has other issues (sticky triggers, battery problems, or cracked housing) it may be time to consider a new controller. The Best PS5 Controllers Available in 2026 roundup from IGN covers hall-effect models that resist drift longer than standard potentiometer sticks.
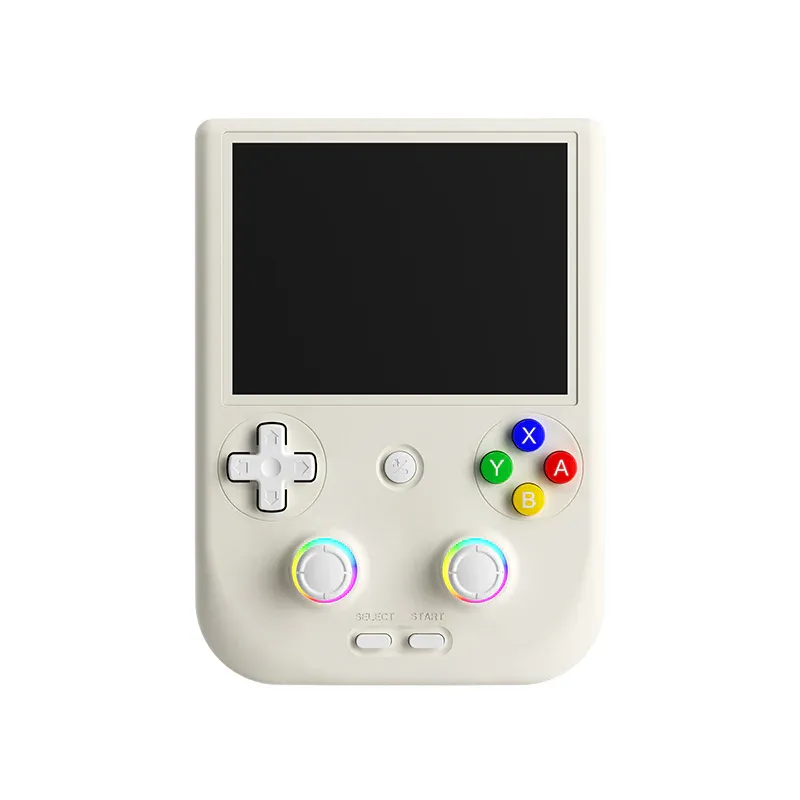
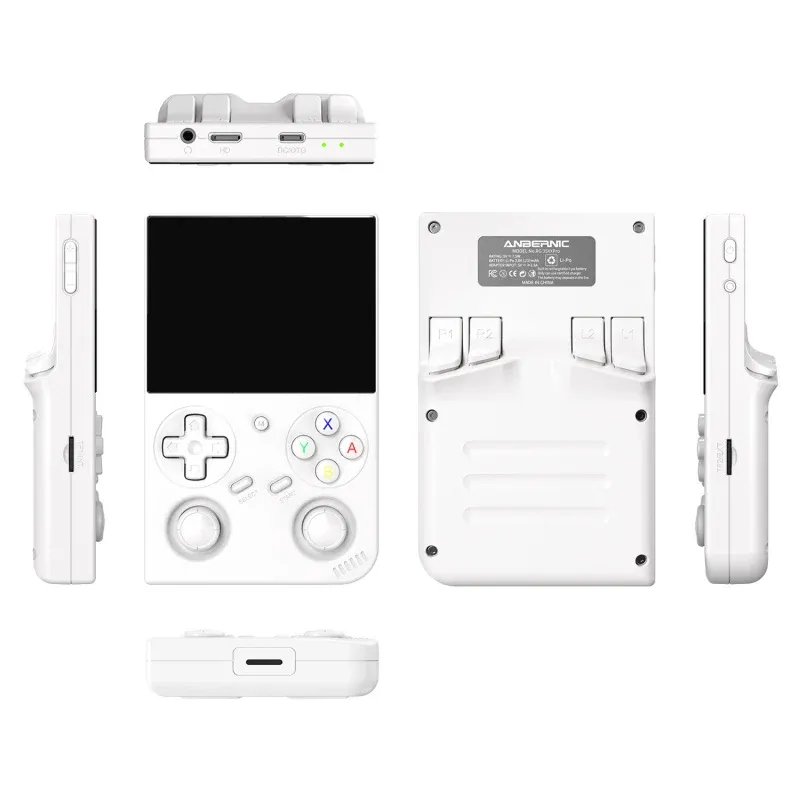
For players who also enjoy retro or handheld gaming, upgrading to a device with swappable parts can save money over time. Systems like the anbernic rg406 or 35xx pro use modular components that make repairs faster, though they serve a different gaming niche than the PS5 ecosystem.
Our Take on DIY PS5 Controller Joystick Replacement
We’ve walked dozens of readers through this repair, and most complete it in under 30 minutes once they have the parts. The hardest step is desoldering if you’ve never done it, but even beginners succeed with a steady hand and the right iron temperature (around 350°C). Buying a replacement module and doing it yourself costs a fraction of Sony’s out-of-warranty repair fee, and you’ll have the skill to fix future controllers.
If you’re ready to start, check the latest price on replacement modules and tools. The 10% discount applies to all orders, so you can stock up on spares or grab a ps5 controller joystick rubber replacement kit that includes caps and grip covers. Once you’ve done it once, you’ll never pay for joystick repairs again.
Questions
How long does a PS5 controller joystick replacement take?
Most people complete the repair in 20 to 30 minutes once they have the tools and replacement module. The disassembly takes about 10 minutes, the joystick swap takes five to ten, and reassembly takes the rest.
Can I replace the joystick without soldering?
Standard DualSense controllers require soldering to remove and install joystick modules. The DualSense Edge supports tool-free stick swaps using Sony's official replacement modules, but those won't fit the regular DualSense without modification.
Will replacing the joystick fix stick drift permanently?
Yes, installing a new joystick module eliminates drift caused by worn potentiometers. The new module will eventually wear out with heavy use, but you can expect one to two years of normal gaming before any issues return.
Do I need an official Sony replacement joystick?
No, third-party Alpine and ALPS joystick modules are electrically identical to Sony's parts and cost less.
What happens if I break a ribbon cable during disassembly?
The touchpad ribbon is the most fragile part. If you tear it, you'll need to order a replacement cable and repeat the disassembly. Work slowly when flipping the latch and sliding the cable to avoid damage.
Can I use the same steps to repair other game controllers?
The process is similar for Xbox and Switch Pro controllers, but screw locations and ribbon cables differ. Each controller generation uses unique joystick modules, so double-check compatibility before ordering parts.
Products in this guide
 Shopping at DATA FROG? See the discount code
10% OFF All Orders
Shopping at DATA FROG? See the discount code
10% OFF All Orders
More in this series
Anbernic 35XX Pro Battery Life: How Many Hours of Gaming Can You Really Get?1 Aug 20264 minDo Third-Party Controller Sticks Fix PS5 Drift Issues Long-Term?1 Aug 20264 min Data Frog SF2000: Can a Budget Console Play Retro Games Well?1 Aug 20265 minData Frog RG-476H vs Anbernic RG406: Which Retro Handheld Is Worth Your Money?1 Aug 20266 min