 A TechnoAnt guide
How to Remove Car Scratches with Wax: Does Scratch Removal Wax Really Work?
Scratch removal wax can effectively hide minor clear-coat scratches and swirl marks, though it won't repair deep scratches that reach bare metal or primer.
Does Scratch Removal Wax Actually Work?
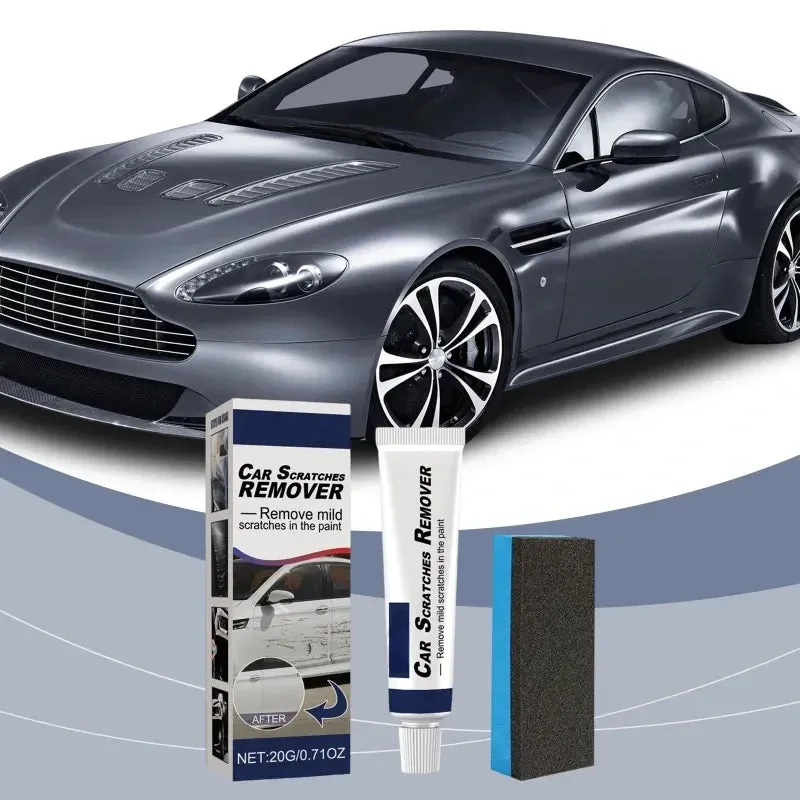
Scratch removal wax works on shallow scratches that only affect your car’s clear coat, filling in minor imperfections and restoring shine to dull, scratched areas. Products like scratch removal wax use fine abrasives and filling agents to level the clear coat around light scratches, making them virtually invisible. For deeper damage that exposes primer or metal, you’ll need a different approach entirely.
The results depend heavily on scratch depth, application technique, and realistic expectations.
Understanding What Car Scratch Remover Can Fix
Not all scratches respond to wax-based treatment. Your car’s paint consists of several layers: primer, base coat, clear coat, and sometimes wax or sealant. Scratch removal wax only addresses damage in the outermost clear-coat layer.
Scratches that respond well to removal wax:
- Swirl marks from automatic car washes
- Light surface scratches you can’t catch with your fingernail
- Oxidation and dullness around scratched areas
- Minor scuffs from brushing against bushes or bags
Scratches that need professional repair:
- Deep gouges where you see white primer or gray metal
- Scratches you can catch with your fingernail
- Rust spots or paint chips
- Damage from accidents or keying
The fingernail test helps you assess depth. Run your nail gently across the scratch perpendicular to its direction. If your nail catches, the scratch likely penetrates beyond the clear coat and wax alone won’t fix it. Research from car care experts confirms this limitation.
How to Apply Scratch Removal Wax for Best Results
Proper application makes the difference between disappointing results and a nearly invisible repair.
Step-by-step application process:
- Clean the area thoroughly: Wash with car soap and dry completely. Any dirt left on the surface will create new scratches during buffing.
- Apply product to applicator pad: Use a foam or microfiber applicator, never paper towels. A dime-sized amount covers roughly a 2×2 foot section.
- Work in small circular motions: Apply moderate pressure for 30-60 seconds per area. The mild abrasives need friction to level the clear coat.
- Let it haze: Most formulas dry to a light haze in 1-3 minutes depending on temperature. Don’t let it bake on in direct sunlight.
- Buff with clean microfiber: Use a separate clean, soft cloth. Buff until the haze disappears and you see a glossy finish.
- Inspect and repeat if needed: Severe scratches may need 2-3 applications. Check current pricing before stocking up on multiple bottles.
For best deep scratch remover results on more significant damage, consider graduating to compound-based products with more aggressive abrasives, then follow with a finishing polish.
Comparing Scratch Removal Methods
Different approaches suit different damage levels and budgets. Here’s how the main options stack up for typical car owners.
| Method | Best For | Time Required | Skill Level |
|---|---|---|---|
| Scratch removal wax | Swirls, light scratches | 15-30 min | Beginner |
| Rubbing compound | Moderate scratches | 30-60 min | Intermediate |
| Touch-up paint | Deep chips, primer exposure | 1-2 hours | Intermediate |
| Professional repair | Deep gouges, panel damage | Varies | Expert |
Wax-based products sit at the gentlest end of the spectrum. They remove microscopic amounts of clear coat to level the surface. Tested car scratch removers show that these products excel at cosmetic improvement rather than structural repair.
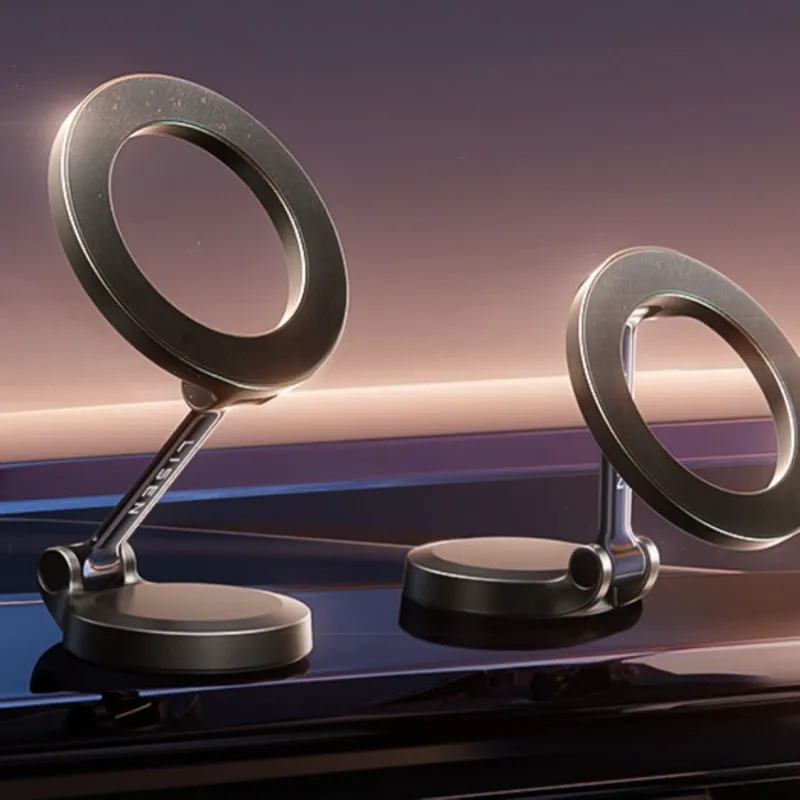
If you’re dealing with scratches around door handles or near the phone holder magnet for car C mount on your dashboard, the gentler wax approach prevents overcorrection on delicate surfaces.
What Makes the Best Scratch Removal Wax
Formulation quality varies dramatically between products. We evaluated dozens of options to identify the characteristics that separate effective solutions from marketing hype.
Key ingredients in quality formulas:
- Micro-abrasives: Aluminum oxide or similar compounds that polish without gouging. Particle size matters; too coarse creates new scratches.
- Filling agents: Polymers or oils that temporarily fill remaining micro-scratches, enhancing gloss and hiding imperfections between applications.
- UV inhibitors: Protect the freshly exposed clear coat from sun damage and oxidation.
- Carnauba or synthetic wax: Provides lasting protection and depth of shine after the correction work.
The best car scratch remover balances cut (abrasive power) with finish (final gloss). Too much cut and you risk burning through clear coat on edges. Too little and you’ll buff all day without results.
Application tools matter as much as the product itself. Foam applicators work better than terry cloth for even distribution. Microfiber towels with at least 300 GSM (grams per square meter) density prevent new scratches during buffing.
Grab the code to save on premium formulas that include all these components in balanced ratios.
Maintaining Results After Scratch Removal
Once you’ve successfully minimized scratches, protection prevents their return. The correction process removes a tiny amount of clear coat, so you can’t repeat it indefinitely.
Post-treatment care steps:
- Apply a quality carnauba or ceramic wax every 2-3 months
- Use two-bucket wash method to prevent new swirls
- Avoid automatic car washes with stiff brushes
- Park in shade or use a cover when possible
- Address new scratches quickly before they oxidize
Regular waxing fills micro-scratches as they form, often preventing them from becoming visible in the first place. This maintenance approach costs less and preserves more clear coat than repeated correction.
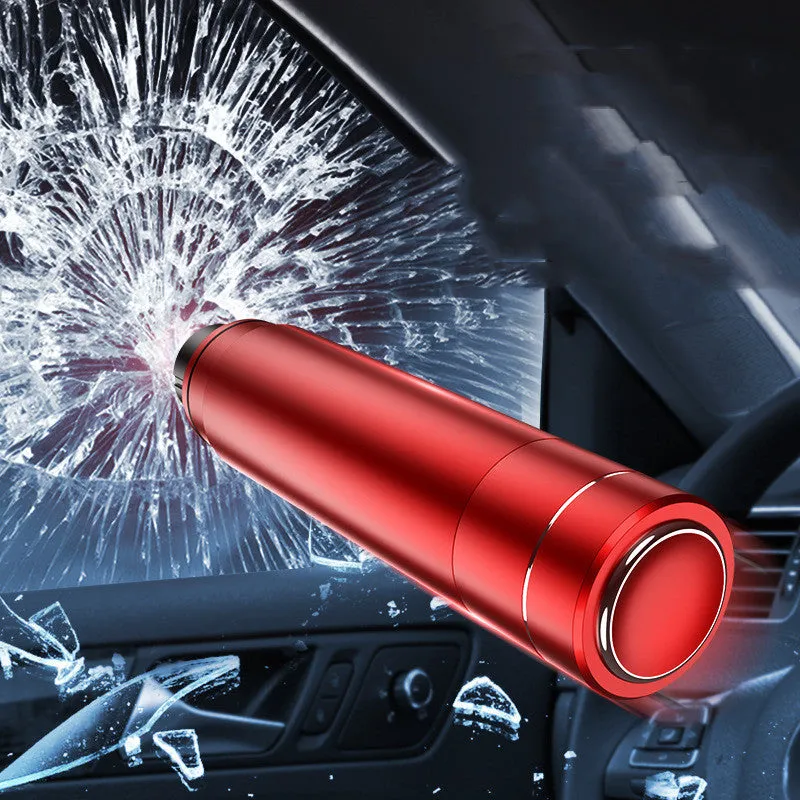
For interior scratches near accessories like the mayday 2-in-1 emergency escape hammer or dashboard mounts, plastic-specific scratch removers work better than automotive paint wax. Keep the right product for each surface.
When to Skip Wax and Call a Professional
Some damage exceeds DIY capability no matter how good your technique or product choice. Knowing these limits saves time and prevents making damage worse.
Red flags that indicate professional help:
- Scratches through to bare metal showing rust
- Cracks or chips larger than a pencil eraser
- Damage on body lines, curves, or edges where buffing risks burn-through
- Multiple layers of scratches creating a “spider web” pattern
- Paint that feels rough even after polishing
Professional detailers have machine polishers, paint-depth gauges, and experience that home users lack. They can safely remove more clear coat and blend repairs across larger panels. For severe damage, body shops can sand, prime, and repaint for a factory-fresh appearance.
Check the latest price on quality removal wax before deciding. Sometimes the DIY route costs $20 and 30 minutes, making it worth attempting before escalating to a $200+ professional detail.
The best scratch removal wax for your situation depends on damage severity, your available time, and whether you already own the necessary applicators and towels. Most car owners benefit from keeping a bottle on hand for quick touch-ups after parking lot encounters and door dings. For everything else, honest assessment of the damage guides you toward the right solution.
Questions
Can scratch removal wax fix deep scratches on car paint?
No, scratch removal wax only works on shallow clear-coat scratches. Deep scratches that expose primer or bare metal require touch-up paint or professional repair. Use the fingernail test: if your nail catches in the scratch, wax won't fix it.
How long do results from car scratch remover last?
Results typically last 2-4 months with proper maintenance. Applying a protective wax every few months helps maintain the correction and prevents new scratches from forming. Environmental factors like sun exposure and washing frequency affect longevity.
Is scratch removal wax safe for all car paint colors?
Yes, quality scratch removal wax works safely on all factory paint colors including metallics and pearls. The micro-abrasives level the clear coat without affecting the color layer underneath. Always test in an inconspicuous area first.
Can I use scratch removal wax on plastic car parts?
No, automotive scratch removal wax is formulated for painted surfaces, not plastic. Use plastic-specific polishes for unpainted trim, headlight lenses, and interior surfaces to avoid clouding or damage.
How many times can I apply scratch remover to the same area?
Limit applications to 2-3 times per area since each application removes a microscopic layer of clear coat. Most cars have 1.5-2 mils of clear coat total. If scratches remain after three attempts, they're likely too deep for wax correction.
Do I need to wax my car after using scratch removal wax?
It's recommended but not always required. Many scratch removal products contain protective wax in their formula. However, applying a separate carnauba or synthetic wax adds extra protection and depth of shine to the freshly corrected paint.
Products in this guide
Shopping at TechnoAnt? See the discount code
5% OFF All Orders
More in this series
 How Long Do Handheld Showerheads Last? What Wears Out First10 Aug 20264 minMagnetic Window Cleaner Review: Can You Really Clean Outside Windows From Inside?10 Aug 20264 min
 Do LED Gloves and Flashlight Gloves Actually Help You Work in the Dark?10 Aug 20265 minBest Emergency Tools for Your Car: Why the Mayday 2-In-1 Escape Hammer Is Essential10 Aug 20264 min
 Magnetic Chess vs Traditional Travel Chess: Which Stays in Place?10 Aug 20264 min