 A PUAIDA guide
PUAIDA ESC Enclosure Care: How to Keep Your Motorized Skateboard Controller Safe
Keep your PUAIDA esc enclosure in top shape with our care guide covering waterproofing, mounting, and routine maintenance for your motor skateboard.
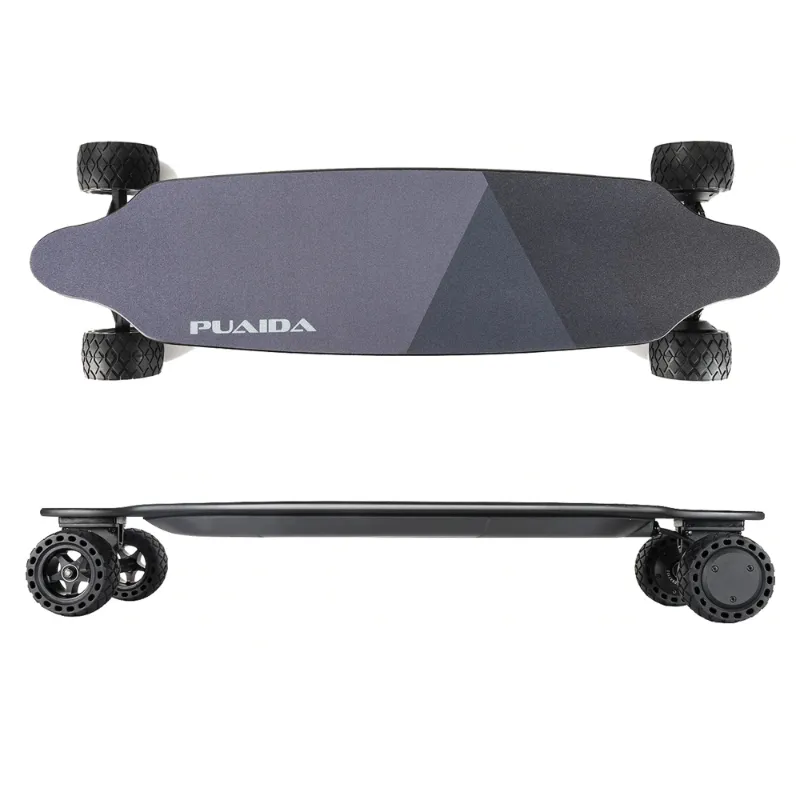
Your esc enclosure is the brain box of your electric ride. It houses the controller that translates throttle input into wheel speed, and if it fails, your board is grounded. Whether you ride a windseeker electric skateboard or a custom build with a motor skateboard deck, keeping that enclosure intact means fewer breakdowns and more miles on the road. Here is how we care for ours and what we recommend for yours.
What an ESC Enclosure Does and Why It Matters
The ESC enclosure is more than a plastic box. It protects the electronic speed controller from water, dust, vibration, and impact. On a skateboard electric that hits 20-plus mph, that protection is nonnegotiable. A cracked enclosure can let in moisture that shorts the board mid ride, which is dangerous and expensive to fix.
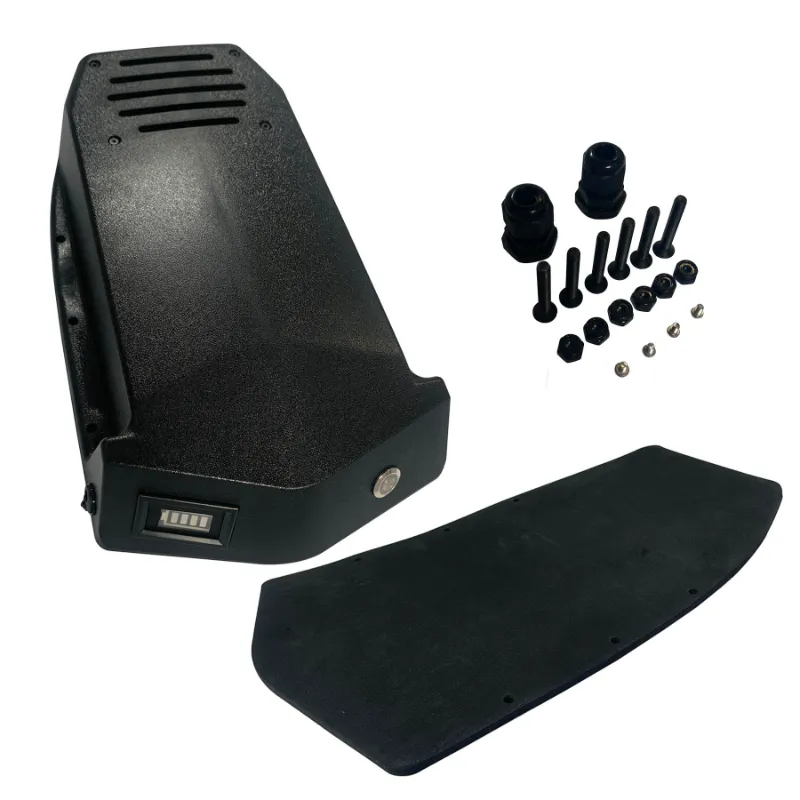
A well designed esc enclosure also provides thermal management. The controller generates heat under load, and the enclosure material and ventilation (or lack of it) determine how well that heat escapes. Keeping it clean and properly sealed ensures the controller runs cool and consistent.
Daily Inspection: What to Check Before Every Ride
Get into the habit of a quick walkaround before you step on the board. This takes thirty seconds and can save you a tow home.
- Check for cracks or stress marks. Look at the corners of the enclosure and around the screw holes. Hairline cracks grow fast under vibration.
- Test the seal. If your enclosure has a gasket or O ring, press gently around the edge to confirm it sits flush. A gap means water entry.
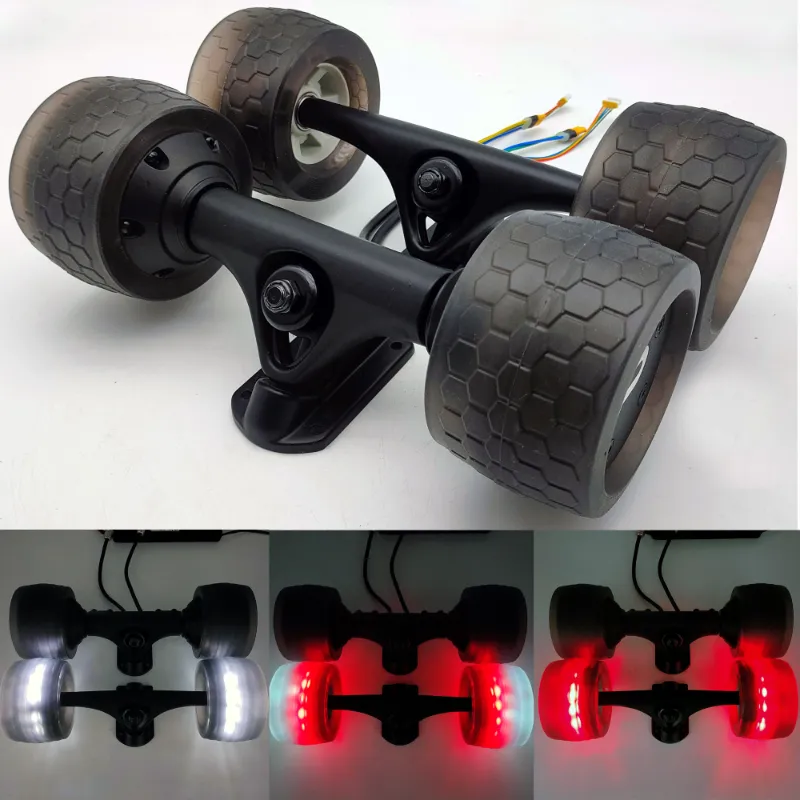
- Tighten loose hardware. Screws back out over time, especially on a skateboard wheel hub motor setup where road vibration is constant. Use a small driver to snug them, but do not overtighten.
- Look for debris buildup. Sand, salt, and small stones can work their way between the enclosure and the deck. Brush them out with a soft paintbrush or compressed air.
Waterproofing Your Electric Skateboard Battery Enclosure
Water is the biggest threat to any electric skateboard battery enclosure. Even splash resistant boards can fail if you ride through deep puddles or store the board wet. Here is how we keep water out.
Seal the Gasket Line
Most enclosures come with a foam or rubber gasket. Over time, that gasket compresses and loses its seal. We replace ours every six months or when we notice any flattening. Apply a thin bead of silicone sealant along the gasket channel before reinstalling the lid for extra insurance.
Use Dielectric Grease on Connectors
Water often enters through the connector ports, not the main seal. Pull the connector, apply a dab of dielectric grease inside the housing, and reconnect. This repels moisture and prevents corrosion on the pins.
Dry Storage Rules
Never store a wet board upside down. Water trapped in the esc enclosure will drip onto the controller. Instead, store the board right side up on its wheels, or tilt it to let any trapped water drain out the cable channel. If you rode through rain, remove the enclosure lid and let everything air dry for 24 hours before sealing it back up.
Mounting and Hardware Best Practices
A loose enclosure is a broken enclosure. The mounting method matters more than most riders realize.
Use nylon locking nuts on any bolt that passes through the deck. Standard nuts vibrate loose. Nylon inserts hold their position even on rough pavement.
Add rubber washers between the enclosure and the deck. These dampen vibration and prevent the hard plastic from chattering against the wood or carbon fiber. They also help seal the bolt holes.
Do not overtighten. Plastic enclosures deform under too much torque. Snug is enough. If you hear a crack when you tighten, back off immediately.
For top mounted setups, like the one discussed in the PARTS WANTED (US) Top mounted battery and esc enclosure forum, the enclosure sits exposed to direct impacts. In that case, we recommend a thicker walled enclosure or adding a protective skid plate underneath.
Cleaning and Maintenance Schedule
Set a recurring reminder every four weeks for a deeper clean.
| Step | What to Do | Why It Matters |
|---|---|---|
| 1 | Remove the enclosure from the deck | Lets you inspect the full perimeter and clean the underside |
| 2 | Wipe down the interior with a dry microfiber cloth | Removes dust and prevents static buildup |
| 3 | Inspect the controller board for corrosion | White or green residue means moisture got in |
| 4 | Clean the gasket groove with a toothpick | Debris in the groove prevents a proper seal |
| 5 | Reapply threadlocker to the screws | Medium strength (blue) threadlocker keeps hardware tight |
| 6 | Torque screws to the manufacturer spec | Consistent pressure prevents warping the enclosure |
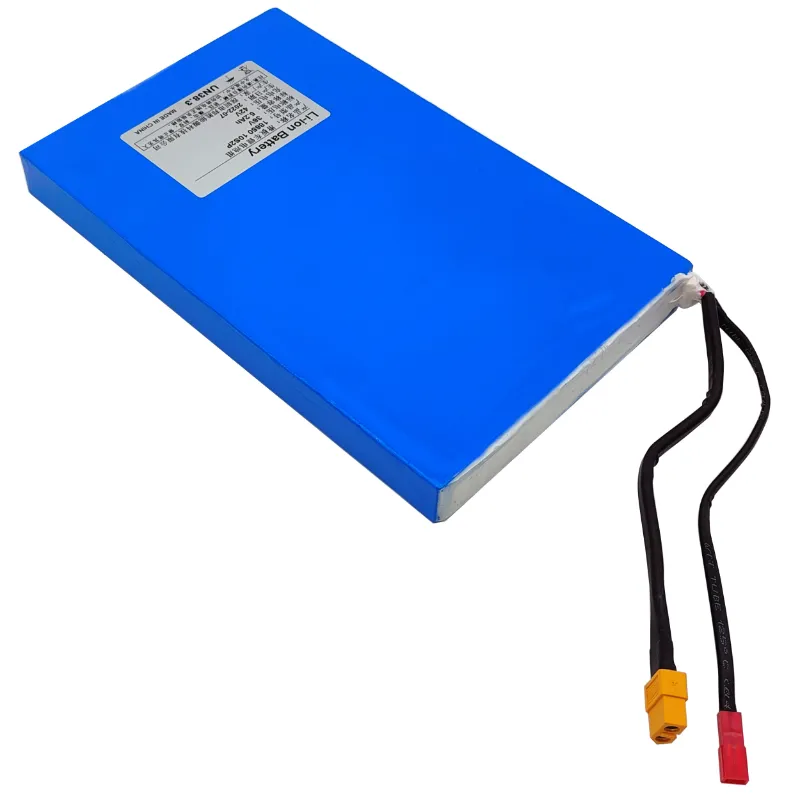
If you are running a 36v battery pack paired with a 10s battery setup, pay extra attention to the battery compartment. Larger packs generate more heat, and the enclosure needs to breathe. Avoid fully sealing the battery enclosure if your controller relies on passive airflow through the shared cavity.
Choosing the Right Enclosure for Your Build
Not all enclosures fit all decks. If you are replacing or upgrading, match the enclosure to your specific components.
Single versus dual controller. A dual motor setup needs more internal height than a single. Measure the tallest component (usually the capacitor bank) and add 5 mm for clearance.
Deck curvature. Drop through decks have a concave profile. A flat enclosure will leave a gap at the edges. Look for a contoured enclosure or use a flexible gasket to bridge the gap.
Material preference. ABS plastic is lightweight and affordable. Polycarbonate is tougher but heavier. Carbon fiber looks clean and is stiff, but it can block wireless signals if the antenna is inside the enclosure. The esc enclosure available through PUAIDA is a solid ABS option that balances weight and durability for most street and cruiser builds.
For a deeper dive into design principles, the guide on Why Your Custom Build Needs a Solid ESC Enclosure explains the structural and thermal reasoning behind enclosure choice.
When to Replace Your ESC Enclosure
Enclosures are wear items. They crack, warp, and lose their seal over time. Replace yours when you see any of the following:
- Visible cracks or chips that expose the controller to the elements
- Warped mounting flanges that prevent the lid from sitting flat
- Stripped screw holes that can no longer hold the enclosure tight
- Corrosion inside the enclosure even after cleaning, which means the seal is compromised
A replacement esc enclosure is a small investment compared to the cost of a fried controller. We keep a spare on hand so we can swap it out the same day a crack appears.
Where to Get Replacement Parts and Discounts
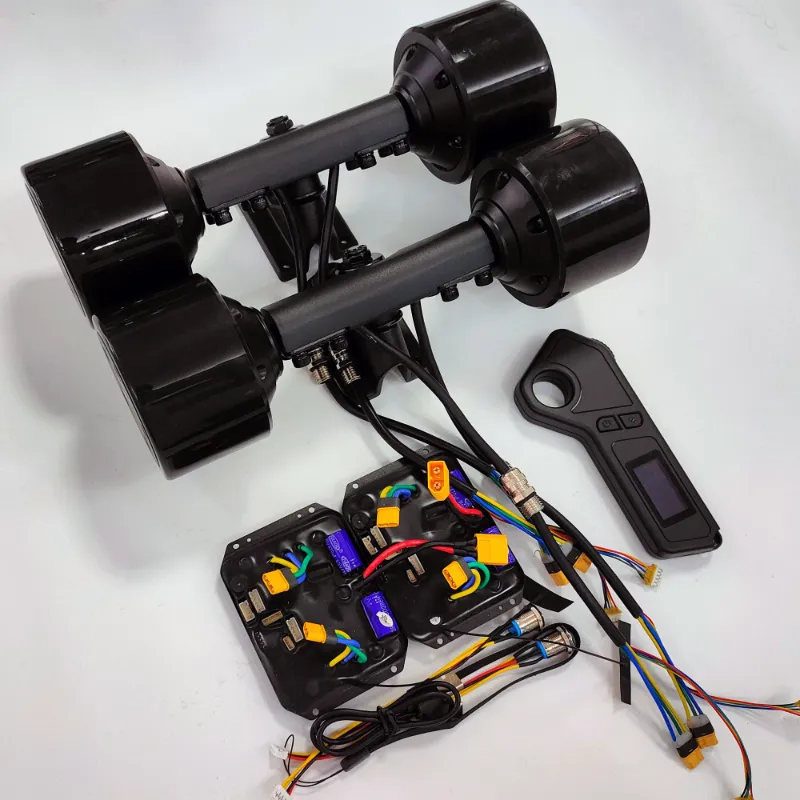
We source our enclosures and replacement hardware from PUAIDA. The fitment is consistent across their skateboard electric lineup, and the windseeker electric skateboard shares the same mounting pattern, which makes swapping parts easy. If you are building a custom board, the motor skateboard components are compatible with most standard enclosures.
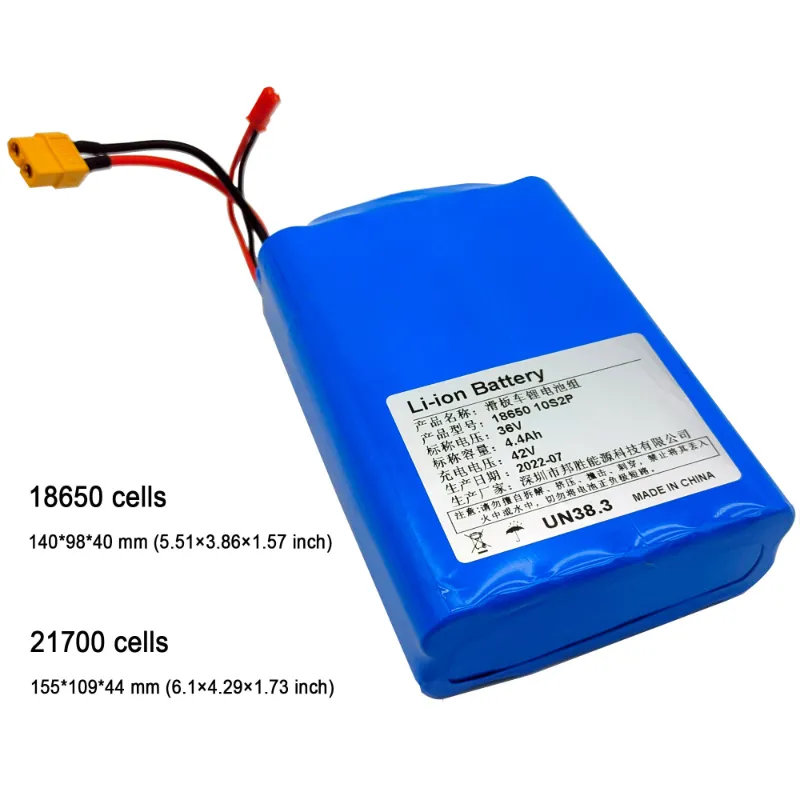
For the best price on your next enclosure or a full meepo v3 battery upgrade, grab the code before you check out. Current offer is 5% off all orders.
Keep your ESC enclosure clean, sealed, and snug, and your board will reward you with reliable rides season after season.
Questions
How often should I replace the gasket on my esc enclosure?
We recommend replacing the gasket every six months or whenever you notice it has flattened or lost its flexibility. A compressed gasket cannot keep water out, and that puts your controller at risk.
Can I ride my electric skateboard in light rain with a standard esc enclosure?
It depends on the enclosure's IP rating. Most stock enclosures are splash resistant but not waterproof. If you ride in wet conditions, add a silicone seal around the gasket and apply dielectric grease to the connectors for extra protection.
What size screws do I need for a PUAIDA esc enclosure?
Most PUAIDA enclosures use M3 or M4 machine screws with a countersunk head. Check the original hardware before buying replacements. We recommend using nylon locking nuts and rubber washers for the best vibration resistance.
Will a cracked esc enclosure affect my board's performance?
Yes. A crack lets in moisture and debris, which can short the controller or cause intermittent connection issues. It also weakens the structural hold on the board. Replace a cracked enclosure as soon as you spot it.
Is the esc enclosure compatible with a 10s battery setup?
Yes, the PUAIDA esc enclosure fits most 10s battery configurations, including the meepo v3 battery and other 36v battery pack layouts. Always measure the internal height to confirm your controller and battery connections clear the lid.
Can I mount the esc enclosure on top of the deck instead of underneath?
You can, but top mounted enclosures take more direct impact from curbs and drops. If you go that route, choose a thicker walled enclosure and add a protective skid plate underneath to prevent cracking.
Products in this guide
 Shopping at PUAIDA? See the discount code
5% OFF All Orders
Shopping at PUAIDA? See the discount code
5% OFF All Orders
More in this series
How to Upgrade Your PUAIDA Skateboard Electric With a 10S Battery Pack5 Sep 20265 minSkateboard Wheel Hub Motor Not Spinning? How to Find the Cause5 Sep 20264 minHow Long Does a PUAIDA 36V Battery Pack Really Last? Tips to Extend Life5 Sep 20264 minPUAIDA Windseeker vs PUAIDA Motor Skateboard: Which Electric Skateboard Fits Your Ride?5 Sep 20264 min