 A Sumerain Faucet guide
How to Install a Sumerain Wall Mount Tub Faucet: Step-by-Step Guide
A wall mount tub faucet can transform your bathroom's functionality and style when installed correctly, and the process is simpler than you might think.
A wall mount tub faucet can transform your bathroom’s functionality and style when installed correctly, and the process is simpler than you might think. Whether you’re replacing an old fixture or upgrading to a modern design, proper installation ensures years of reliable performance. We’ll walk you through everything you need to know to get your faucet running smoothly.
What You Need Before Installing Your Wall Mount Tub Faucet
Success starts with preparation. Gather the right tools and materials before you begin work on your wall mount tub faucet installation.
Essential tools:
- Adjustable wrench or basin wrench
- Screwdriver (Phillips and flat-head)
- Pipe wrench
- Teflon tape
- Plumber’s putty or silicone caulk
- Level
- Drill (for mounting holes, if needed)
- Towels to catch water
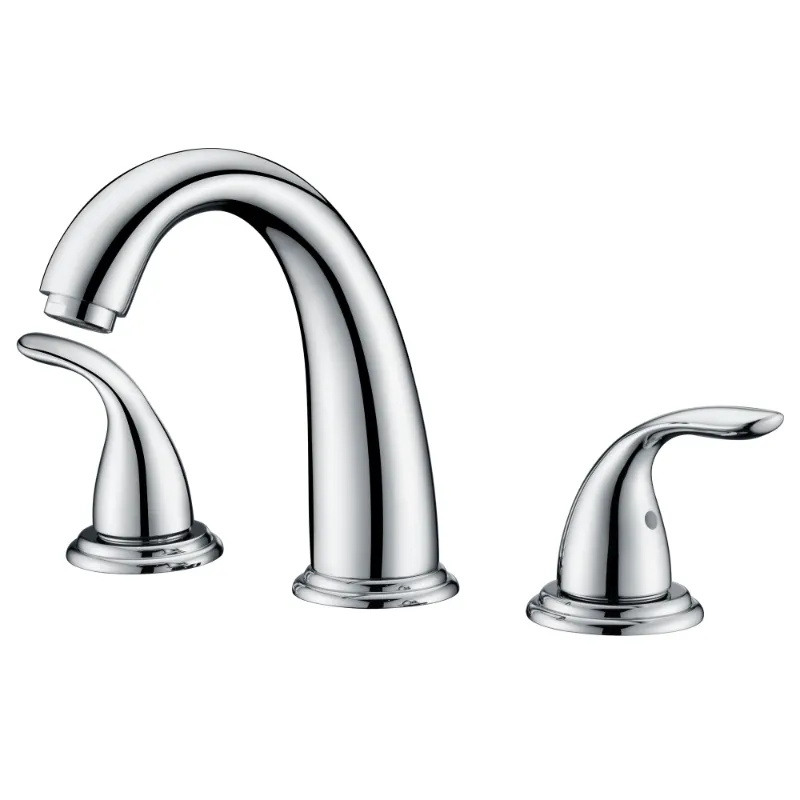
Materials you’ll need depend on your specific model, but most wall mount tub faucet kits include supply lines, mounting hardware, and valve body components. Check your product instructions for any brand-specific requirements. If you’re upgrading from an older deck mounted tub faucet or roman bathtub faucet, you may need additional adapters.
Shutting Off Water and Preparing the Wall
Before touching any pipes, turn off your home’s water supply at the main valve. Open the faucets throughout your home to release pressure and drain residual water from the lines. Once the water stops flowing, you’re ready to work safely.
Inspect your wall where you’ll mount the faucet. For a wall mount tub faucet installation, the location matters. Most fixtures mount between 24 and 48 inches from the tub rim, depending on your preference and the spout design. Use a level to mark mounting points or valve locations. If your wall requires reinforcement (such as adding blocking between studs for a secure hold) do that work now before proceeding. This prevents wobbling and extends the life of your fixture.
Removing the Old Fixture
If you’re replacing an existing faucet, disconnect the supply lines first by loosening the compression nuts with your wrench. Catch any remaining water with towels. Next, remove mounting nuts or bolts holding the old fixture in place. Some older wall mount tub faucet models are caulked in place, so carefully cut away any silicone or caulk with a utility knife. Once the old fixture is free, clean the wall thoroughly and remove any old caulk residue.
Installing the Valve Body and Rough-In Plumbing
The valve body is the heart of your wall mount tub faucet. Slide it into the wall opening or mounting bracket according to your model’s instructions. Ensure it’s level and at the correct depth so the trim ring sits flush against the wall. Secure the valve body with mounting brackets or screws if your design requires them.
Connect the hot and cold water supply lines to the valve body. Wrap the threaded connections with Teflon tape before tightening. Apply 3 to 4 wraps in the clockwise direction, which helps prevent leaks and makes future disconnection easier. Tighten compression nuts hand-tight first, then give them an additional quarter-turn with your wrench. Don’t over-tighten, you’ll crack the fitting.
If your wall mount tub faucet includes a hand shower or diverter, connect those lines now. Again, use Teflon tape and hand-tight connections before using the wrench.
Attaching the Trim Ring and Handle Assembly
Once the rough plumbing is complete, turn the water back on briefly to check for leaks at the valve connections. If everything is dry, turn the water off again. Now install the trim ring or escutcheon plate against the wall, using the mounting screws provided. This ring covers the rough-in work and creates a finished appearance.
Attach the handle or handles next. Most modern designs use single or dual handles that screw onto the valve stem. Follow your model’s instructions for orientation, many have a single lever or separate hot and cold controls. Secure the handles snugly but don’t force them, as the valve stem can break.
Connecting the Spout and Final Setup
Screw the spout onto the outlet, again using Teflon tape on the threaded connection. Position the spout so water flows directly into the tub. If your model has a wall mount tub faucet with integrated hand shower, attach the shower head to its bracket and test water flow direction.
Turn the water supply back on at the main. Open your tub’s shut-off valve (if it has one) and let water run through the lines for 30 seconds to flush sediment. Then test both hot and cold handles to ensure they operate smoothly. Check every connection (beneath the tub, at the wall, and around the trim) for drips or leaks. Tighten any leaking connections a quarter-turn at a time until they’re dry.
Sealing and Caulking
Apply silicone caulk around the trim ring where it meets the wall, creating a waterproof seal. Smooth the caulk with a wet finger or caulk tool to avoid gaps. This prevents water from running behind the trim ring and damaging your wall or studs. Let the caulk cure fully (typically 24 hours) before exposing it to heavy water use.
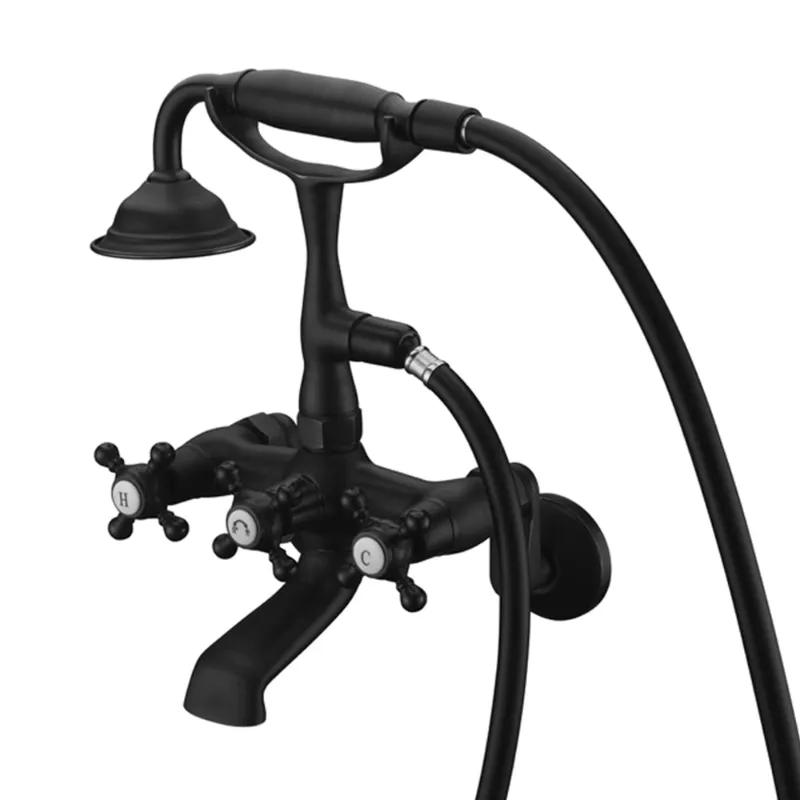
For fixtures without a trim ring, such as some clawfoot tub taps or vintage-style designs, carefully caulk around the spout and any exposed supply line connections at the wall.
Comparing Wall Mount Options with Other Styles
Different bathroom layouts call for different faucet types. Here’s how the main options stack up:
| Faucet Type | Best For | Water Access | Installation |
|---|---|---|---|
| Wall mount tub faucet | Standard tub, fixed position | Quick, integrated | Moderate, requires wall work |
| Deck mounted tub faucet | Edge-mounted tub, flexibility | Lower angle | Simpler, fewer wall holes |
| Freestanding bathtub faucet | Modern soaking tubs, minimalist look | Top-down, dramatic | Easiest, no wall damage |
| Roman bathtub faucet | Classic styling, corner placement | Spread spout | Similar to wall mount, larger footprint |
If you’re unsure which style fits your space, visit the store and check the latest price on popular models in stock.
Troubleshooting Common Installation Issues
Water leaks at the base of the spout often mean the connection needs another quarter-turn. For leaks inside the wall at the valve, you may need to reapply Teflon tape and retighten supply lines, turn water off first, then back away the connection and repeat.
Handles that are stiff or don’t turn smoothly suggest debris in the valve or a connection that’s too tight. Never force a handle; instead, disconnect it, flush the line, and reinstall. If a handle is stuck, loosen the set screw slightly and try again.
Low water pressure after installation usually indicates sediment in the lines. Run water through all your home’s faucets for a few minutes to clear buildup. If pressure remains low only at your new wall mount tub faucet, the valve’s aerator or screen may be clogged, remove and rinse it.
When to Call a Professional Plumber
You should reach out for help if you encounter cracked fittings, significant wall damage, or a valve that doesn’t shut off completely. If your home has galvanized steel supply lines instead of copper or PEX, transition fittings can corrode quickly, and a pro can advise on the best long-term approach. Similarly, if your wall is wet behind the trim ring after a few weeks, stop using the fixture and call for help, hidden water damage is serious.
Getting the Most From Your New Faucet
Once your wall mount tub faucet is running smoothly, maintenance keeps it that way. Clean aerators every 6 months by unscrewing them, rinsing, and reinstalling. Wipe down chrome or brushed finishes regularly to prevent water spots. If you notice reduced flow over time, the same sediment that can clog lines can block aerators, a quick flush usually fixes it.
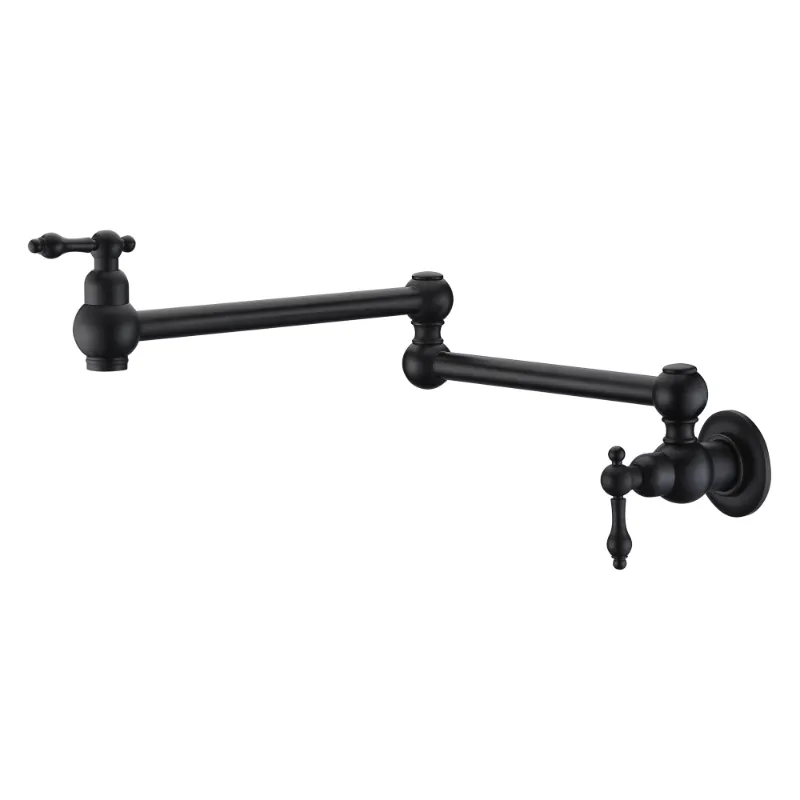
For the best value on Sumerain faucets and other premium styles, grab the code for 10% off sitewide. Explore options like the oil rubbed bronze kitchen faucet for a coordinated look across your home, or check out specialty designs like the black touchless kitchen faucet if your design extends beyond the bathroom.
Installing a wall mount tub faucet yourself is achievable with patience and the right preparation. You’ve now got the knowledge to handle the job confidently.
Questions
How high should a wall mount tub faucet be installed?
Most wall mount tub faucets are installed 24 to 48 inches from the tub rim, depending on your preference and spout reach. Check your specific model's manual for recommended height and distance from the tub edge.
Can I install a wall mount tub faucet without shutting off the main water supply?
No, always shut off your main water supply before disconnecting any plumbing. This prevents flooding and makes the job safer and cleaner.
What is Teflon tape and why do I need it for a wall mount tub faucet?
Teflon tape is a thin, slippery tape you wrap around threaded connections to create a watertight seal. It prevents leaks and makes future disconnections easier. Wrap it 3 to 4 times clockwise around male threads before connecting.
Why is my new wall mount tub faucet leaking at the base?
Leaks at the base usually mean the spout connection needs to be tightened more. Turn off water, loosen the connection slightly, and then retighten with a quarter-turn of the wrench. If it still leaks, reapply Teflon tape and try again.
Do I need to reinforce my bathroom wall before installing a wall mount tub faucet?
If the wall between studs is thin or hollow, add wooden blocking or use sturdy mounting brackets to support the fixture. This prevents wobbling and ensures the faucet lasts.
How do I know if my bathroom wall is ready for a wall mount tub faucet installation?
Check for solid framing, inspect plumbing behind the wall, and ensure water supply lines are accessible. If your wall is tile or stone, you may need a hole saw. If you're unsure, consult a plumber before starting.
Products in this guide
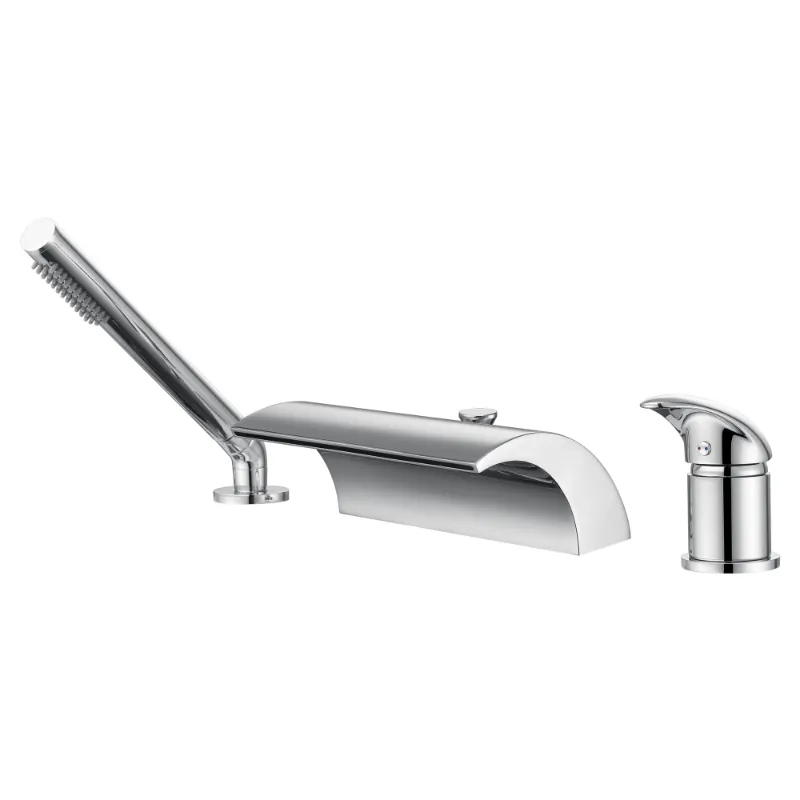
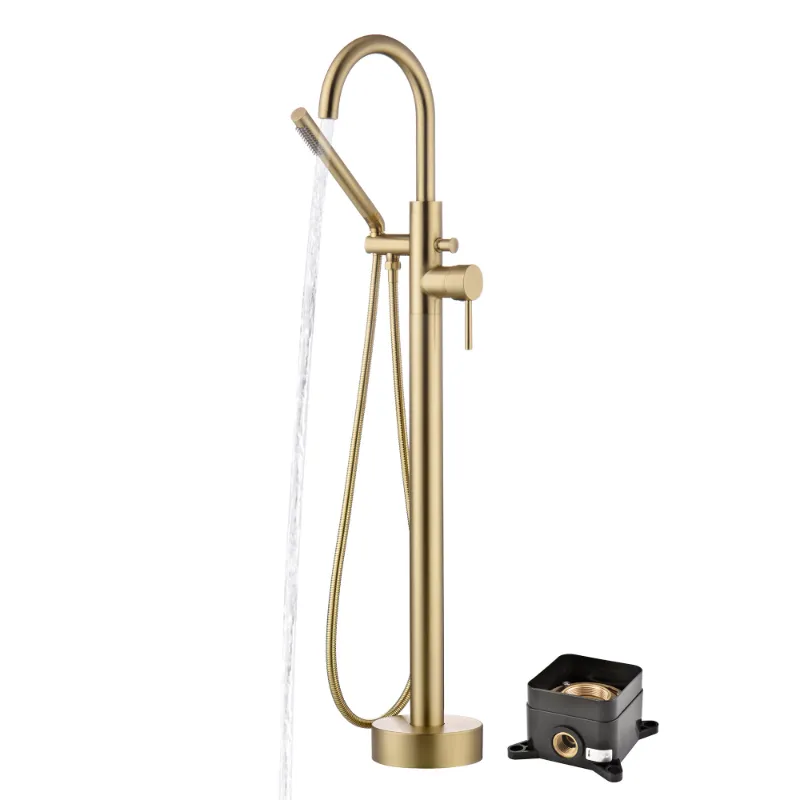
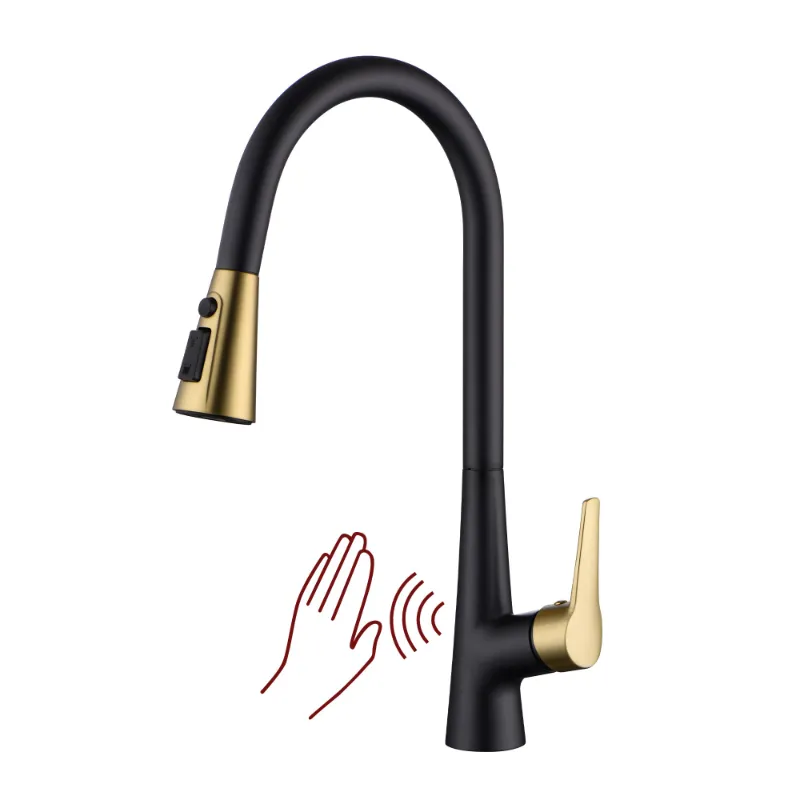 Shopping at Sumerain Faucet? See the discount code
10% OFF Sitewide
Shopping at Sumerain Faucet? See the discount code
10% OFF Sitewide
More in this series
Sumerain Roman Bathtub Faucet Maintenance: Cleaning and Care Tips to Prevent Corrosion3 Sep 20264 minDoes a Black Touchless Kitchen Faucet Work as Well as It Looks?3 Sep 20264 min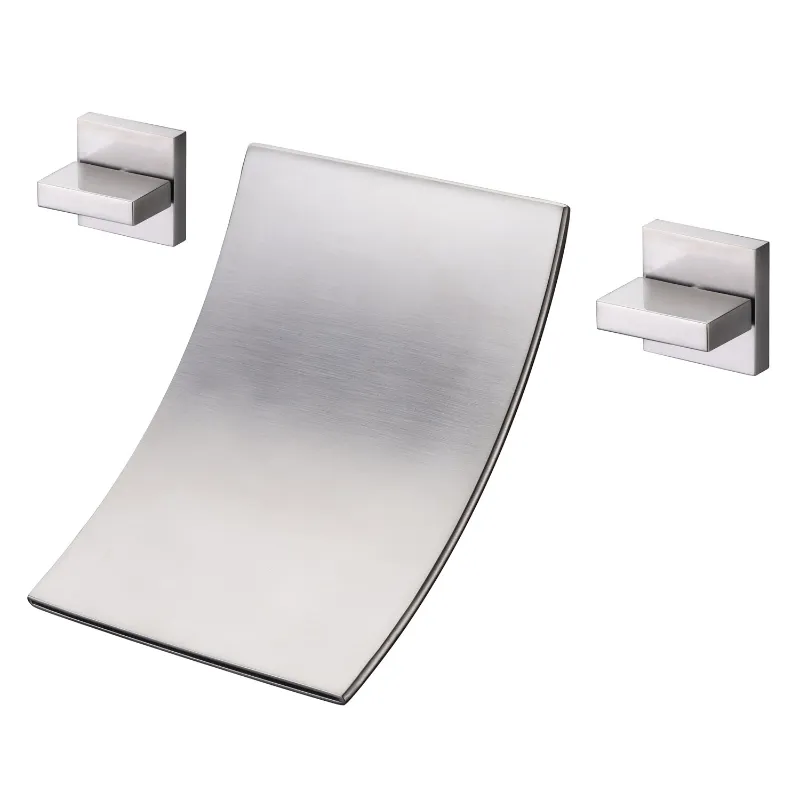 Best Sumerain Faucet for Clawfoot Tubs: Tub Taps vs. Freestanding Options3 Sep 20264 minSumerain Oil Rubbed Bronze Kitchen Faucet vs. Stainless Steel: Which Finish Lasts Longer?3 Sep 20264 min