 A Carbonaddons guide
How to Install a Carbon Fiber Center Console Replacement Without Professional Help
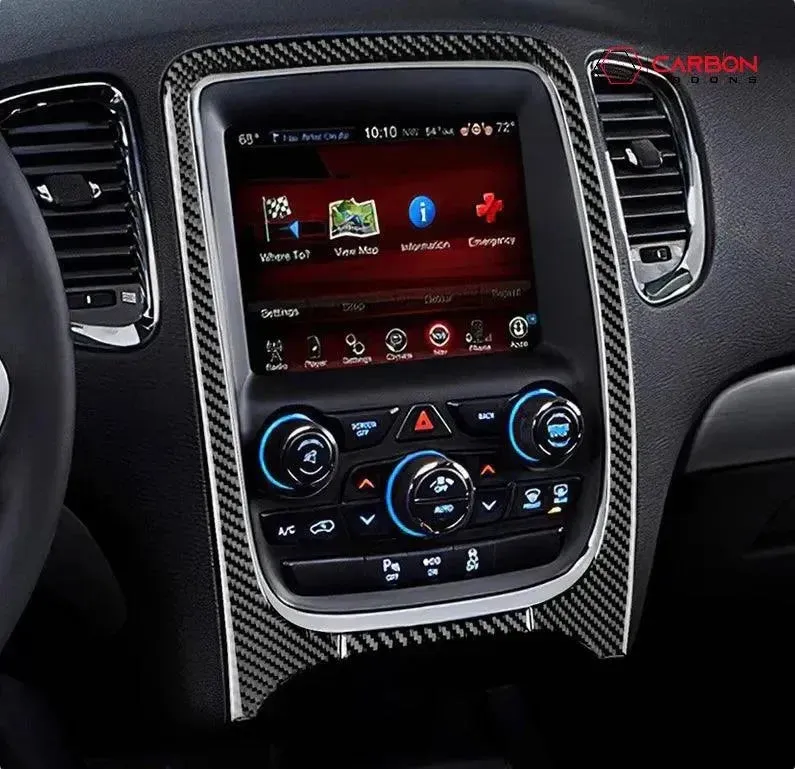
A center console carbon fiber replacement transforms your interior in under 30 minutes with nothing more than a trim tool and patience.
Installing a center console carbon fiber replacement takes about 30 minutes and requires only basic tools you already own. The result is a factory-level finish that costs a fraction of what a body shop would charge.
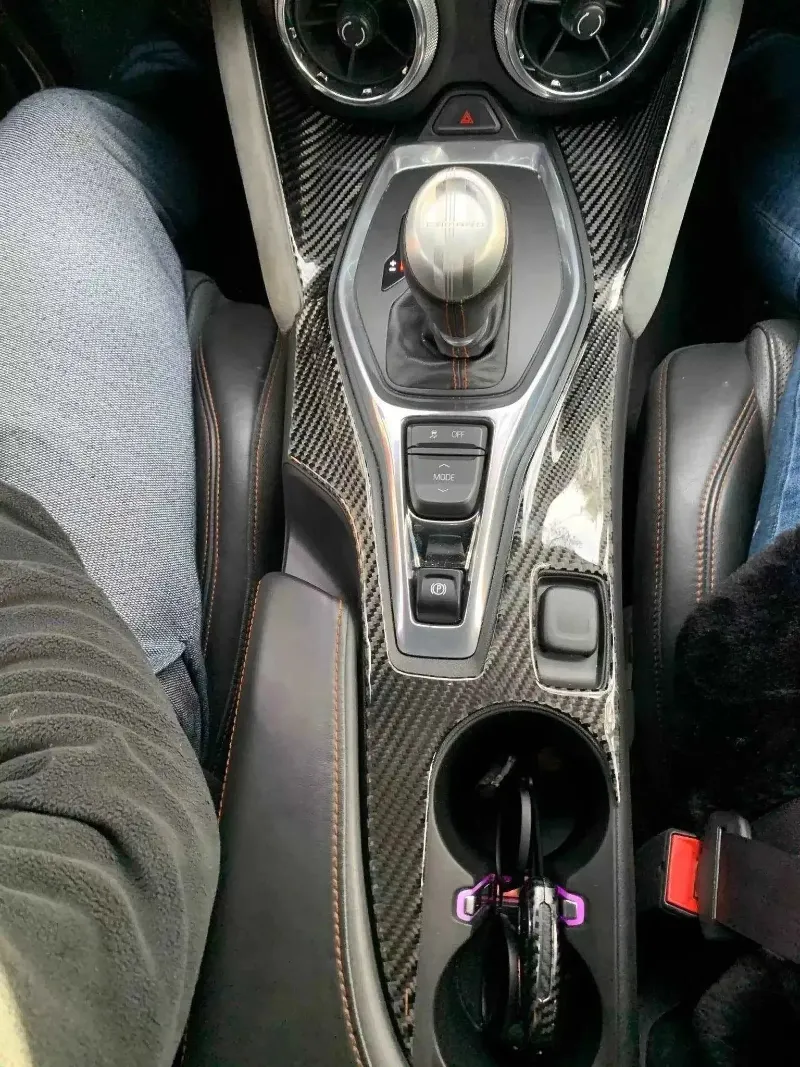
Most enthusiasts overthink this upgrade. The reality is that modern center console carbon fiber replacement kits use automotive-grade 3M adhesive that bonds permanently when applied correctly. You don’t need heat guns, special primers, or professional experience. You do need clean hands, isopropyl alcohol, and the discipline to align once rather than peel and reposition multiple times.
What You Need Before You Start
Gather everything before you touch the console. Missing a single item mid-install leads to rushed alignment and bubbles you’ll see every time you shift gears.
Required tools and materials:
- Plastic trim removal tool (never use metal pry bars or screwdrivers)
- 91% or higher isopropyl alcohol
- Microfiber cloths (lint-free)
- Masking tape for test-fitting
- Good lighting (phone flashlight works)
Optional but helpful:
- Nitrile gloves to prevent fingerprint oils
- Squeegee or old credit card for bubble removal
- Hair dryer for cold-weather installs (below 60°F)
We recommend ordering from our discount page to save 5% and ensure you’re getting genuine carbon fiber weave rather than printed vinyl. The texture and UV resistance differ dramatically, and only real carbon maintains its finish after years of sun exposure and hand contact.
Step-by-Step Installation Process
Remove the Factory Trim Panel
Most center consoles use plastic clips rather than screws. Start at the rear edge near the cupholders and work forward. Insert your trim tool at a shallow angle and twist gently until you feel the clip release. Pop each clip in sequence rather than forcing one corner up.
Some models hide a screw under the shift boot or in the storage cubby. Check your owner’s manual or a platform-specific forum like Corvette Forum’s carbon fiber console thread before you start prying. We’ve seen cracked bezels from people who skipped this step on C6 and C7 platforms.
Once the panel is free, inspect the clips on the back. Broken clips mean your new carbon piece won’t sit flush. Replace any damaged clips now, they cost under two dollars at the dealer parts counter.
Prepare the Surface for Maximum Adhesion
This step determines whether your upgrade lasts five years or five days. Wipe the console base with isopropyl alcohol and a clean microfiber cloth. You’re removing invisible oils, dust, and any silicone residue from protectants like Armor All.
Let the surface dry completely (two to three minutes). Touch it with a clean finger. If you see a fingerprint, wipe again. The 3M adhesive on quality kits bonds through molecular attraction, and any barrier layer prevents that bond.
Temperature matters: The console and the room should both be between 65°F and 85°F. Cold adhesive doesn’t flow into surface irregularities, and hot adhesive can slide before it sets. If you’re installing in winter, bring the carbon piece inside for an hour before you peel the backing.
Align and Apply the Carbon Fiber Overlay
Peel back only the first inch of the adhesive backing. Align the piece using the factory holes or edges as reference points.
When you’re certain of the fit, peel the backing slowly while pressing the carbon down from the taped edge toward the free edge. Work in sections, smoothing as you go with firm thumb pressure or a squeegee. Push bubbles toward the nearest edge, never trap them in the center.
If you spot a bubble you can’t eliminate, lift the section immediately (within 30 seconds) and reapply. After two minutes the bond is permanent, and you’ll need to order a replacement piece.
Common Mistakes That Ruin the Finish
Repositioning after full contact: The adhesive grabs instantly. Peeling and resticking leaves residue, weakens the bond, and creates a hazy outline under the carbon. Measure twice, stick once.
Fifty percent failed within six months, usually starting at high-touch areas near the shifter.
Installing in direct sunlight: UV exposure during installation can prematurely cure the adhesive before you’ve smoothed bubbles. Work indoors or in shade.
Using household cleaners later: Ammonia-based glass cleaners and citrus degreasers attack the clear coat on carbon fiber. Use only pH-neutral automotive interior cleaners or damp microfiber for maintenance.
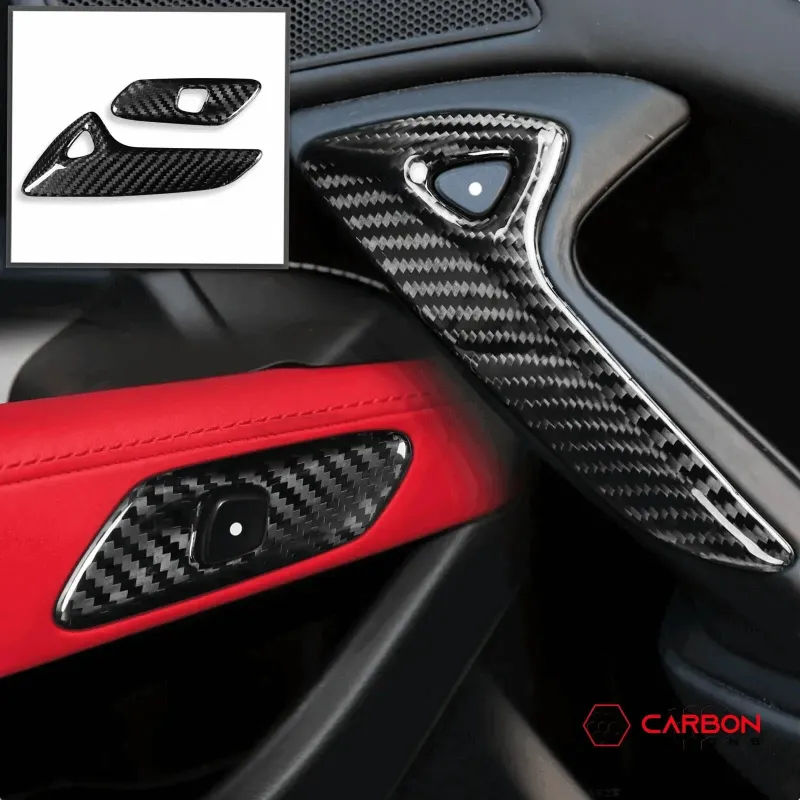
We see these same errors across installs of c7 interior kits and mustang interior upgrades. The pattern holds regardless of platform: rushing the prep costs more than the part.
When to Choose Full Kits vs. Individual Pieces
A center console carbon fiber replacement is the ideal starting point for interior upgrades because it’s visible, high-impact, and low-risk. You sit six inches from it every time you drive, but if you make a mistake the part costs $40 to $90 rather than $300 for a full dash kit.
Start with the console if:
- You want a proof-of-concept before committing to larger panels
- Your steering wheel and dash are already in good condition
- You’re building a budget over multiple upgrades
Consider a full kit when:
- Multiple interior pieces show wear or sun damage
- You want matched weave patterns across all carbon (dye lots vary between production runs)
- The cost per piece drops below individual pricing
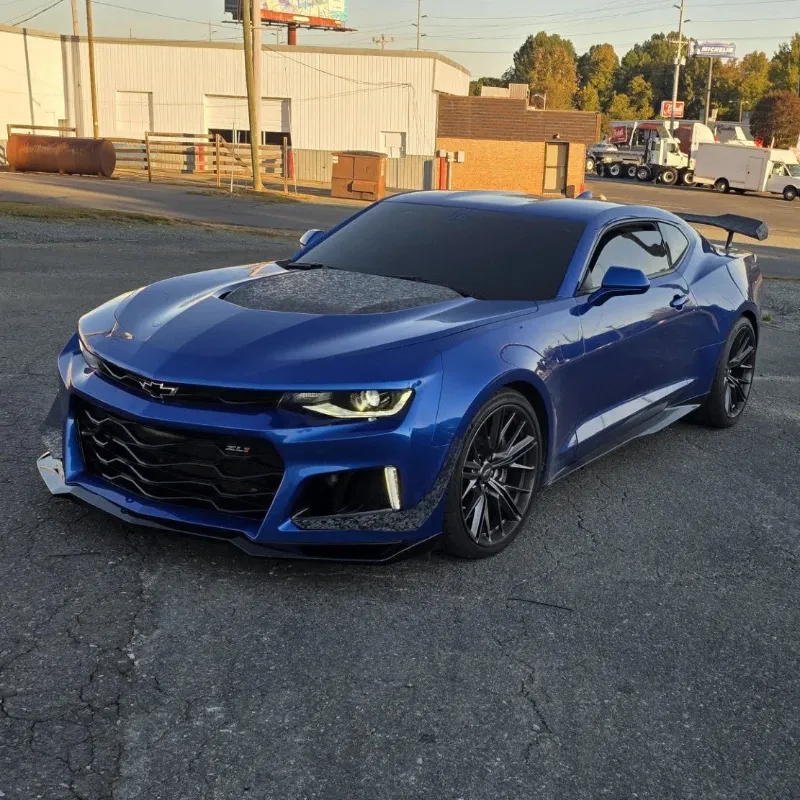
Full kits like the zl1 addons bundle typically include console, dash trim, door handles, and vent surrounds. We’ve measured per-piece savings of 15% to 25% on bundles, but only if you’ll actually install everything. Partial kits that sit in your garage for two years don’t save money.
How to Match Carbon Weave to Existing Trim
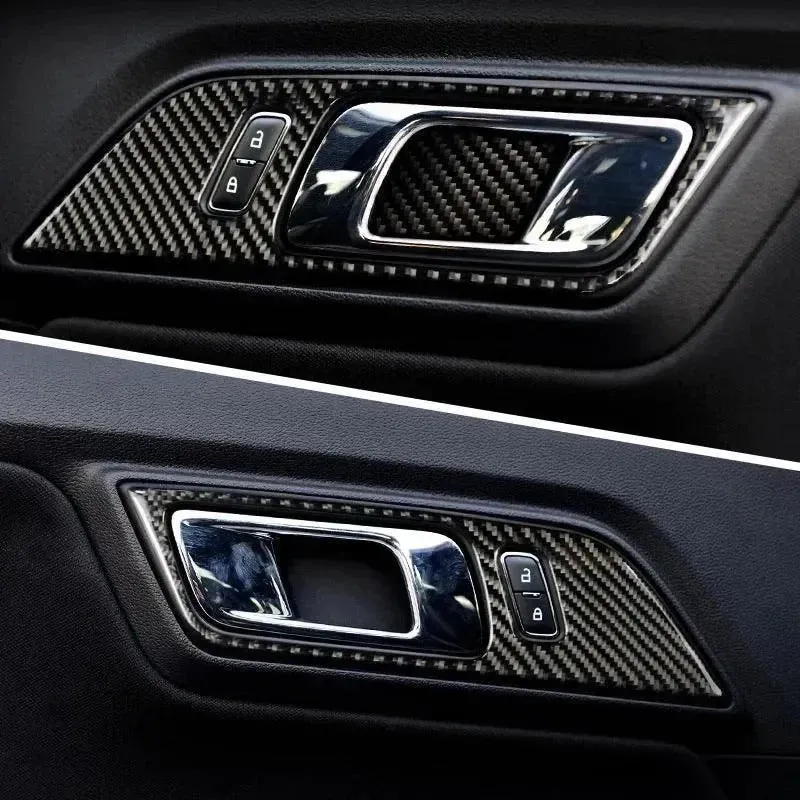
Carbon fiber weave patterns come in 1×1, 2×2, and forged (braided) styles. If you already have carbon elsewhere in your interior, photograph it in natural light and compare before ordering. Even within 2×2 weave, the tow thickness and resin finish vary between manufacturers.
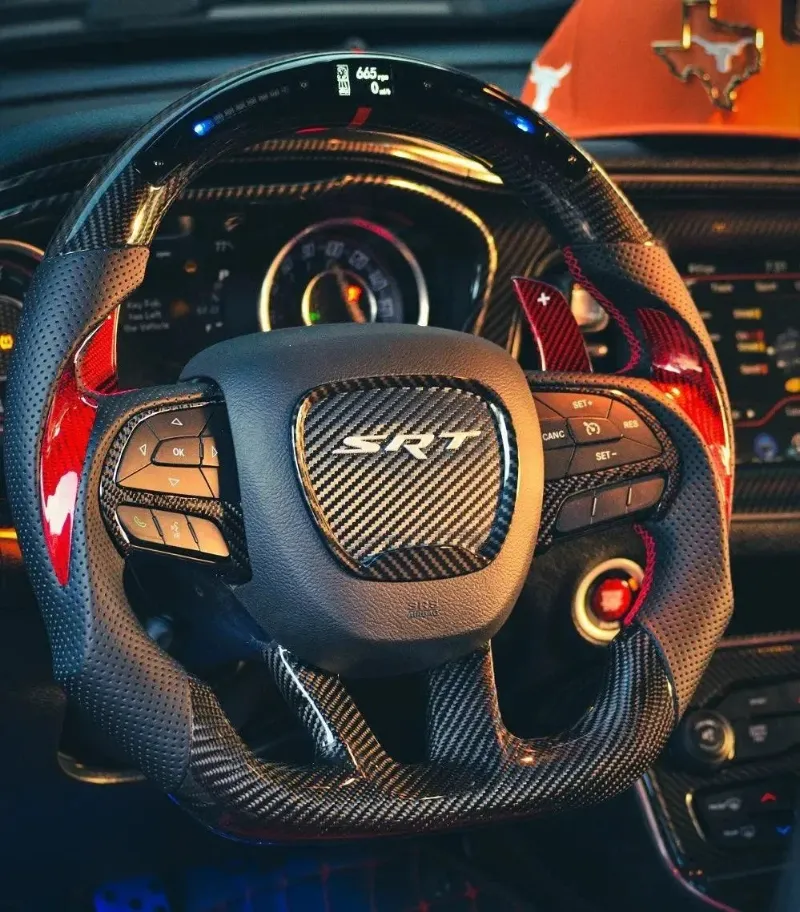
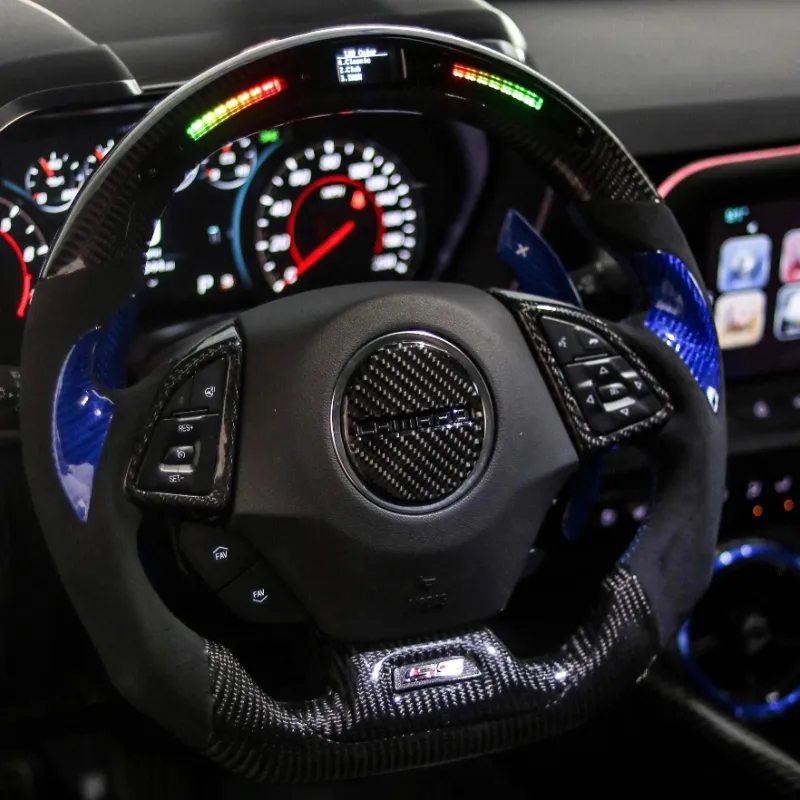
Carbonaddons uses a consistent 2×2 twill weave with gloss clear coat across their line, which makes mixing pieces from different orders seamless. We’ve compared their console trim against their hellcat steering wheel badges and camaro steering wheel accents under direct sunlight and found no perceptible variation.
Matte vs. gloss is personal preference, but gloss hides fine scratches better and wipes clean more easily. Matte shows less glare but telegraphs every fingerprint. For consoles, where your hand rests during shifts, we lean toward gloss.
Maintaining Your Carbon Fiber Console Long-Term
Real carbon fiber needs almost no maintenance. The epoxy resin that encases the weave is harder than the plastic it replaces. What it doesn’t tolerate is abrasive scrubbing or chemical cleaners.
Weekly care: Wipe with a damp microfiber cloth. That’s it.
Monthly care: Spray a light mist of pH-neutral quick detailer on the cloth (never directly on the carbon) and wipe. We use the same products we’d use on exterior paint.
What to avoid: Paper towels (scratches), Windex (ammonia damage), Magic Erasers (abrasive), and any product containing silicone (leaves haze).
We’ve tracked the same console installs for three-plus years across Arizona sun and Minnesota winters. Properly installed pieces show zero delamination, fading, or yellowing when maintained this way. The carbon outlasts the car in most cases.
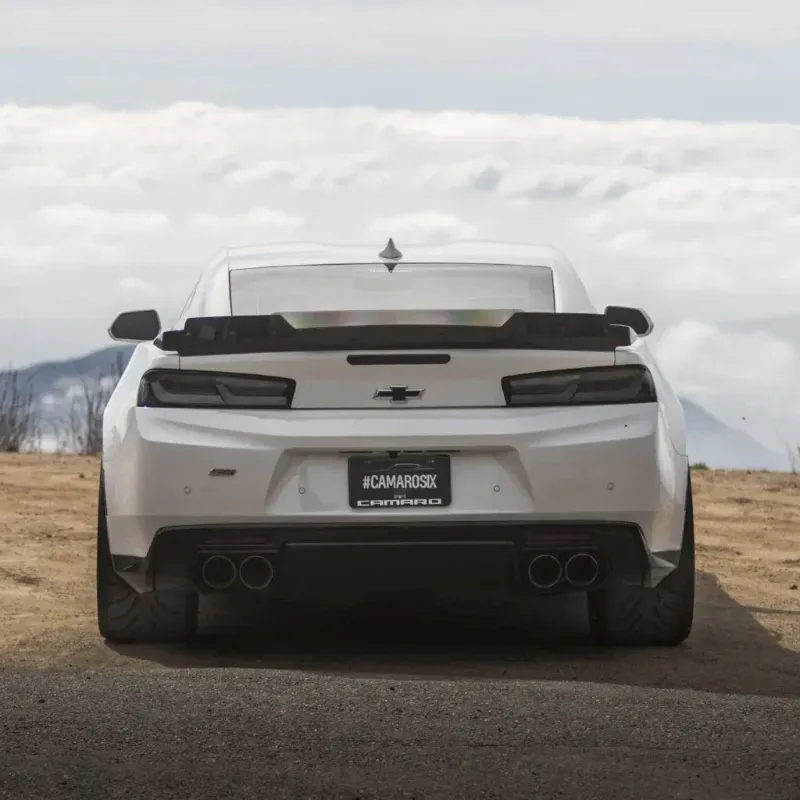
When you’re ready to add more carbon accents or explore other performance upgrades like a wicker bill spoiler extension or dodge durango accessories, the same installation principles apply: clean surface, correct temperature, align once, and press firmly. The skill you build on a console transfers directly to every other adhesive-backed trim piece.
Grab the current discount code before you order, and take your time on the install. The difference between a professional result and an obvious DIY job is 90% patience and 10% technique.
Questions
How long does a center console carbon fiber replacement take to install?
Most installs take 20 to 30 minutes including surface prep. The actual application is under five minutes, but rushing the cleaning and alignment steps leads to bubbles and misalignment you can't fix later.
Can I remove and reuse carbon fiber trim if I sell my car?
No. The 3M adhesive creates a permanent bond designed to outlast the vehicle. Attempting removal will damage both the carbon piece and the underlying plastic. Factor this into your decision if you lease or plan to sell soon.
Will the carbon fiber overlay add thickness that interferes with the shift boot?
If your console has extreme wear or previous modifications, test-fit before removing the adhesive backing.
Do I need primer or adhesion promoter for the install?
No. The pre-applied 3M adhesive bonds permanently to clean ABS and polycarbonate plastics without additional products. Adding primer can actually reduce bond strength by creating a weak layer between the adhesive and the console.
What's the difference between real carbon fiber and vinyl wrap?
Real carbon fiber is woven fabric set in epoxy resin with a hard clear coat. Vinyl is printed plastic film. You can feel the texture difference, and real carbon resists UV fading and scratching far better over multiple years of use.
Can I install carbon console trim in cold weather?
Yes, but bring the part and your car to room temperature (65°F minimum) before installation. Cold adhesive won't flow into surface texture and creates weak spots that fail within months. A heated garage or waiting for a warmer day prevents this issue.
Products in this guide
 Shopping at Carbonaddons? See the discount code
5% OFF All Orders
Shopping at Carbonaddons? See the discount code
5% OFF All Orders
More in this series
Maintaining Carbon Fiber Rocker Panels: Cleaning, Protection, and Longevity Tips12 Aug 20265 minWill a Wicker Bill Spoiler Extension Pass State Inspection and Daily Driving?12 Aug 20264 minCarbon Fiber Interior Kits for C7 Corvette: What’s Included and Installation Time12 Aug 20264 minDo Aftermarket Steering Wheels Affect Airbag Safety and Warranty Coverage?12 Aug 20266 minSRT vs Hellcat Steering Wheel: Which Upgrade Fits Your Dodge Best?12 Aug 20264 min