 A Wowangel guide
How to Install a 2X6 Lace Closure for a Natural Hairline
A 2x6 closure delivers a natural-looking hairline with minimal leave-out when installed correctly.
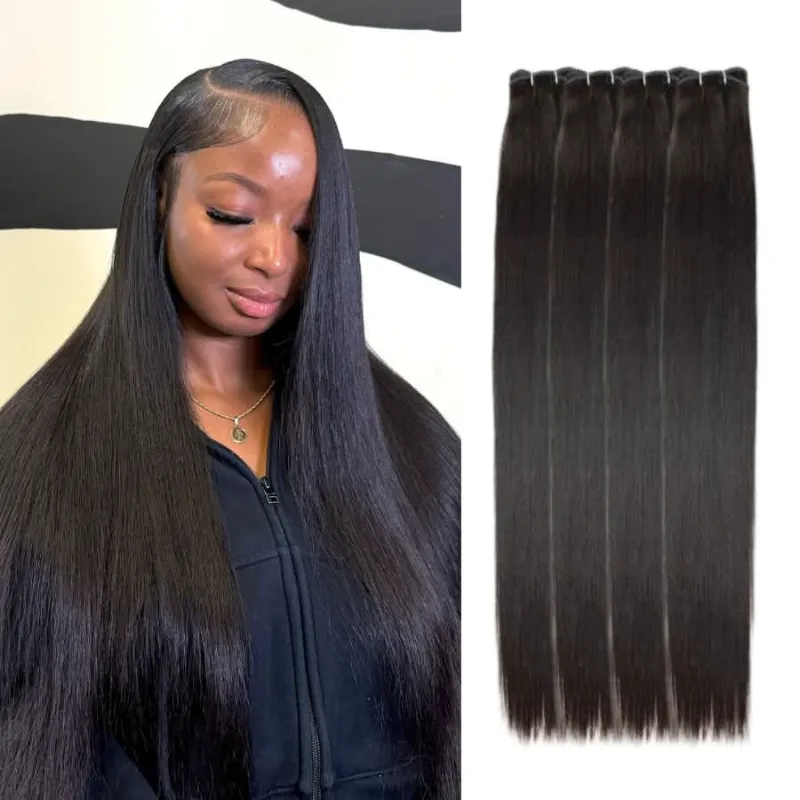
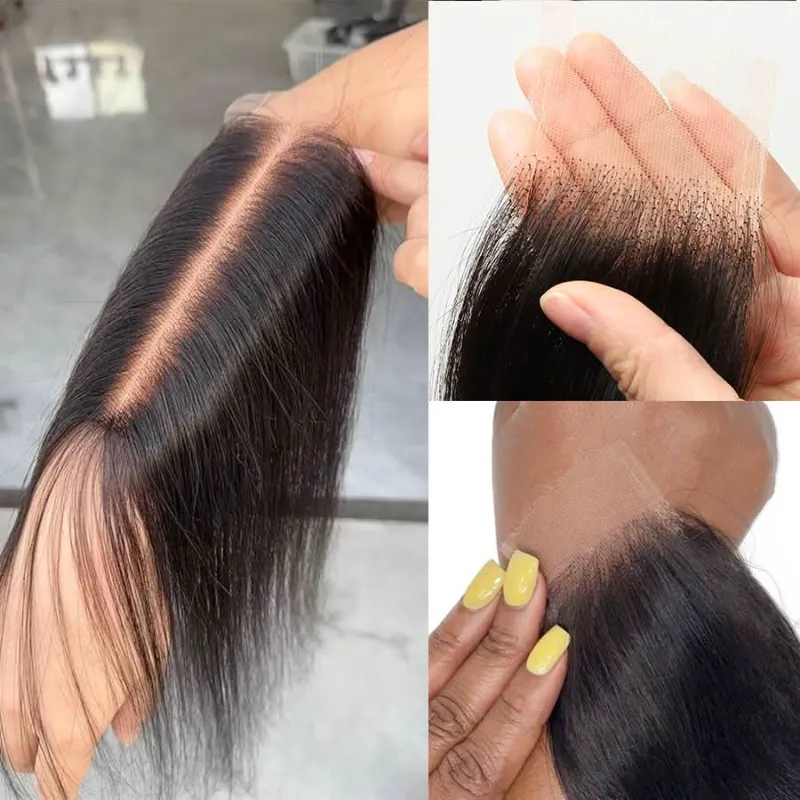
A 2×6 closure creates a seamless, natural hairline by covering the front 2 inches by 6 inches of your scalp, blending perfectly with human hair bundles for a complete protective style. This compact closure requires less customization than larger pieces, making it ideal for beginners who want a realistic finish without advanced wig-making skills. We’ll walk you through prep, installation, and styling so you can achieve a professional result at home.
What You Need Before Installing Your 2×6 Closure
Gather your supplies before you start. You’ll need a 2×6 closure in the texture and color that matches your bundles, a wig cap (mesh or nylon), fabric glue or Got2B gel, scissors, tweezers, a rat-tail comb, and a blow dryer or flat iron for sealing. If you’re working with a 2×6 closure with bundles, make sure the hair textures match exactly so the blend looks natural.
Prep your natural hair by braiding it flat in a beehive or straight-back pattern. The flatter your braids, the less bulk you’ll have under the closure. Secure the wig cap over your braids and trim any excess material around the edges so it sits flush against your scalp.
How to Customize and Bleach the 2×6 Closure Knots
Customization makes the difference between an obvious install and a natural hairline. Hold the closure up to a window or lightbox and flip it over so you can see the knots on the underside of the lace. Apply bleach powder mixed with 20-volume developer to the knots only, avoiding the hair strands. Let it process for 15 to 25 minutes, checking every five minutes until the knots lighten to a honey or light brown shade.
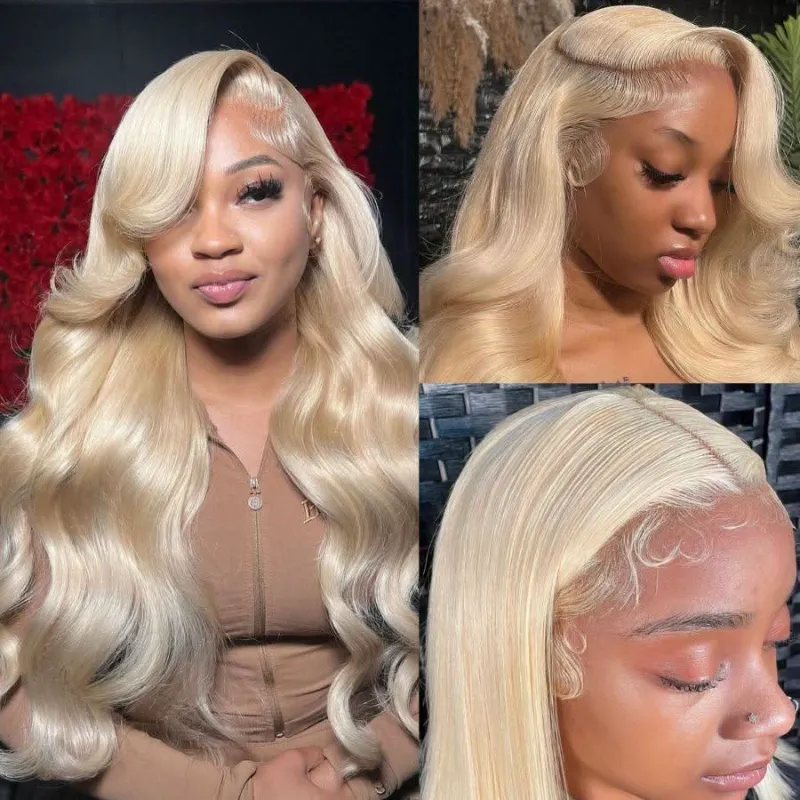
Rinse the bleach thoroughly with cool water, then apply a purple toner if you’re installing a 613 human hair wig or lighter closure to neutralize any brassy tones. Condition the closure and let it air-dry completely before installation. Bleaching knots is optional for darker closures, but it helps the scalp illusion look more realistic on any skin tone.
Step-by-Step 2×6 Closure Installation Process
Start by measuring the closure against your hairline. A 2×6 closure wig typically sits about one finger-width behind your natural hairline, but adjust based on your preference. Mark the placement lightly with eyeliner or a washable marker on your wig cap.
Apply a thin layer of Got2B gel or fabric glue along the perimeter of the closure lace, staying about a quarter-inch from the edge. Wait 15 to 30 seconds until the adhesive becomes tacky, then press the closure onto the wig cap, starting at the center and working outward to avoid wrinkles. Use a blow dryer on low heat to activate the glue and lock the closure in place.
Trim the excess lace as close to the hairline as possible without cutting the baby hairs. Use small, sharp scissors and cut in a zigzag pattern for a more natural edge. If you’re sewing the closure instead of gluing, thread a curved needle and stitch the closure to the wig cap in small, tight loops around the perimeter, then fold the back flap under and sew it to the first bundle weft.
Wowangel closures pair beautifully with 100 human hair bundles for a full sew-in. Check the latest pricing and grab our discount code to save on your complete install.
Blending and Styling Your 2×6 Closure Human Hair
Once the closure is secure, blend it with your bundles or leave-out. If you installed bundles, make sure the wefts sit snugly behind the closure with no gaps. Use a flat iron to press the closure hair and bundle hair together at the same temperature so the textures match.
Pluck the hairline sparingly to create a more natural density. Hold tweezers at an angle and remove one or two hairs at a time from random spots along the front, focusing on the center part and temples. Over-plucking creates bald patches, so step back every few minutes to check your progress.
Style baby hairs with a small brush and edge control gel. Lay them in soft curves or wispy patterns rather than harsh, sculpted shapes. You can also cut face-framing layers into the closure to soften the look and help it blend with your natural texture if you plan to leave any hair out at the sides.
Comparing 2×6 Closure Options by Lace Type
Different lace types suit different skill levels and budgets. Here’s how the most common options compare:
| Lace Type | Visibility | Durability | Best For |
|---|---|---|---|
| HD lace | Invisible on most skin tones | Delicate, needs gentle handling | Special events, close-up photos |
| Transparent lace | Melts well, slight sheen | Moderate, good for daily wear | Everyday installs, versatile match |
| Swiss lace | Soft, natural movement | Thinner, requires care | Beginners wanting realistic results |
| French lace | Slightly visible, thicker | Very durable, longer lifespan | Active lifestyles, long-term wear |
A 2×6 closure HD lace gives the most undetectable finish but tears more easily during installation. Transparent lace offers the best balance of realism and strength for most users. If you’re new to closures, start with Swiss or transparent lace and upgrade to HD once you’re comfortable with the application process.
Maintaining Your 2×6 Closure Between Installs
Proper care extends the life of your closure and keeps it looking fresh. Wrap your hair in a silk or satin scarf every night to prevent frizzing and tangling. If you used glue, avoid oil-based products along the hairline because they break down adhesive and cause lifting.
Wash the closure every seven to ten days with sulfate-free shampoo diluted in cool water. Gently massage the cleanser through the hair in a downward motion, then rinse and apply a lightweight conditioner from mid-shaft to ends. Let it air-dry on a wig stand to preserve the curl pattern or texture.
Remove glue buildup with a lace cleaner or alcohol after each install. Soak the lace in the solution for five minutes, then use a soft brush to lift residue without scrubbing too hard. Store the closure flat or on a mannequin head in a cool, dry place away from direct sunlight.
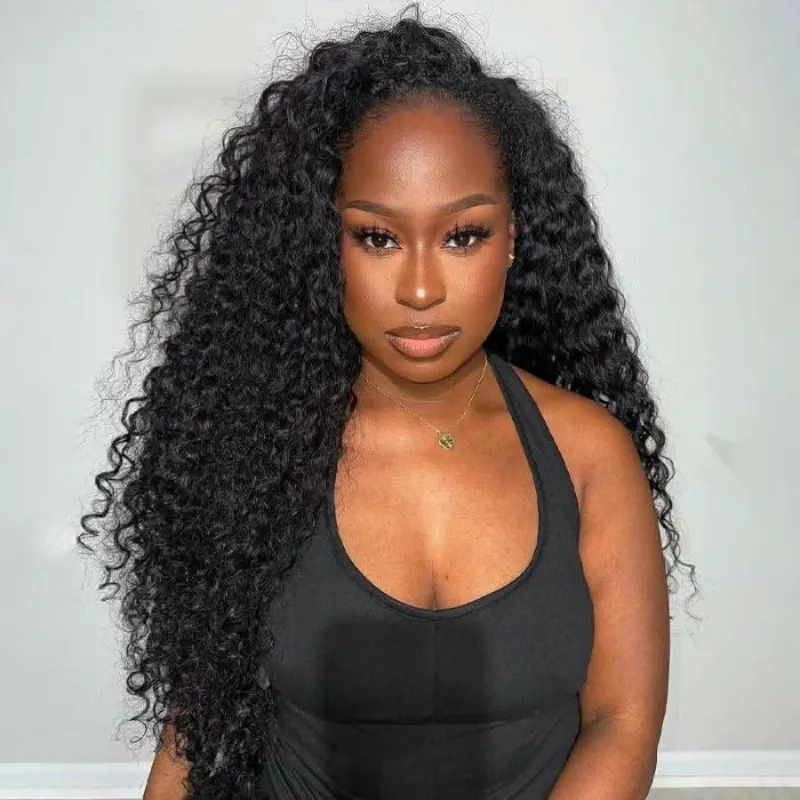
For a protective style that requires even less maintenance, explore half wigs or a burmese curly half wig that lets you blend your natural hair at the crown. Save 23% on your order when you shop with our exclusive code.
Common Mistakes to Avoid During Installation
Don’t skip the wig cap. Installing a closure directly onto your braids creates uneven texture and makes the hairline sit too high. The cap provides a smooth, uniform base that mimics a real scalp.
Avoid using too much glue. A thick layer takes longer to dry, causes white residue, and damages the lace when you remove it. A thin, even coat is all you need for a secure hold that lasts two to four weeks.
Never cut the lace before applying the closure. Once it’s glued down, you can see exactly where the lace ends and your skin begins, which prevents accidental bald spots or uneven edges. Cutting beforehand almost always results in cutting too much or leaving visible lace.
Finally, don’t over-process the knots. Bleaching too long dissolves the knots entirely and causes shedding. If you’re working with a 2×6 closure 613 or pre-lightened piece, you may not need to bleach at all.
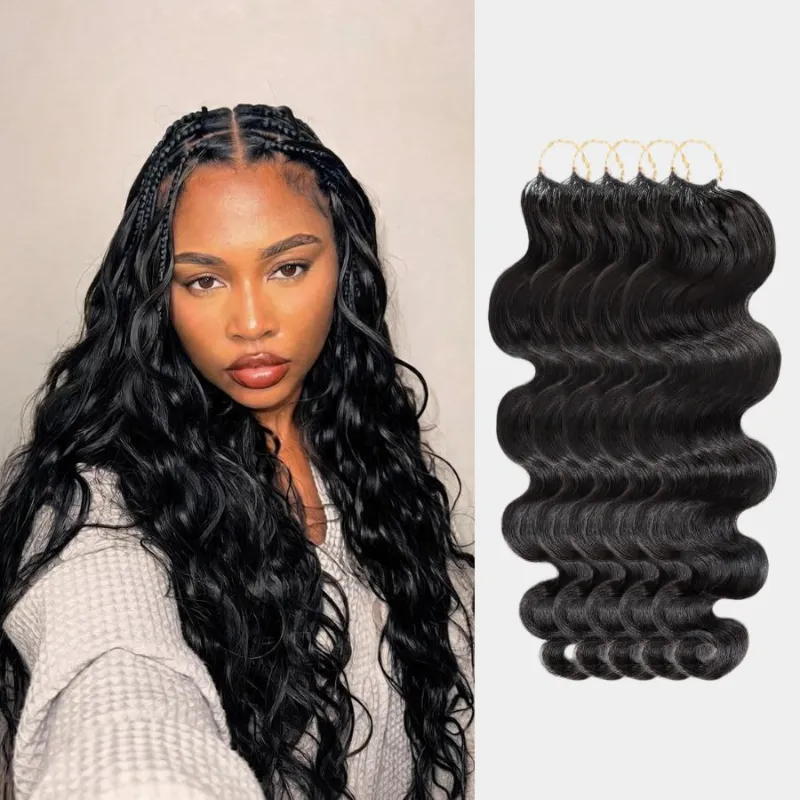
Pairing your closure with quality hair makes a noticeable difference. Match your closure to human hair bundles in the same grade and texture, or choose crochet hair extensions if you prefer a temporary install. The right combination delivers a flawless, long-lasting style that moves and feels like your own hair.
Understanding what a 2×6 closure is and how it differs from other closure sizes helps you choose the right option for your face shape and styling goals. The compact width works especially well for middle parts and sleek, low-maintenance looks.
Questions
How long does a 2x6 closure install last?
A glued 2x6 closure typically lasts two to four weeks with proper care and nightly wrapping. A sewn closure can stay in for six to eight weeks if you maintain your braids and avoid excessive tension on the hairline.
Can I reuse my 2x6 closure after removing it?
Yes, you can reuse a closure multiple times if you remove adhesive residue with lace cleaner, wash it gently, and store it properly between installs. HD lace is more fragile and may last fewer reuses than transparent or Swiss lace.
Do I need to bleach the knots on a 2x6 closure?
Bleaching knots is optional but highly recommended for a natural-looking scalp illusion. It lightens the dark knots so they blend with your skin tone instead of showing through the lace as visible dots.
What's the difference between a 2x6 closure and a 4x4 closure?
A 2x6 closure is narrower and longer, designed for middle parts and sleek styles, while a 4x4 closure offers more parting versatility in all directions. The 2x6 requires less customization and works well for beginners.
Can I wear a 2x6 closure with bundles for a full sew-in?
Absolutely. A 2x6 closure pairs perfectly with two to three bundles for a full sew-in install. Make sure the closure and bundle textures match, and sew the bundles close to the closure back edge to avoid gaps.
How do I prevent my closure from lifting at the edges?
Use a thin layer of strong-hold adhesive like Ghost Bond or Got2B gel, avoid oil-based products near the hairline, and wrap your hair every night. Reapply adhesive to lifted sections as soon as you notice them loosening.
Products in this guide
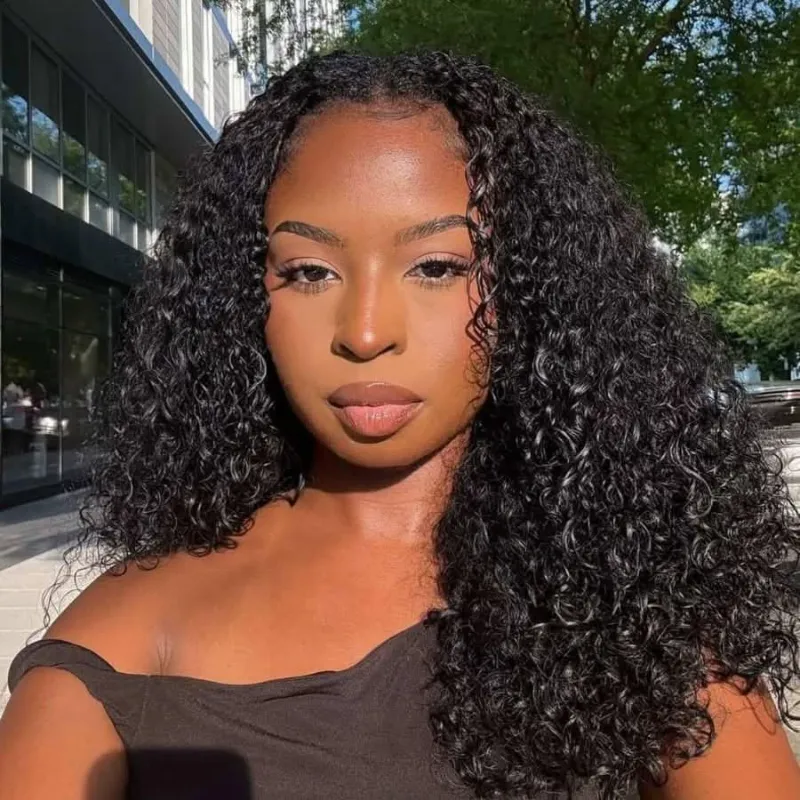 Shopping at Wowangel? See the discount code
23% OFF All Orders
Shopping at Wowangel? See the discount code
23% OFF All Orders
More in this series
How Long Do Crochet Hair Extensions Actually Last?11 Aug 20266 min Can You Braid Human Braiding Hair Like Natural Hair?11 Aug 20265 minBurmese Curly Half Wig Care Guide: Maintaining Curl Pattern and Volume11 Aug 20267 minDo Human Hair Bundles Shed? What to Expect From 100 Human Hair Bundles11 Aug 20265 min613 Wig vs 613 Human Hair Wig: Which Blonde Option Lasts Longer?11 Aug 20264 min