 A Anime Town Creations guide
How to Apply Credit Card Skins Without Bubbles or Peeling
Credit card skins transform your wallet aesthetic, but only if you apply them correctly without bubbles or peeling edges.
Credit card skins give your cards a custom look while adding a layer of scratch protection, but they only work well if you apply them bubble-free and secure. This guide walks you through the full process, from surface prep to final smoothing.
Why Credit Card Skins Bubble and Peel
Most application failures happen before you even touch the adhesive. Dust particles, skin oils, and moisture create tiny gaps between the vinyl and the card surface, which turn into bubbles or lift points within days.
Temperature plays a second role. Cold cards cause the adhesive to bond poorly, while hot surfaces make the vinyl stretch during application and then shrink back, pulling the edges loose. We recommend working in a room between 65°F and 75°F for consistent results.
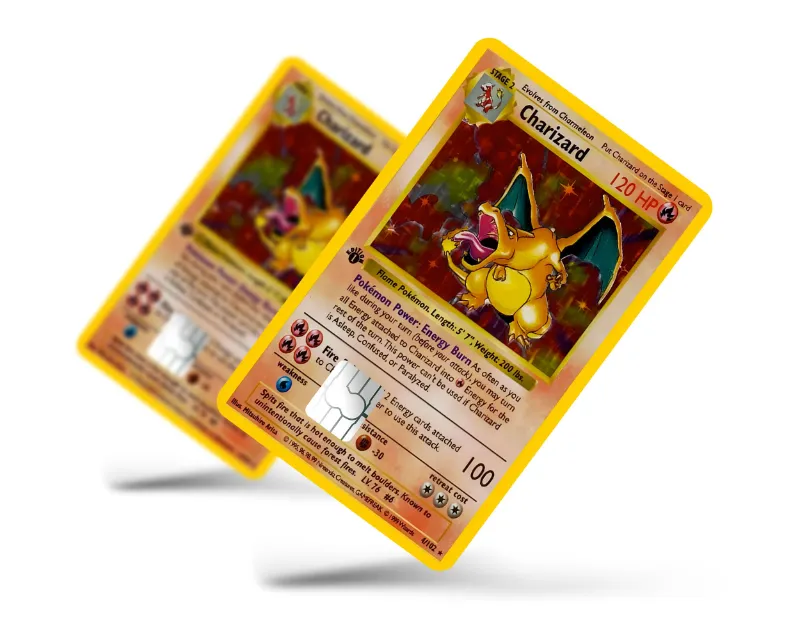
The vinyl quality matters too. Cheaper credit card skins use weaker adhesive that never fully cures, while premium skins bond firmly within 24 hours. Anime Town Creations uses automotive-grade vinyl that resists peeling even with daily wallet friction, check the latest designs and grab the code for 10% off.
Surface Prep: The Step Most People Skip
Start by cleaning your card with isopropyl alcohol (70% or higher) and a lint-free cloth. Wipe in one direction rather than circles to avoid redistributing oils. Let the card air-dry completely, even a thin moisture film will trap under the vinyl.
Next, inspect the card surface under bright light. If you see existing scratches or raised logos, understand that the skin will conform to those contours. Deep scratches may create small air pockets, but they rarely cause full bubbles if you apply firm pressure during installation.
Work in a dust-free zone. We close windows, turn off fans, and wipe down the table with a damp cloth 10 minutes before starting. For best results, apply skins in a bathroom after running a hot shower for a few minutes, the steam settles airborne dust without adding moisture to your workspace.
Step-by-Step Application for Bubble-Free Results
Peel back about one inch of the backing from the skin. Align this exposed adhesive edge with the top edge of your card, centering it left to right. Press the aligned section down firmly with your thumb.
Now slowly peel the rest of the backing away while using a credit card squeegee or a soft cloth to press the skin down from the aligned edge toward the opposite end. Move in one smooth motion rather than stopping and starting, continuous pressure pushes air out ahead of the skin rather than trapping it.
If a small bubble appears, lift the skin gently from the nearest edge and reapply with firmer pressure. For stubborn bubbles smaller than 2mm, use a pin to puncture the center, then press the air out through the hole. The adhesive will reseal around the tiny puncture.
Pay extra attention to corners and edges. These areas peel first if not seated properly. After the full skin is down, run your squeegee around the perimeter three times with firm pressure, then use your fingernail to press the very edge down against the card.
Funny Credit Card Skins and Custom Options
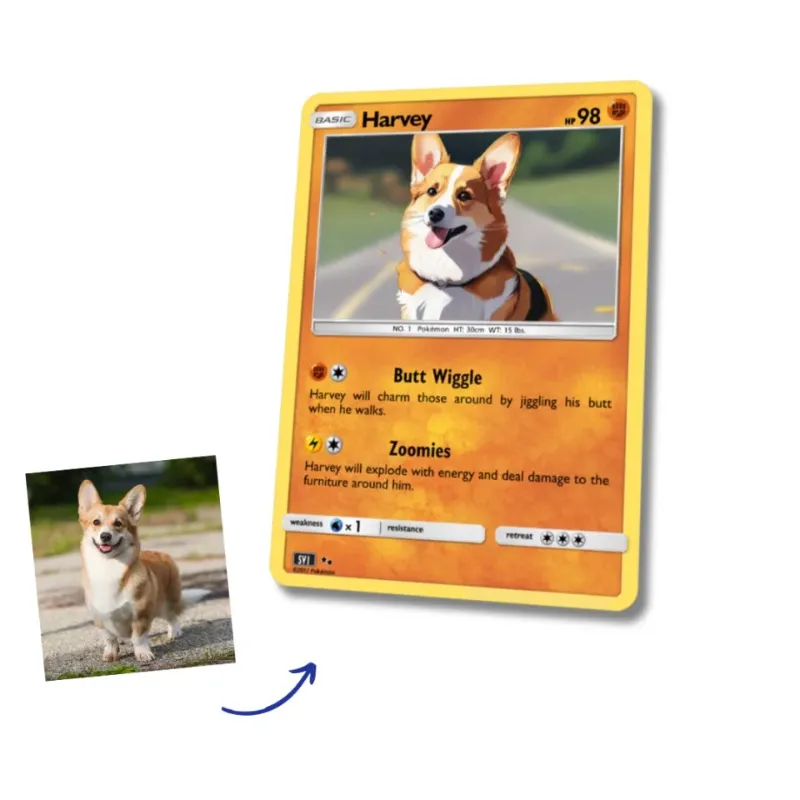
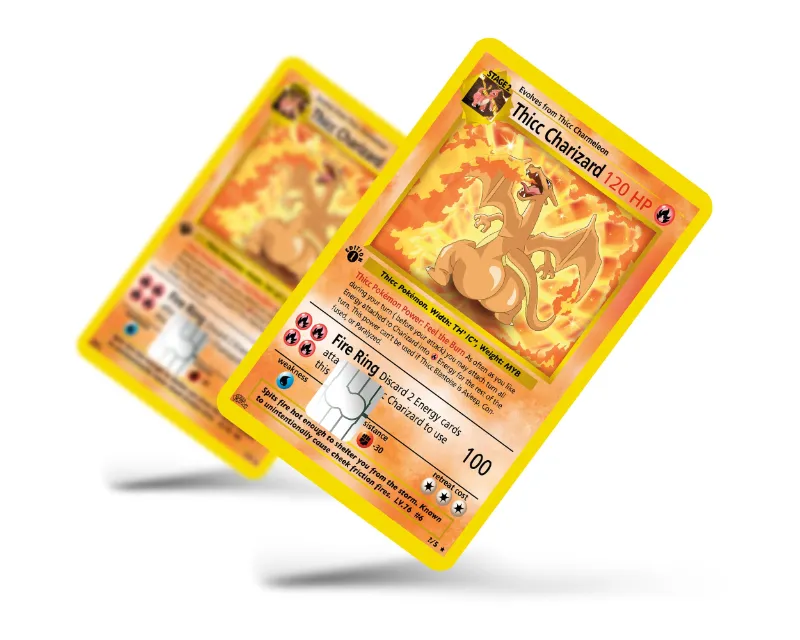
Standard designs from retailers like Pinterest collections and TenStickers offer quick options, but custom skins let you match your personality exactly. Anime Town Creations specializes in pop culture and anime designs that look identical to our popular custom pokemon card and thicc charizard prints.
We’ve seen buyers create:
- Anime character portraits and logos
- Minimalist geometric patterns
- Funny meme templates and inside jokes
- Matching sets for debit card skins and credit cards
Custom designs require the same application technique as pre-made skins, but you control the artwork. Upload your image, and the shop cuts it to exact card dimensions with bleed margins that prevent white edges from showing after application. Visit the store page to see current turnaround times and design specs.
Preventing Peeling and Extending Skin Life
The first 24 hours determine how long your skin lasts. Avoid using the card during this curing window, leave it flat on a table or in a drawer. Don’t bend it, insert it into a tight wallet slot, or expose it to heat. The adhesive needs time to fully bond.
After curing, your card can handle normal use, but a few habits extend skin life significantly:
- Store cards loosely in your wallet rather than jamming them into tight slots
- Avoid ATMs and card readers with sharp edges that catch the skin corners
- Wipe the skin monthly with a damp cloth to remove dirt buildup
- Keep cards away from extreme heat (dashboards, direct sunlight, dryers)
Debit card skins typically last 6 to 18 months with daily use. If an edge starts lifting, trim the loose section with sharp scissors rather than peeling the entire skin off, you’ll preserve 90% of the design while preventing further damage.
For buyers who want maximum durability, consider pairing your card skins with protective sleeves. The sleeve shields the skin from abrasion inside your wallet, and you can swap designs without reapplying. This approach works especially well if you rotate between multiple custom designs.
Comparing Best Credit Card Skins by Material
Not all vinyl performs the same.
| Material | Bubble Resistance | Peel Resistance | Lifespan |
|---|---|---|---|
| Calendered Vinyl | Moderate | Low | 3 to 6 months |
| Cast Vinyl | High | High | 12 to 18 months |
| Polycarbonate Film | Low | Moderate | 6 to 9 months |
| 3M Adhesive Vinyl | High | Very High | 18 to 24 months |
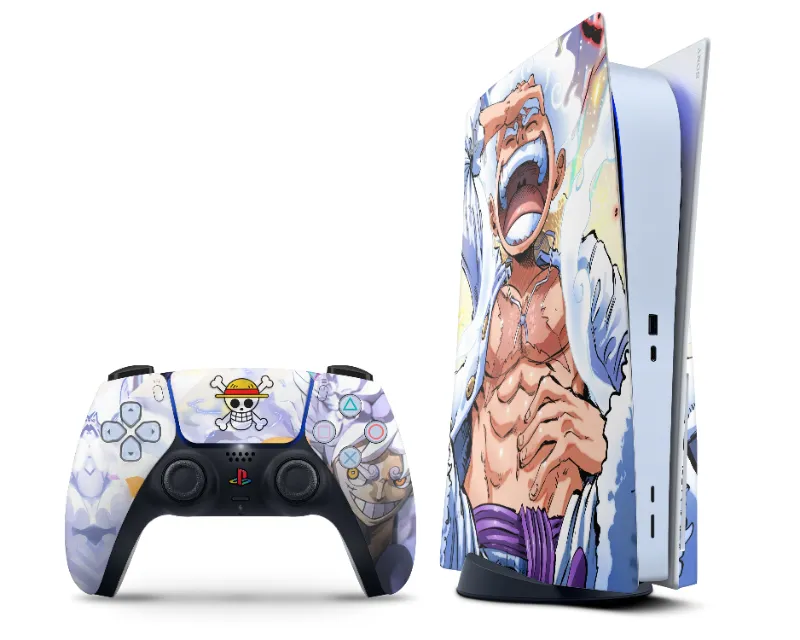
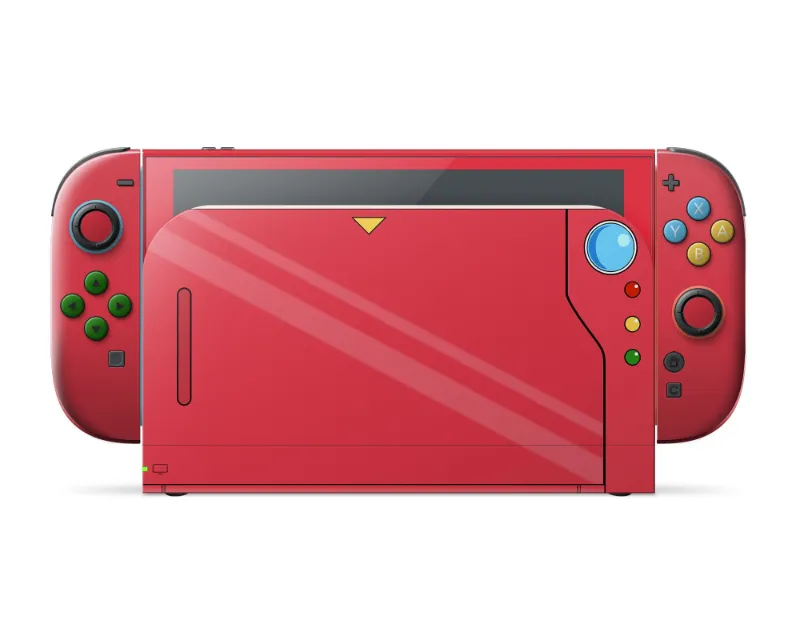
Anime Town Creations uses cast vinyl with 3M adhesive, the same combination we see in premium ps5 skins and switch 2 skins. This combo bonds firmly without leaving residue when you eventually remove the skin. Cheaper options from Amazon often use calendered vinyl that shrinks within weeks.
Polycarbonate film sounds durable, but it’s rigid and doesn’t conform well to card chip embossing or raised numbers. We only recommend it for perfectly flat cards without surface features.
If you’re shopping on credit card skins Reddit threads, you’ll see users frequently mention Benison Media’s design guide for template specs. Match those dimensions when creating custom artwork to ensure edge-to-edge coverage.
Tools That Make Application Easier
You don’t need specialized equipment, but three tools improve your results noticeably:
- Plastic squeegee or old credit card: Distributes pressure evenly and pushes out air bubbles better than fingers
- Isopropyl alcohol spray: Faster and more thorough than wiping with a dampened cloth
- Precision knife or scissors: Trims overlapping edges cleanly if your skin is slightly oversized
We also keep a microfiber cloth handy to catch any adhesive residue on our fingers before touching the skin surface. Oils from your skin transfer easily and create bonding weak spots.
For buyers applying multiple skins at once, a small heat gun or hairdryer helps. Warming the vinyl to about 90°F makes it slightly more pliable and conformable, which helps with cards that have raised text or chips. Don’t overheat, too much warmth melts the adhesive and causes permanent stretching.
Who Should Use Credit Card Skins
Card skins work best for people who want low-cost customization without altering the card itself. You get visual personality plus scratch protection, and you can remove the skin anytime without voiding warranties or damaging the magnetic stripe.
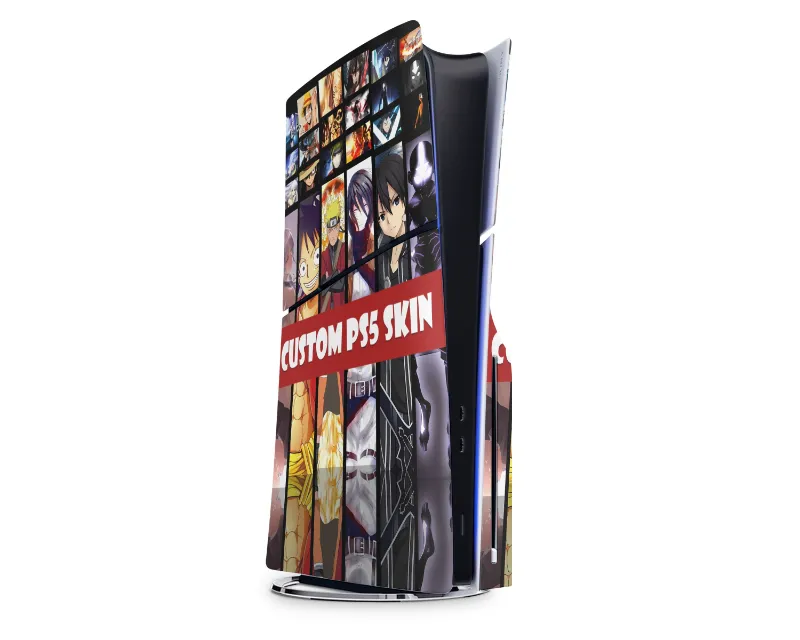
They’re especially popular among collectors who already customize other gear. If you’ve applied custom ps5 wraps or designed a pokemon card creator print, you’ll find card skins use identical techniques at a smaller scale.
Skins aren’t ideal if you rely on contactless payments and your card has NFC in the surface layer, thick skins can interfere with tap-to-pay. Test your card after application to confirm NFC still works. If it doesn’t, trim the skin to leave the NFC chip area exposed, or switch to a thinner material.
We recommend skins for anyone who wants to quickly identify cards in a crowded wallet or add a conversation starter to an otherwise generic piece of plastic. With proper application, they last as long as the card itself.
Questions
How do I remove bubbles from credit card skins after application?
Lift the skin gently from the nearest edge and reapply with firmer, continuous pressure to push the air out. For tiny bubbles under 2mm, puncture the center with a pin and press the air out through the hole, the adhesive will reseal.
Can I reuse a credit card skin if I need to remove it?
No, the adhesive loses its bonding strength once removed. Attempting to reapply will result in poor adhesion, bubbles, and peeling within days. Plan to use a fresh skin if you need to reposition or change designs.
Do debit card skins interfere with chip readers or magnetic strips?
Quality vinyl skins are thin enough that they don't interfere with chip or magnetic strip readers. However, very thick skins or multiple layers may block NFC contactless payments, so test tap-to-pay after applying.
How long should I wait before using my card after applying a skin?
Wait at least 24 hours before inserting the card into readers or bending it. This curing period lets the adhesive fully bond to the card surface, which prevents premature peeling and edge lifting.
What's the best way to clean custom credit card skins?
Wipe the skin monthly with a damp microfiber cloth using plain water or mild soap. Avoid alcohol-based cleaners or abrasive materials, which can degrade the vinyl and dull the printed design over time.
Are funny credit card skins allowed by banks?
Yes, banks don't prohibit decorative skins as long as the card number, name, and security features remain visible and functional. Skins are removable and don't alter the card itself, so they're safe to use.
Products in this guide
 Shopping at Anime Town Creations? See the discount code
10% OFF All Orders
Shopping at Anime Town Creations? See the discount code
10% OFF All Orders