 A Rarjsm guide
How to Use a Cat Eye Magnet for Perfect Nail Art Results
Cat's eye nail varnish creates a mesmerizing light-reflective stripe when paired with a magnet, and mastering the technique takes just a few tries.
Cat’s eye nail varnish creates a stunning three-dimensional effect when you hold a magnet over wet polish, pulling metallic particles into a luminous stripe that shifts as you move your hand. The technique is simpler than it looks, but timing and magnet placement make the difference between a crisp, centered line and a muddy smear.
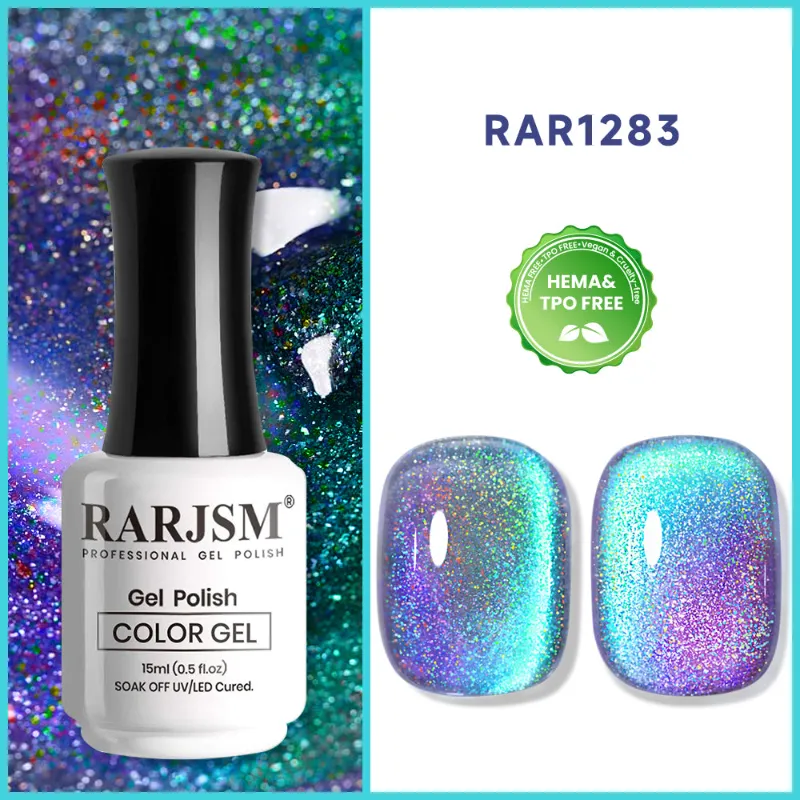
Most cat’s eye nail varnish contains fine iron particles suspended in the polish. When you hover a magnet above the wet surface, these particles migrate toward the magnetic field and create a concentrated band of light. The effect mimics the chatoyancy of natural cat’s eye gemstones, and you can shift the stripe’s position by changing the angle or shape of your magnet.
What You Need for Cat Eye Nail Art
The right supplies make application faster and cleaner. Here’s what we recommend keeping in your kit:
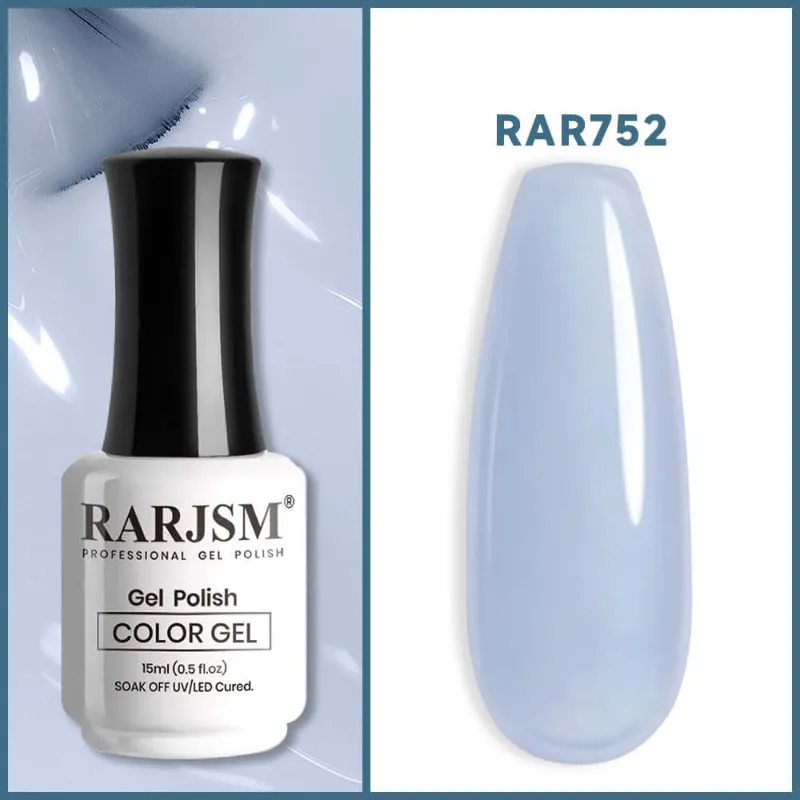
- Base and top coat: A clear nail polish base protects your natural nail, while a glossy top coat seals the magnetic effect and prevents chipping.
- Cat eye polish: Look for formulas labeled “magnetic” or “cat eye” with visible metallic shimmer in the bottle.
- Magnet: Most polishes include a small rectangular or wand-style magnet; standalone magnets offer more design flexibility.
- UV or LED lamp (for gel formulas): A gel nail kit typically includes a lamp if you’re working with professional cat eye gel polish.
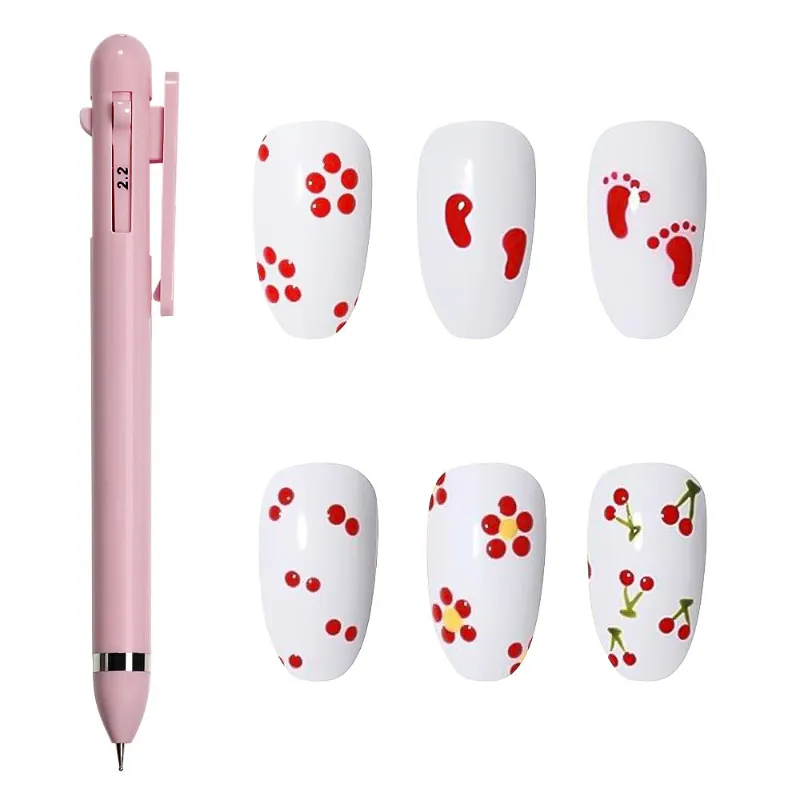
- Cleanup tools: A small brush dipped in acetone and manicure dotting tools help fix edges without restarting.
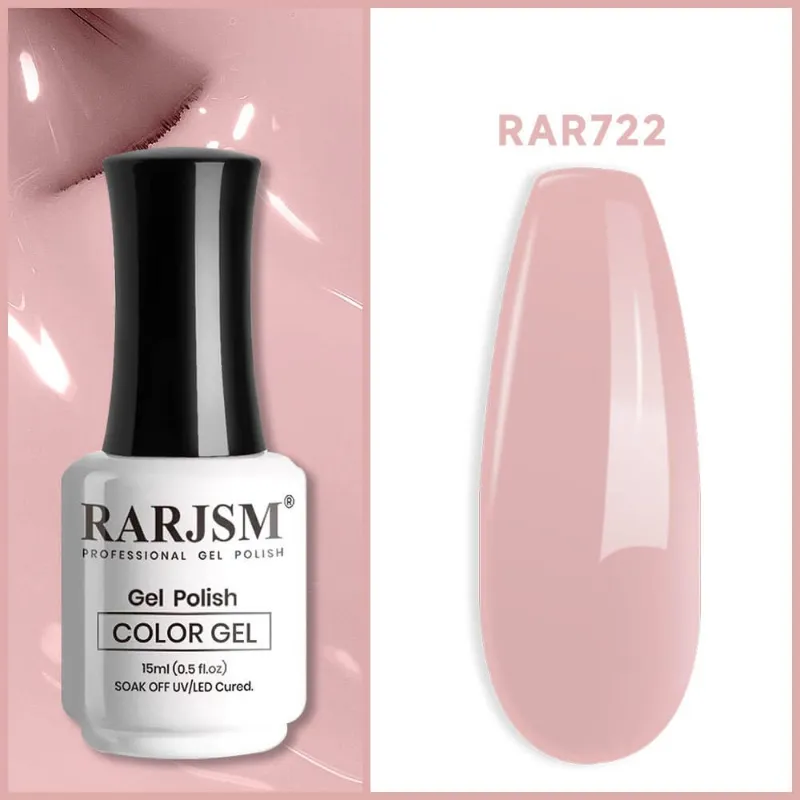
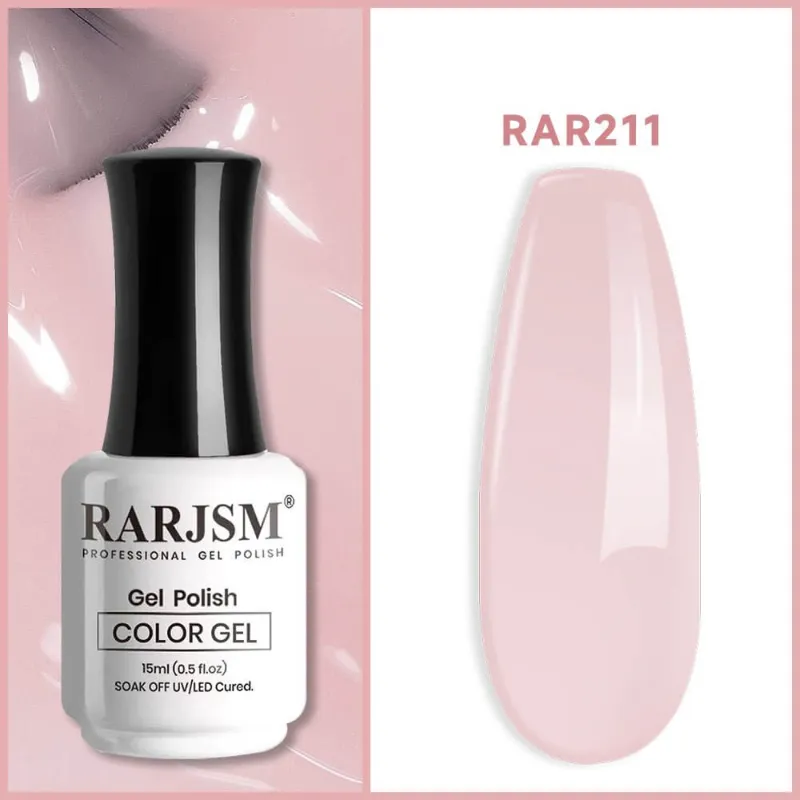
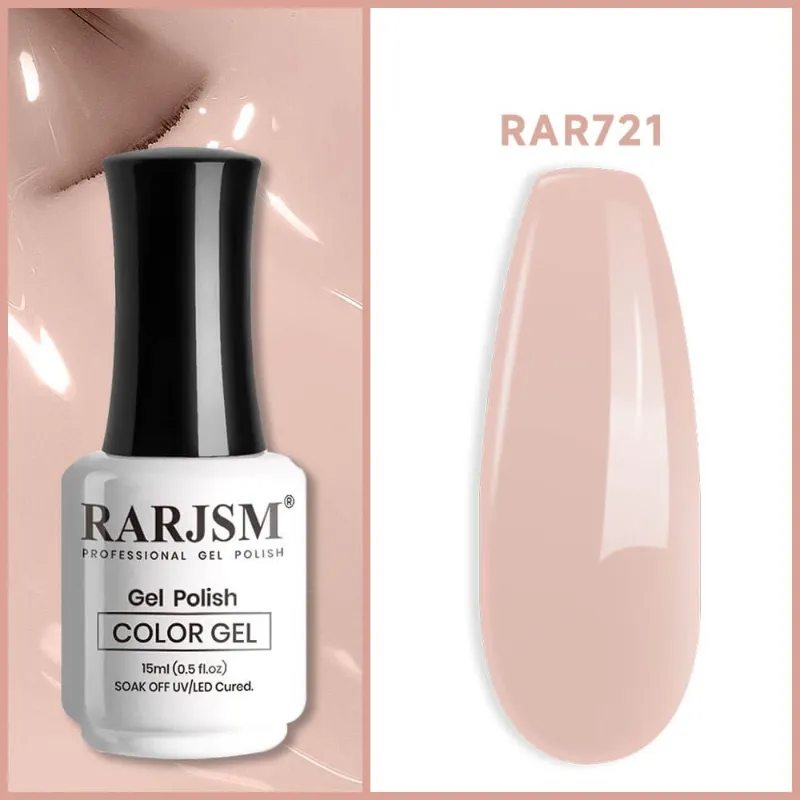
If you prefer a softer, everyday look, layer cat eye polish over sheer pink nail polish or nail paint nude for a subtle, dimensional finish rather than a bold metallic stripe.
Step-by-Step Application Technique
We’ve broken down the process into six focused steps. Work on one nail at a time to keep the polish wet enough for the magnet to move the particles.
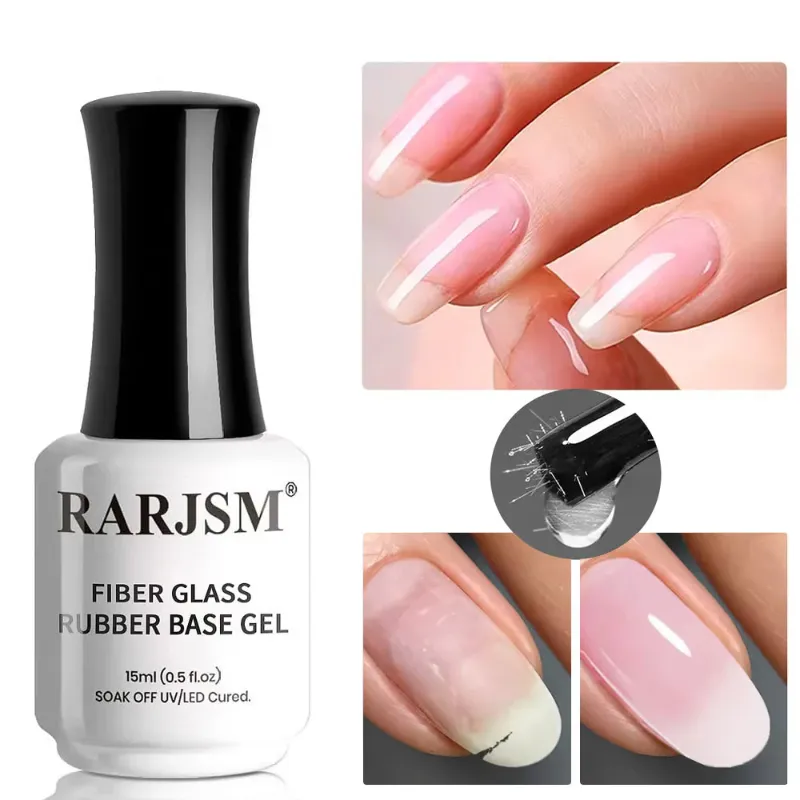
- Prep and base: Push back cuticles, lightly buff the nail surface, and apply a thin layer of base coat. Cure under a lamp if you’re using nail gel formulas, or let air-dry for regular polish.
- Apply cat eye polish: Brush on a medium-thick coat in one smooth pass. Too thin and the particles won’t concentrate; too thick and the polish may flood your cuticles.
- Position the magnet immediately: Hold the magnet 1-3 mm above the wet polish (closer creates a sharper line, farther softens it). Keep it steady for 10-15 seconds while the particles migrate.
- Check the stripe: Tilt your nail under light to see the reflective band. If it’s off-center or faint, reapply a fresh coat of polish and repeat the magnet step.
- Seal with top coat: Once you’re happy with the effect, apply a glossy top coat. For gel systems like the fingerpaints blooming gel kit, cure under the lamp according to the manufacturer’s time.
- Repeat on remaining nails: Work one finger at a time to prevent the polish from drying before you magnet it.
Timing is critical. If your polish starts to set, the particles lock in place and won’t respond to the magnet. Check the latest price and grab the code for Rarjsm’s current offer on cat eye and gel polish kits.
Magnet Shapes and Pattern Variations
Different magnet shapes create distinct cat eye effects.
| Magnet Type | Effect | Best For |
|---|---|---|
| Flat rectangular | Single vertical or horizontal stripe | Classic cat eye look |
| Curved or arched | Curved, arc-shaped band | Softer, wave-like designs |
| Dual-pole or star | Multiple stripes or starburst | Complex, geometric patterns |
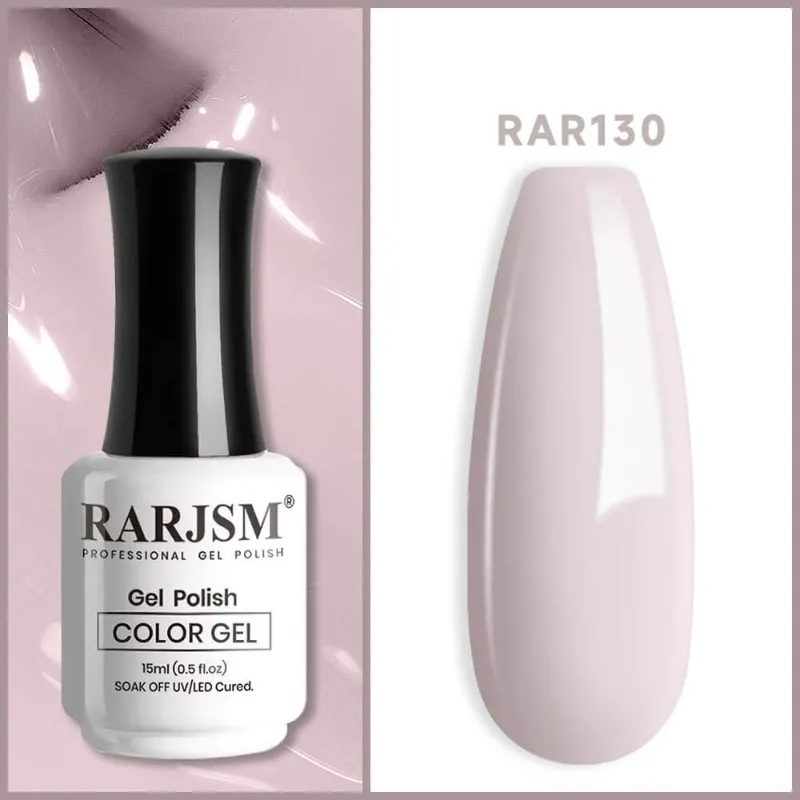
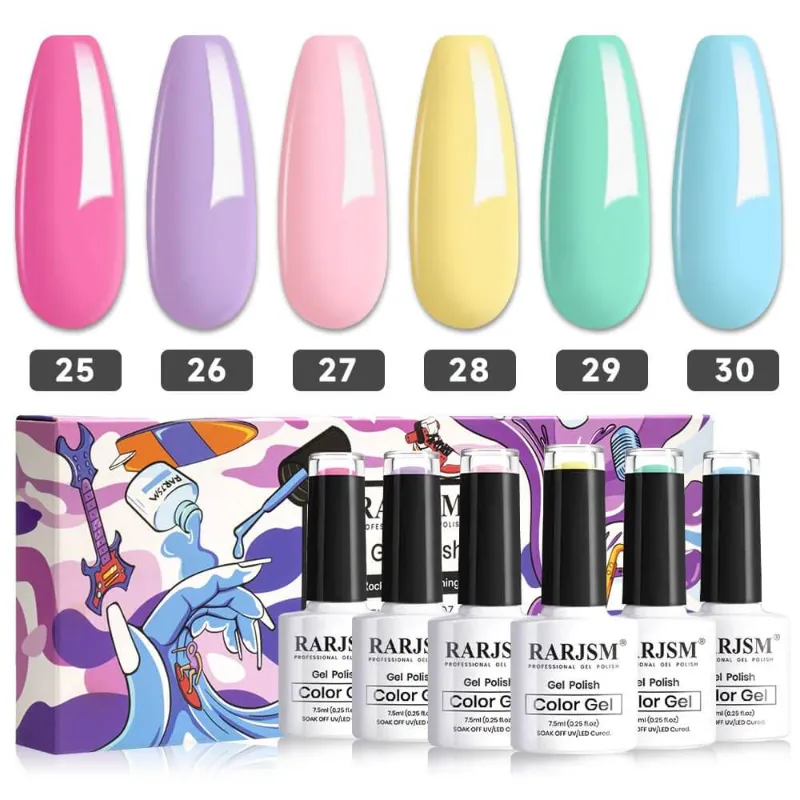
You can also layer cat eye designs over colored bases. Try applying light blue nail polish, beige nail polish, or clear pink nail polish as a first layer, then add a thin coat of cat eye polish on top and magnet it. The base color shows through the gaps, creating a two-tone effect.
For advanced cat eye gel polish designs, rotate the magnet 45 or 90 degrees between coats to cross-hatch multiple stripes, or use a wand magnet to draw the stripe diagonally from corner to corner.
Gel vs. Regular Cat Eye Nail Polish
Both gel and traditional lacquer formulas produce the cat eye effect, but they differ in durability and application. Here’s how they compare in daily use.
Gel cat eye polish requires a UV or LED lamp to cure. The formula stays wet longer, giving you extra time to position the magnet and adjust the stripe. Once cured, gel polish lasts two to three weeks without chipping and maintains a glass-like shine. Brands like Gelish & Morgan Taylor offer specialized cat eye collections with high-density magnetic particles.
Regular cat eye nail varnish air-dries in minutes and removes with standard acetone. It’s faster for quick manicure changes but typically chips within a week. You’ll need to work quickly with the magnet since the polish starts setting as soon as you apply it. A sheer nail polish top coat can extend wear by a day or two.
If you switch between both types frequently, consider a versatile gel nail kit that includes a lamp, base and top gel, and remover wraps. That setup lets you test professional cat eye gel polish at home without salon pricing. Grab the code to save on complete kits at Rarjsm.
Troubleshooting Common Cat Eye Issues
Even experienced nail artists run into magnet problems. Here’s how we fixed the most frequent mistakes during testing.
Faint or invisible stripe: The polish coat was too thin, or the magnet was held too far away. Reapply a thicker layer and bring the magnet within 2 mm of the surface.
Blurry or wide band: You moved the magnet while the particles were shifting, or the polish was too thick. Hold the magnet perfectly still, and thin out heavy coats with a second, lighter stroke of the brush before magneting.
Off-center line: Magnet placement matters. Use the edge of your magnet as a guide and align it parallel to your cuticle or sidewall, depending on whether you want a vertical or horizontal stripe.
Polish dried before magneting: Work faster, or switch to a gel formula that stays workable until you cure it under a lamp. Keep a backup bottle of cat eye polish on hand so you can quickly recoat a nail without waiting for the first layer to fully dry.
Top coat dulls the effect: Some thick top coats can soften the metallic stripe. Use a thin, fast-dry glossy formula, or for gel systems, cure the cat eye layer fully before applying gel top coat.
Who Should Try Cat Eye Nail Polish
This technique suits anyone who wants eye-catching nails without hand-painting intricate designs. The magnet does the work, so you don’t need steady hands or artistic skill. We recommend it for:
- Beginners exploring nail art: Cat eye is one of the easiest magnetic effects to master, and mistakes wipe off before you seal with top coat.
- Busy schedules: Gel cat eye manicures last weeks, cutting down on maintenance time.
- Statement manicures: The shifting light band photographs beautifully and stands out in low light or video calls.
- Layering enthusiasts: Pair cat eye polish with neutral bases like nail paint nude or sheer pink nail polish for a custom gradient effect.
If you prefer subtle, minimalist nails, apply cat eye polish only on accent nails and keep the rest in clear nail polish or a soft beige nail polish shade.
Cat eye nail varnish delivers high-impact results with minimal effort once you understand magnet timing and placement. Experiment with different colors, magnet shapes, and base layers to find your signature look, and don’t hesitate to recoat a nail if the first attempt doesn’t land. Check current pricing and offers at Rarjsm to stock up on magnetic polishes and accessories before your next manicure session.
Questions
How long do I hold the magnet over cat's eye nail varnish?
Hold the magnet 1-3 mm above the wet polish for 10-15 seconds without moving it. The metallic particles need that time to migrate toward the magnetic field and form a visible stripe.
Can I use cat eye nail polish without a UV light?
Yes, if you choose a regular lacquer formula instead of gel. Traditional cat eye polish air-dries in minutes, though it won't last as long as gel versions that cure under a lamp.
Why is my cat eye stripe blurry or off-center?
A blurry stripe usually means you moved the magnet while the particles were shifting, or the polish coat was too thick. An off-center line happens when the magnet isn't aligned parallel to your nail edge. Reapply and hold the magnet steady in the correct position.
Do I need a special magnet for cat eye gel polish?
Most cat eye polishes include a small magnet in the cap or package. You can also buy standalone magnets in different shapes (flat, curved, star) to create varied stripe patterns and designs.
Can I layer cat eye polish over other colors?
Absolutely. Applying cat eye polish over a colored base like nude, pink, or blue creates a two-tone effect where the base color shows through the gaps around the magnetic stripe.
Is cat eye nail polish safe to use?
Yes, cat eye polish is safe when used as directed. The iron particles are sealed within the polish and top coat, so they don't contact your skin or nail bed directly.
Products in this guide
 Shopping at Rarjsm? See the discount code
35% OFF Sitewide
Shopping at Rarjsm? See the discount code
35% OFF Sitewide
More in this series
3D Nail Gel vs. Regular Gel Polish: What’s the Difference?14 Aug 20264 minHow Long Does Solid Nail Glue Hold Press-On Nails?14 Aug 20264 minBest Dotting Tools for Beginner Nail Art: What to Look For14 Aug 20265 minDo You Need a Base Coat With Sheer Nail Polish?14 Aug 20264 minGel Nail Kit vs Regular Nail Polish: Which Lasts Longer?14 Aug 20264 min