 A Goodordering guide
How to Make Rainbow Loom Bracelets: Beginner Patterns and Techniques
Rainbow loom bracelets are colorful rubber band accessories you create using a plastic loom, hooks, and bands in beginner-friendly patterns.
Making rainbow loom bracelets is easier than it looks once you understand the basic weaving techniques and starter patterns.
What You Need in a Rainbow Loom Bracelets Kit
A complete rainbow loom bracelets kit simplifies the learning curve by bundling everything in one package. Here’s what we recommend for beginners:
- Plastic loom board with removable pegs arranged in rows (standard size has three columns)
- Metal or plastic hook for pulling bands through loops
- Rubber bands in assorted colors (at least 600 pieces for practice)
- C-clips or S-clips to fasten finished bracelets
- Instruction booklet with visual pattern guides
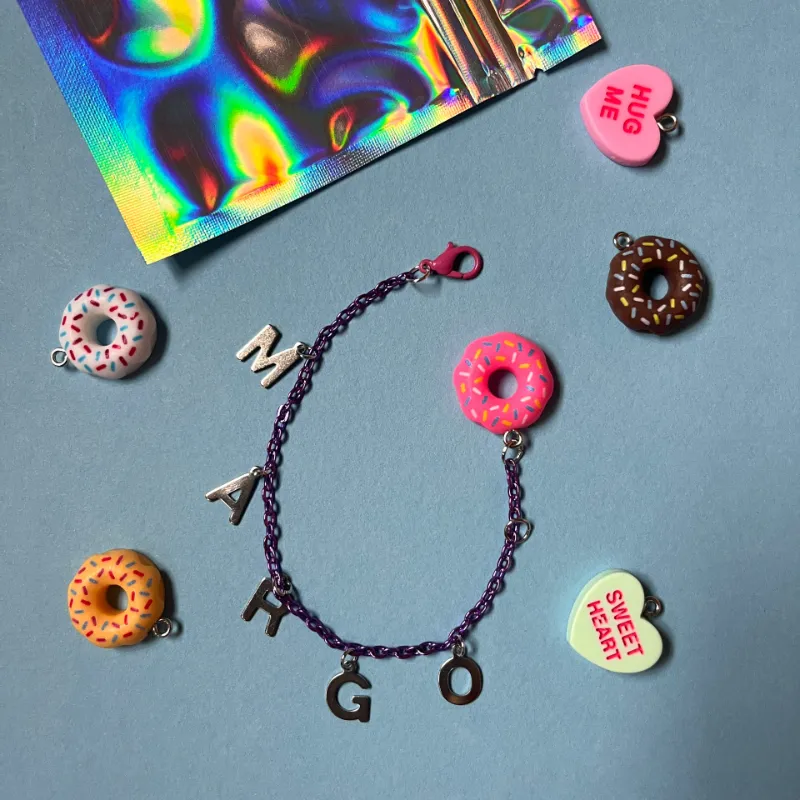
Most quality kits include 1,000 to 2,000 bands, which gives you plenty of room to experiment. We suggest kits with organized storage compartments, which make it easier to switch between color combinations. If you’re ready to start, check out our selection of rainbow loom bracelets and grab the current discount code for 10% off your first order.
Rainbow Loom Bracelets Patterns for Absolute Beginners
Single Chain Pattern
The single chain is the foundation pattern every beginner should learn first. Place one band in a figure-eight across two pegs, then stack two more bands (not twisted) on top. Use your hook to pull the bottom band up and over the top two bands on each peg. Add one new band at the top and repeat the pull-over motion. This creates a simple chain that works up quickly.
Fishtail Rainbow Loom Bracelets
Fishtail rainbow loom bracelets deliver a braided texture that looks more complex than it is. Twist one band into a figure-eight across two pegs, then add two more bands without twisting. Pull the bottom band over the top two on both sides. Continue adding one band at a time and pulling the bottom band over until you reach your desired length. The Single Rainbow Loom Bracelet tutorial provides detailed photo steps if you get stuck.
Triple Single Pattern
The triple single uses three pegs and creates a wider, flatter bracelet. Twist bands in figure-eights between peg pairs, stack regular bands on top, then pull bottom bands over in sequence from right to left. This pattern introduces you to multi-peg techniques without overwhelming complexity.
Step by Step Techniques That Prevent Common Mistakes
These technique adjustments make the difference between tangled frustration and smooth weaving.
Tension control matters most. Pull bands taut enough to see the pattern clearly, but not so tight that they snap or distort the loom pegs. Keep your non-hook hand lightly pressed on the top bands so they do not slide off during pull-overs.
Hook angle prevents snags. Insert your hook from the inside of the peg (closest to the center of the loom) and rotate slightly as you catch the bottom band. This reduces the chance of accidentally grabbing upper bands or losing your place in the pattern.
Count your rows. Most bracelet patterns require 20 to 30 rows to fit an average wrist. Mark every five rows with a different color band so you can track progress and ensure both sides match in two-sided patterns.
The Rainbow Loom Bracelet Tutorials library offers video demonstrations that show proper hook grip and tension in real time.
How to Choose Colors and Plan Rainbow Loom Bracelets Easy Designs
Color selection transforms a basic pattern into a personalized statement piece.
| Approach | Best For | Example Combo |
|---|---|---|
| Two-color alternating | Learning tension control | Pink and white |
| Gradient fade | Visual impact with simple patterns | Blue to purple to pink |
| Random multi-color | Using up leftover bands | All colors mixed |
Start with two high-contrast colors (like black and yellow or red and white) so you can easily see each row and catch mistakes before they multiply. Once you’ve completed three bracelets in simple two-color schemes, graduate to three-color patterns or gradients.
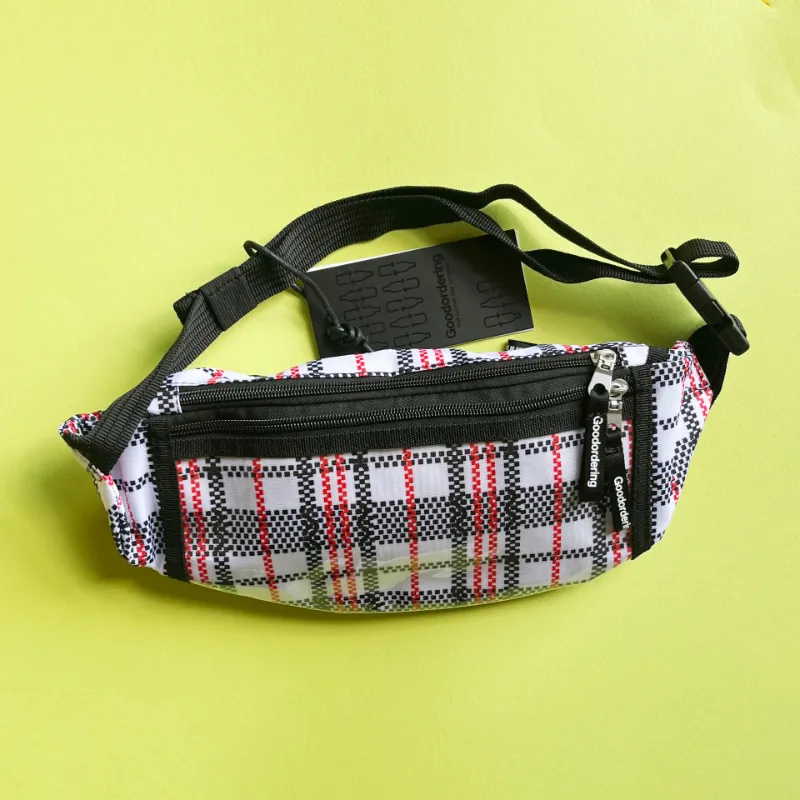
For storage and portability, many crafters pair their loom projects with organizational solutions. Our belt bags and pink belt bag options can carry bands and tools to craft sessions or travel projects.
Finishing and Wearing Your Rainbow Loom Bracelets
Proper finishing prevents the heartbreak of a bracelet unraveling after hours of work. When you’ve reached your desired length, here’s a simple finish method:
- Pull all active loops onto your hook without adding new bands
- Thread one final band through all loops on the hook
- Pull tight and attach a C-clip through this final band and the starting loops
Sizing tip: Measure your wrist with a strip of paper before you start, then add one inch for comfort. Single chain patterns stretch more than triple patterns, so account for the design when planning length.
Durability reality: Rubber bands degrade with exposure to sunlight, chlorine, and oils. Store extras in a cool, dark place away from direct sun.
If you need to adjust a finished bracelet, carefully remove the C-clip, add or remove rows, and re-clip. This works best within 24 hours of completion before the bands set into their stretched shape.
Where to Find Rainbow Loom Bracelets Videos and Next Steps
Video tutorials accelerate your learning curve by showing hand positioning and motion in real time. We recommend starting with slow-motion or narrated videos rather than quick time-lapses, especially for your first three patterns.
The 40+ Rainbow Loom Tutorials collection organizes patterns by difficulty level and includes printable photo guides. Search for “rainbow loom bracelets videos” on YouTube to find channel creators who specialize in beginner patterns with close-up camera angles.
Practice progression we recommend:
- Complete five single chain bracelets in different color combos
- Move to fishtail and triple single patterns (three of each)
- Attempt your first charm or embellishment bracelet
- Try an intermediate pattern like the hexafish or starburst
If your excitement fades, push through by setting a goal (making one for each family member or donating a set to a local charity) or by joining an online community that shares finished projects for motivation.
Ready to start your rainbow loom journey? Browse our complete selection of rainbow loom bracelets kits and supplies, then check the latest pricing with our exclusive 10% discount code for all orders.
Questions
What is the easiest rainbow loom bracelet pattern for kids?
The single chain pattern is the easiest starting point because it uses only two pegs and repeats one simple motion.
How many rubber bands do I need to make one bracelet?
A basic single chain bracelet for an average wrist uses 25 to 30 bands, while wider patterns like the triple single require 40 to 50 bands. Buy kits with at least 600 bands so you have enough to practice and make mistakes.
Can you make rainbow loom bracelets without the loom board?
Yes, you can make simple patterns using just your fingers or two pencils as makeshift pegs. The fishtail pattern works especially well with the finger method, though a loom makes more complex patterns much easier and more consistent.
Why does my rainbow loom bracelet keep breaking?
Bracelets break when you pull bands too tight during weaving, use old or sun-damaged rubber bands, or skip the proper finishing technique. Make sure to secure both ends with C-clips and avoid stretching the finished bracelet beyond its natural length.
How long does it take to learn fishtail rainbow loom bracelets?
Your first fishtail bracelet takes the longest, including setup and finishing. After making two or three, you'll develop muscle memory and speed up.
Products in this guide
Shopping at Goodordering? See the discount code
10% OFF All Orders
More in this series
Are Goodordering Belt Bags Worth Buying?18 Aug 20263 minRainbow Loom Bracelets: How Long Do They Last with Regular Wear?18 Aug 20265 minWhat Size Belt Bag Do I Need for Travel and Daily Use?18 Aug 20265 min Do Pink Belt Bags Show Dirt and Stains More Than Darker Colors?18 Aug 20264 minBelt Bag vs Fanny Pack: What’s the Difference and Which Should You Buy?18 Aug 20265 minBelt Bag vs Fanny Pack: What’s the Difference and Which Should You Buy?18 Aug 20266 min