 A Soleil Supplies guide
How to Install a Tuttio Seat Cover: Step-by-Step Guide
Installing a guts seat cover tuttio takes about 30 minutes with the right prep, tools, and stretching technique.
Installing a guts seat cover tuttio takes about 30 minutes with the right prep, tools, and stretching technique. This guide walks you through every step so you get professional results the first time.
What You Need Before Installing Your Tuttio Seat Cover
Gather your tools before you start so you don’t have to hunt mid-install:
- Staple gun: pneumatic or heavy-duty manual (6-8 mm staples work best)
- Spray bottle with warm water or heat gun (for stretching)
- Pliers: needle-nose for pulling and adjusting
- Flathead screwdriver: to remove old staples
- Work gloves: the material can bite into your hands during stretching
- Shop towels: to wipe excess water or adhesive
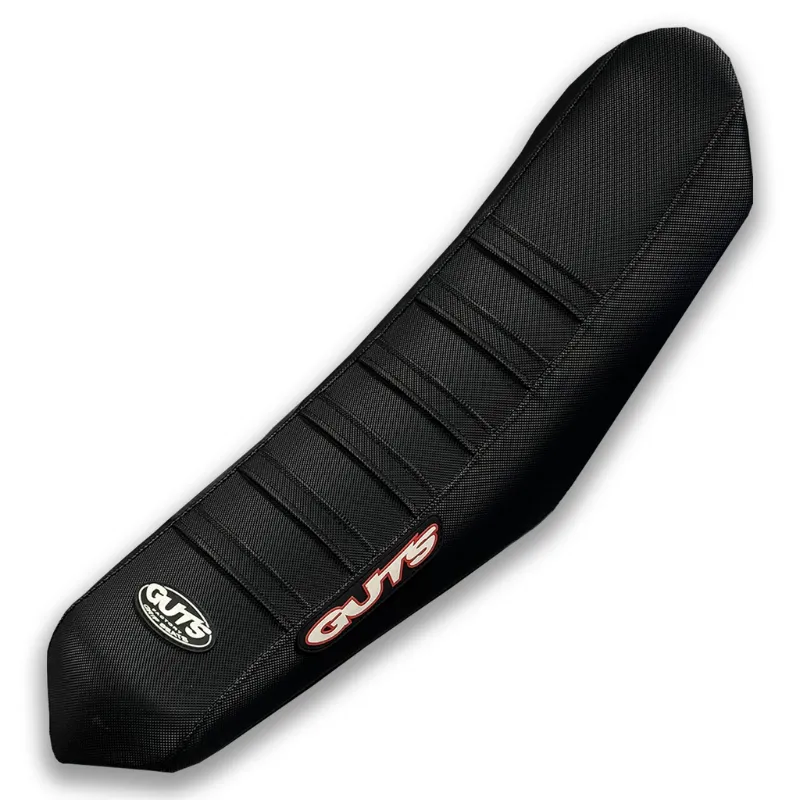
The guts seat cover tuttio ships ready to install, but if you’re upgrading from a worn cover you’ll need to strip the old one completely. Remove every staple and sand any sharp edges on the seat pan, leftover staples will tear through your new cover within a few rides.
We also keep tuttio accessories on hand for foam replacement or grip upgrades, especially if the seat pan foam is compressed or torn.
Step 1: Prep the Seat Pan and Test-Fit the Cover
Start by cleaning the seat pan. Wipe off dirt, old adhesive, and any foam residue with a damp cloth. If the foam is damaged or compressed in spots, replace it now, a lumpy base will telegraph through even the best cover.
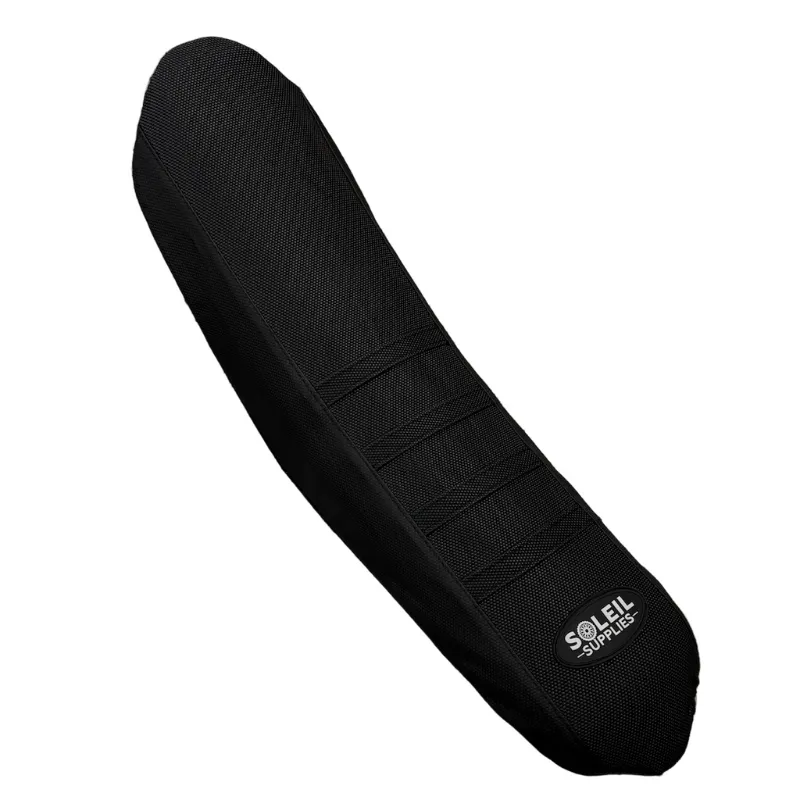
Lay the tuttio seat cover over the pan without stapling to check alignment. The cover should drape evenly on all sides with about 2-3 inches of excess material wrapping under the pan. If one side is short, rotate the cover 180 degrees; some covers are directional and the longer panel goes toward the rear.
Mark the center point on both the front and rear of the pan with a piece of tape. You’ll staple from these center points outward to keep tension even and avoid bunching.
How to Stretch and Staple a Guts Seat Cover Tuttio
This is where most DIY installs go wrong. Rushing the stretch or stapling out of sequence creates wrinkles you can’t fix without pulling every staple and starting over.
The center-out method:
- Front center: pull the cover taut at the front center and fire one staple underneath the pan, about 1 inch from the edge
- Rear center: move to the back, pull firmly (not aggressively), and staple the rear center
- Side centers: staple the left and right midpoints, stretching evenly
- Work outward: alternate sides as you move toward the corners, placing staples every 1-1.5 inches
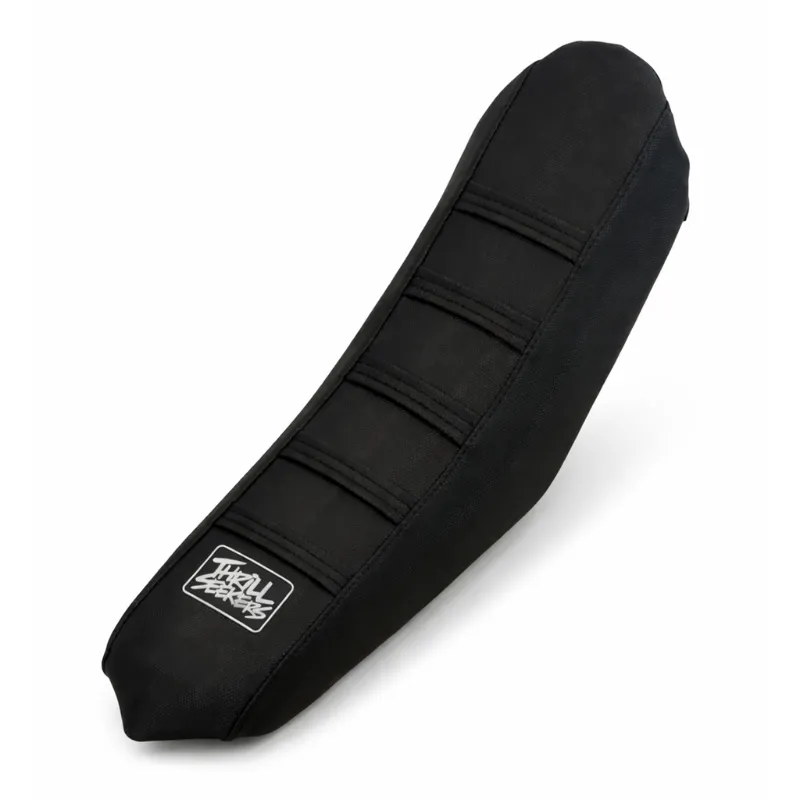
Spray warm water on vinyl or synthetic covers to soften the material before stretching. For gripper-top covers like the thrill seekers seat cover, skip the water, excess moisture can loosen the adhesive backing.
Corner technique: Corners bunch naturally. Fold the material into a single pleat (like wrapping a gift), pull it tight underneath, and staple through both layers. Trim any excess that sticks out past the pan edge with scissors.
If you’re installing covers on multiple machines, the thrill seekers seat covers use the same installation process and pair well with the Tuttio line for a consistent finish across your fleet.
Common Mistakes and How to Fix Them
We see these errors constantly, and they’re all avoidable:
- Stapling the perimeter first: this locks in wrinkles. Always start at the center and work outward.
- Pulling too hard: overstretching distorts the cover and can rip gripper material. Aim for firm, even tension.
- Uneven staple spacing: gaps bigger than 2 inches let the cover pull loose under hard riding.
- Skipping the test-fit: a crooked cover is almost impossible to realign once you’ve fired a dozen staples.
If you end up with a wrinkle or loose spot, pull the nearest 4-6 staples with pliers, re-stretch that section, and re-staple. It’s easier to fix a small area than to restart.
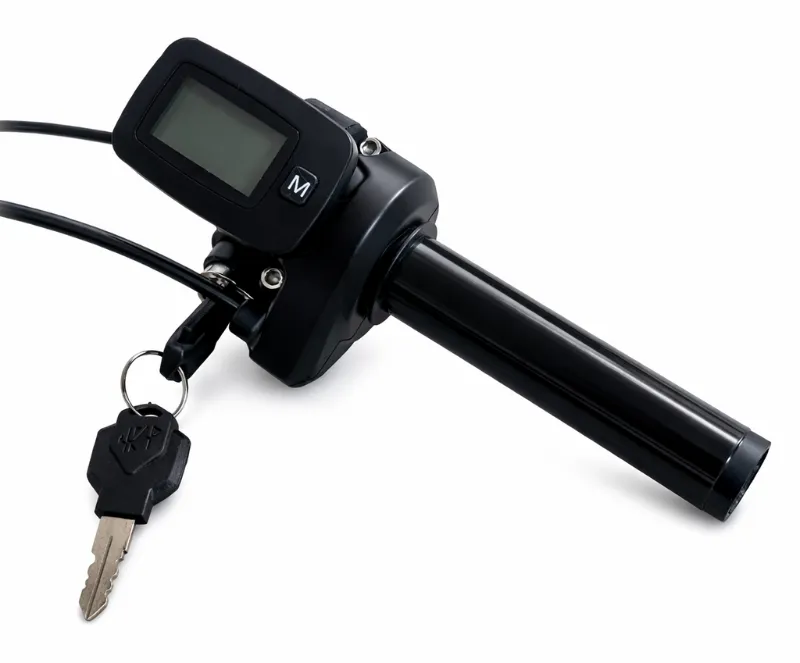
For riders pairing seat work with other upgrades, the tuttio throttle and tuttio controller install without removing the seat, so you can knock out multiple jobs in one session.
Finishing Touches and First-Ride Check
Once every staple is in, flip the seat over and inspect the top. Run your hand across the surface, you should feel uniform tension with no loose pockets or ridges. If the cover shifts when you press hard, add a few more staples in that zone.
Trim any material that hangs more than a quarter-inch past the staple line. Long tails can snag on the subframe or catch dirt.
Reinstall the seat on your machine and take a short test ride. The cover will settle slightly in the first hour of riding as the material conforms to your body weight and movement. If you notice a seam pulling or a corner lifting, pull the seat and add reinforcement staples before the next ride.
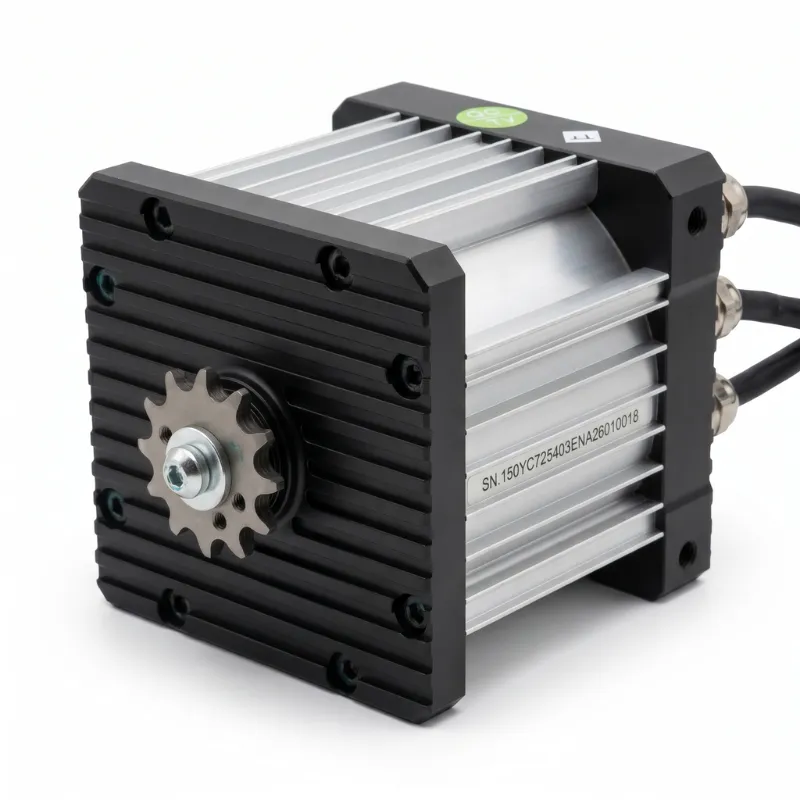
Need a discount on your next cover? Grab the code for 5% off your order at Soleil Supplies, and check the latest price on the full Tuttio lineup including the tuttio motor and warp 9 shock cover for a complete refresh.
Tuttio Seat Cover vs. Other Brands
We’ve installed covers from half a dozen manufacturers, and the guts seat cover tuttio stands out for pre-shaped fit and material durability. Here’s how it stacks up:
| Feature | Tuttio Seat Cover | Generic Covers |
|---|---|---|
| Pre-fit contour | Shaped for common pans | Flat, requires heavy stretching |
| Material grip | Gripper top or vinyl | Mostly smooth vinyl |
| Staple retention | Reinforced edge | Standard weave |
| Price range | Mid-tier | Budget to mid |
The sotion motor and sotion motor options pair well with seat upgrades if you’re doing a full cockpit refresh, same quality tier, compatible aesthetics.
For riders who prioritize traction over aesthetics, the gripper-top models deliver better control in aggressive riding. Vinyl covers look cleaner longer but can get slippery when wet.
Who Should Install a Tuttio Seat Cover Themselves
This is a manageable DIY job if you’re comfortable with basic hand tools and have an hour to spare. You don’t need mechanical experience, just patience and attention to the staple sequence.
DIY makes sense if:
- You’ve already removed the seat for other work
- You want to control material tension and finish quality
- You’re installing multiple covers and want to dial in your technique
- You’re pairing the seat with other upgrades like the tuttio dongle or throttle components
Consider professional install if:
- Your seat pan is damaged or requires foam reshaping
- You’re working with a custom or rare pan shape
- You don’t have a quality staple gun (rentals are cheap but add hassle)
Most powersports shops charge $40-60 for a cover install, which includes foam inspection and cleanup. If you’re only doing one seat and don’t own a pneumatic stapler, the pro route can be faster and cheaper than buying tools.
Either way, the tuttio seat cover install process is straightforward once you understand the center-out stapling sequence and proper tension. Take your time on the first one, and the second will go twice as fast.
Questions
How long does it take to install a guts seat cover tuttio?
Most installations take 30-45 minutes if the seat pan is clean and you have all tools ready. First-timers should budget an hour to avoid rushing the stretching and stapling sequence.
Can I reuse staples from the old seat cover?
No. Old staples bend and lose holding strength when removed. Always use fresh staples sized for your staple gun, typically 6-8 mm for seat covers.
Do I need to replace the foam when installing a new Tuttio seat cover?
Only if the existing foam is torn, compressed, or uneven. A new cover over bad foam will still feel lumpy and wear unevenly.
Should I use a heat gun or water to stretch the seat cover?
Warm water works well for vinyl covers and is safer than a heat gun, which can scorch material if held too close. Gripper-top covers install best dry to preserve the adhesive backing.
Will the Tuttio seat cover fit my aftermarket seat pan?
Most Tuttio covers are pre-shaped for OEM and common aftermarket pans. Check the product page for compatibility, or measure your pan and compare dimensions before ordering.
Can I install a seat cover without a pneumatic stapler?
Yes, a heavy-duty manual staple gun works fine for one or two covers. Pneumatic staplers are faster and reduce hand fatigue if you're installing multiple seats.
Products in this guide
 Shopping at Soleil Supplies? See the discount code
5% OFF All Orders
Shopping at Soleil Supplies? See the discount code
5% OFF All Orders