 A Madluvv guide
How to Fill in Sparse Brows Using the Madluvv Brow Stamp Kit
A brow stamp kit is the fastest way to fill sparse, uneven brows with a consistent, natural-looking shape every single time.
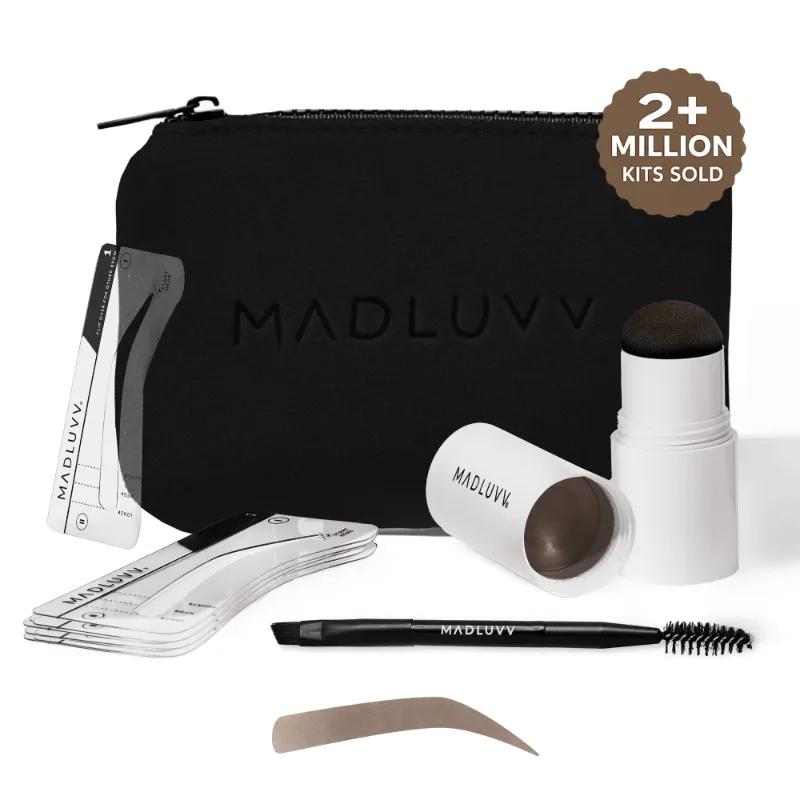
A brow stamp kit is the fastest route to full, even brows without the learning curve of traditional pencils or powders. Whether your brows are naturally sparse, overplucked, or simply uneven, stamping gives you a repeatable shape in seconds. This guide walks through every step, the products that make results last, and the common mistakes that cost beginners their clean arch.
What Comes in a Brow Stamp Kit and Why It Matters
Understanding what you’re working with is half the battle, especially if you’re new to the eyebrow stencil kit for beginners category.
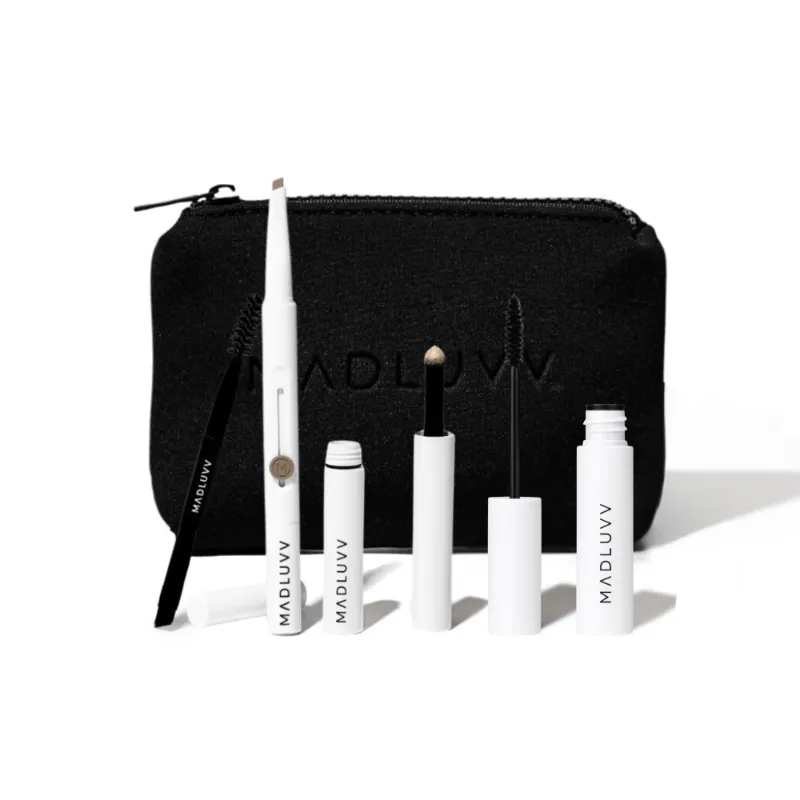
A well-designed kit typically includes:
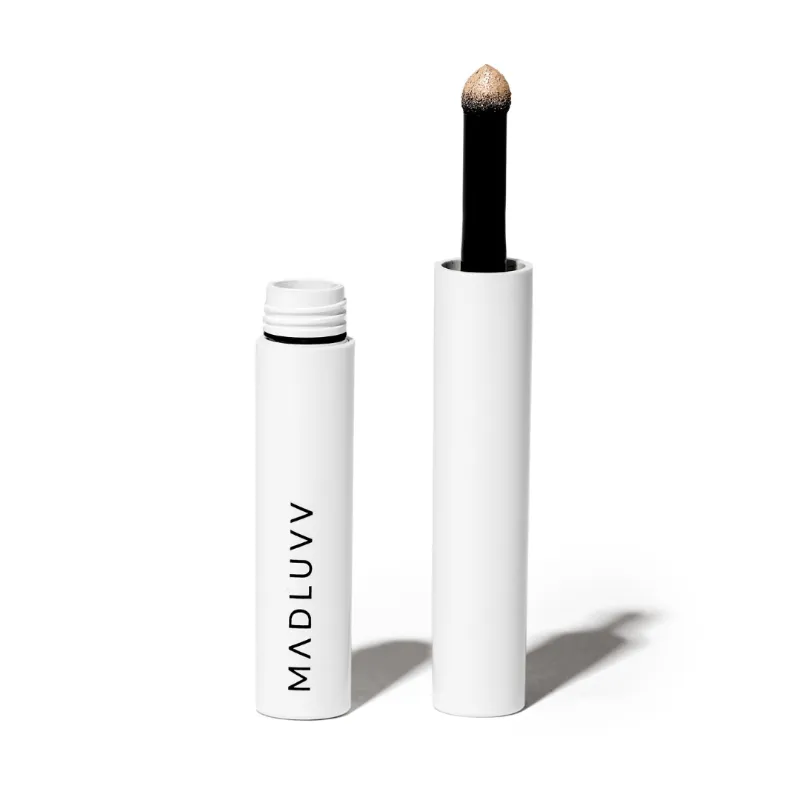
- A stamping tool loaded with pigment that presses a shape onto the skin
- Stencils in multiple arch shapes to suit different face shapes and brow styles
- A blending sponge or brush for softening the stamped edge
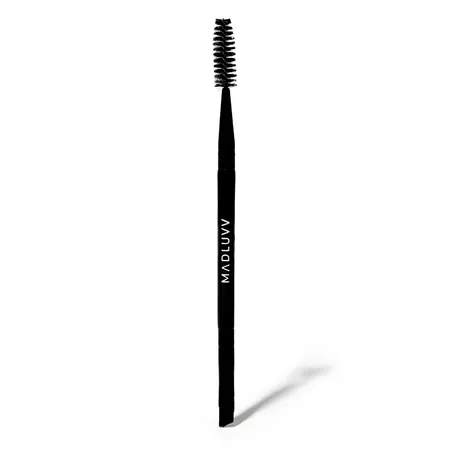
- A small eyebrow spoolie for combing through existing hairs before and after
The Madluvv kit is built around this core setup, with the stamp and stencils doing the heavy lifting so beginners get a result that looks intentional rather than drawn on. The key differentiator versus a regular taupe brow pencil or eyebrow powder is symmetry: you press both sides with the same stencil, so your brows match by design.
How to Choose the Right Stencil Shape for Your Face
Not every arch suits every face. Getting this right before you stamp means you won’t need to start over.
| Face Shape | Recommended Arch | What to Avoid |
|---|---|---|
| Round | High, defined arch | Flat, straight brow |
| Oval | Soft natural arch | Very sharp angles |
| Square | Curved, rounded arch | Heavily angular styles |
| Heart | Low, gentle arch | Overly thin shapes |
Tips for selecting your stencil:
- Hold each stencil up dry before applying any product so you can preview the shape
- Align the inner edge of the stencil to the inner corner of your eye, not your nose bridge
- If two stencils look similar, go with the one that mirrors the natural direction your brow hairs already grow
Step-by-Step: Filling Sparse Brows With the Madluvv Brow Stamp Kit
This is the core process. Follow it in order for the cleanest result.
- Prep your brows. Use a brow brush or eyebrow spoolie to comb all hairs upward. This reveals exactly which areas are sparse and shows you where product needs to go.
- Fill any gaps first. For very patchy spots, lightly fill the void with eyebrow powder or a taupe brow pencil before stamping. This gives the stamp pigment something to grip and keeps the final look seamless.
- Load the stamp. Press the stamp pad firmly but evenly. Too much product creates a cakey result; too little leaves a faint impression. Most users get their best result on the second press after wiping once on the back of their hand.
- Position the stencil. Hold it flat against your skin without stretching the skin underneath. Stretching shifts the shape when you release.
- Stamp firmly and lift straight up. Do not drag or rock the stamp sideways. One clean press and a straight lift keeps the edges crisp.
- Blend the edges. Use the included sponge or the flat side of a brow brush to tap the outer edges of the stamp so it looks like real brows, not a cutout.
- Comb through with a spoolie. This merges the stamped pigment with your actual hairs for a natural, hair-like finish.
- Add definition where needed. If you want more precise hair strokes at the tail, a taupe brow pencil is ideal for drawing individual strokes into the stamped base.
Locking In Your Brows All Day
Stamped brows can fade or smudge without the right finishing steps, particularly in humid climates or on oily skin.
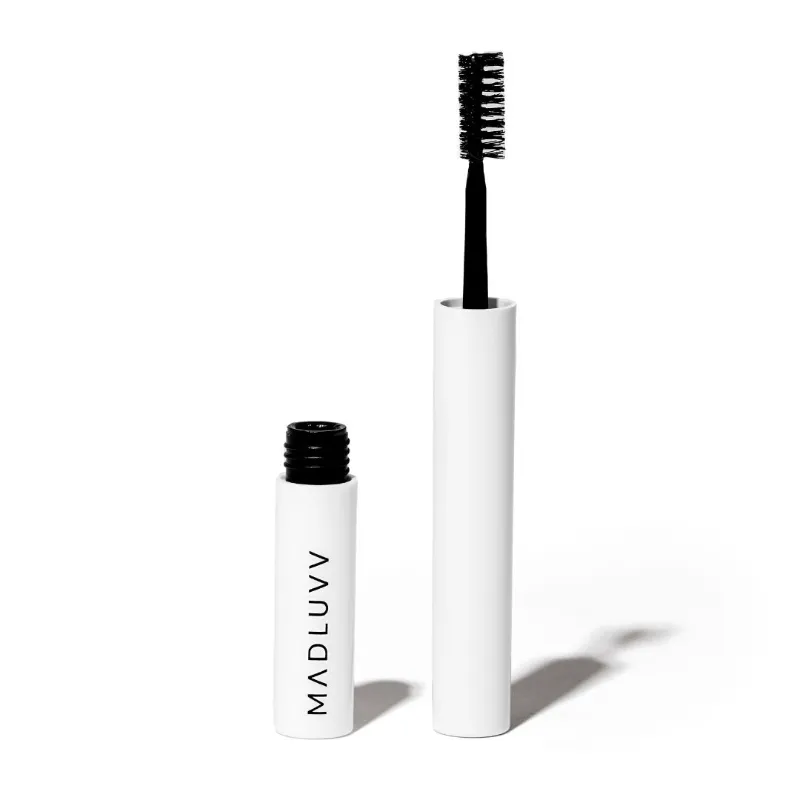
- Apply a thin coat of eyebrow gel over the finished brow. This holds hairs in place and seals the stamped pigment underneath.
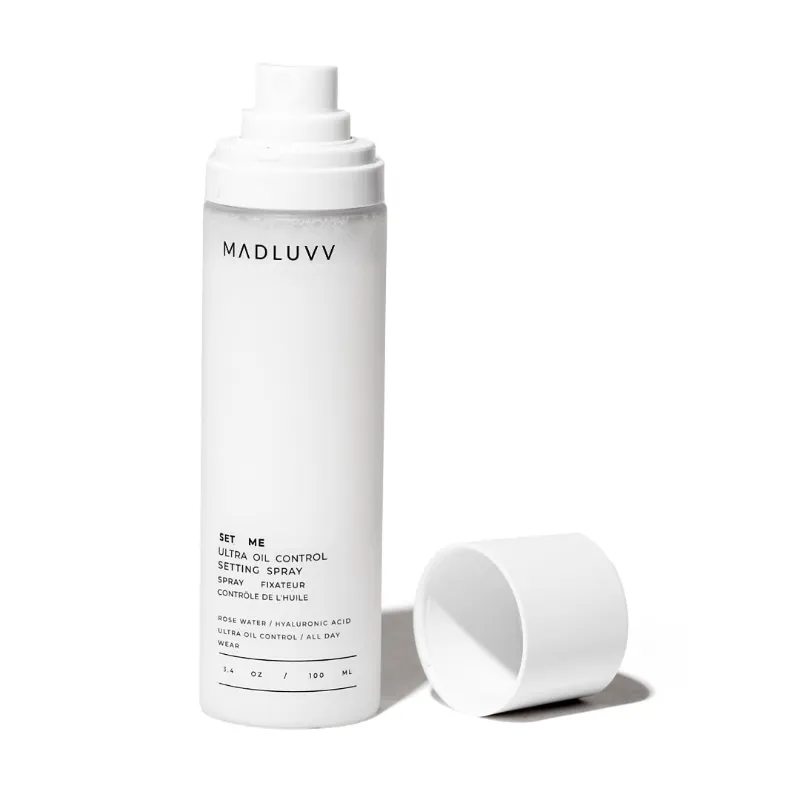
- Follow with a light mist of setting spray across the entire face. Setting spray is the single most effective step for longevity and is frequently overlooked in brow tutorials.
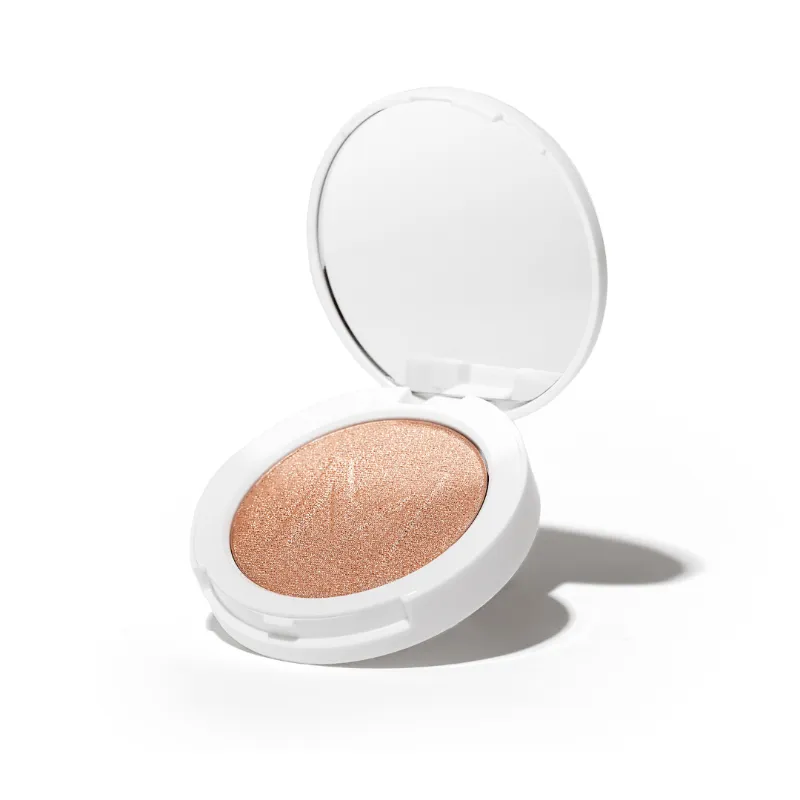
- If you use highlight makeup under the brow bone, apply it after the setting spray has dried so it stays crisp and doesn’t blend into the brow pigment.
For anyone comparing this to other eyebrow makeup methods: stamped brows with a brow gel topcoat and a setting spray finish routinely outperform pencil-only brows in wear tests through exercise, humidity, and long workdays.
Common Mistakes Beginners Make (and How to Fix Them)
Even the best eyebrow stamp kit on the market wonores for you nothing if the technique is off. Here are the errors we see most often:
- Stamping on bare, unprepared skin. Moisturizer or primer residue repels pigment. Let skincare fully absorb or lightly mattify the brow area first.
- Skipping the stencil alignment step. If the stencil is placed too far inward or outward, both brows end up in the wrong position relative to each other even when they match each other perfectly.
- Using too much pressure. A heavy hand spreads the stamp and blurs edges. Let the product do the work with moderate, even pressure.
- Not blending. A hard-edged stamp looks artificial. Thirty seconds of edge-blending transforms the result entirely.
- Forgetting to seal. Without eyebrow gel or setting spray, stamped pigment can transfer onto glasses, fingers, or fabric within an hour.
Who Gets the Most Out of a Brow Stamp Kit
Stamping is not for everyone, but it is genuinely transformative for the right person.
Best suited for:
- Beginners who struggle to draw symmetrical brows freehand
- Anyone with very sparse or patchy brow growth
- People who want a repeatable result in under two minutes
- Those with limited dexterity who find pencil work frustrating
Less ideal for:
- People who prefer a very soft, diffused brow (powder-only is better there)
- Anyone with a highly unusual brow direction that no stencil matches
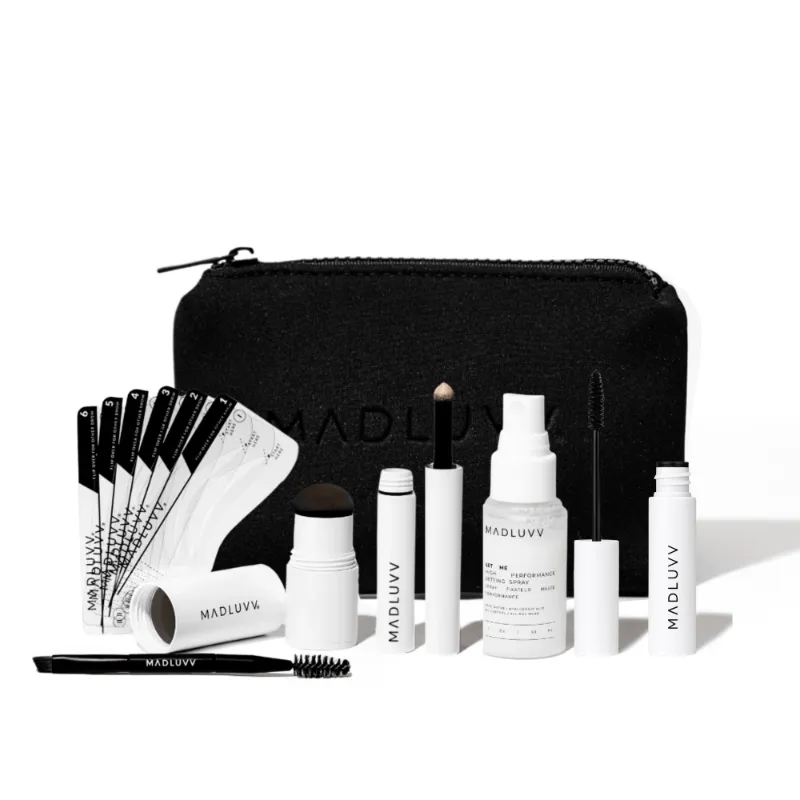
If you are already a fan of Madluvv eyebrow makeup products and want to explore the full kit eyebrows range, checking Madluvv Brow Stamp Kit reviews before expanding your collection is always worthwhile. You can also grab the current discount code to get 15% off sitewide before you build out your kit.
We recommend starting with the stamp, adding a taupe brow pencil for detail work, and finishing with a setting spray. That three-product combination covers every sparse-brow scenario most people encounter. Check the latest pricing and the code to see what fits your budget before you order.
Questions
Is the Madluvv brow stamp kit good for absolute beginners?
Yes. The stencil system removes the freehand skill requirement, so beginners get a consistent arch shape on the first try. Pairing it with an eyebrow spoolie to blend and a brow gel to seal makes the result look polished even without prior makeup experience.
How do I pick the right shade for my brow stamp kit?
As a general rule, choose a shade one tone lighter than your hair color for a softer, natural look, or match your hair exactly for a bolder finish. If you color your hair with permanent hair dye, match the stamp shade to your dyed color rather than your natural root.
How long does stamped brow makeup last without fading?
Longevity depends on your skin type and whether you seal the brows. Applying eyebrow gel over the stamp and finishing with a setting spray significantly extends wear, keeping brows intact through most full-day activities.
Can I use eyebrow powder or a taupe brow pencil alongside a stamp?
Absolutely. Filling visible gaps with eyebrow powder or a taupe brow pencil before you stamp creates a more even base and helps the stamped pigment adhere better, which is especially useful for very sparse brows.
Is a brow stamp kit reusable, and how do I clean it?
The stencils are fully reusable and can be wiped clean with a makeup remover wipe or micellar water after each use. The stamp pad itself lasts for many applications before needing a replacement pod.
Where can I find a discount code for Madluvv products?
Our Madluvv discount code page lists the current sitewide offer and links directly to the store so you can verify pricing before checkout.
Products in this guide
 Shopping at Madluvv? See the discount code
15% OFF Sitewide
Shopping at Madluvv? See the discount code
15% OFF Sitewide
More in this series
Best Madluvv Products for Beginners Who Have Never Shaped Their Brows5 Aug 20264 min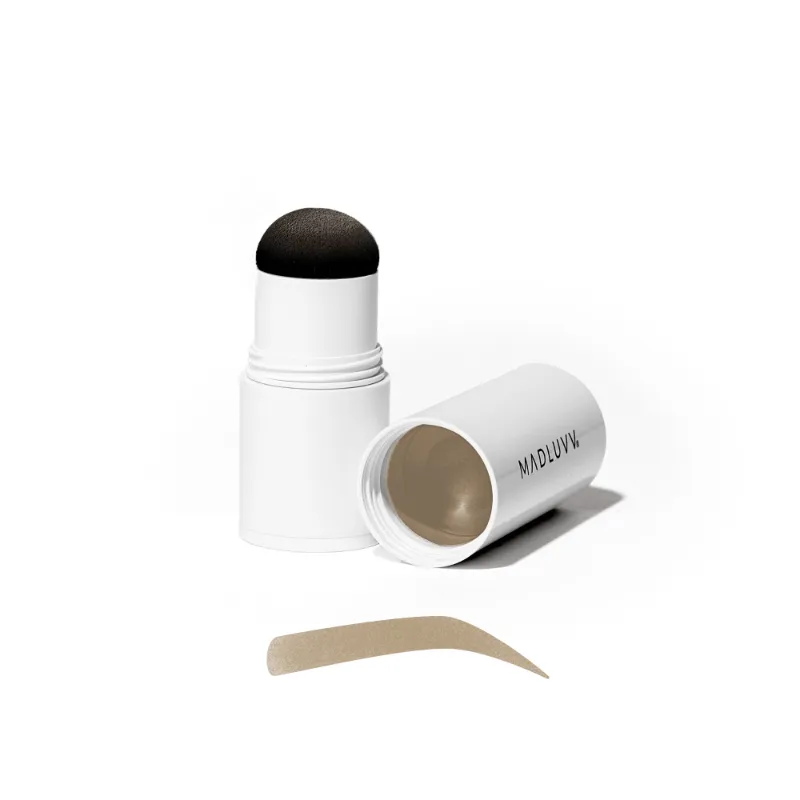 Does Madluvv Permanent Hair Dye Actually Last?5 Aug 20263 minThe Complete Madluvv Brow Routine: Pencil, Powder, and Spoolie in Order5 Aug 20264 minMadluvv Setting Spray vs. Brow Gel: Which One Locks Your Makeup Longer?5 Aug 20264 min